Living Tastefully
  • Home
  • PAINTINGS
  • About
  • Passions-to-Pastry Blog
  • Contact
  • Recipes

Pumpkin Scones

12/12/2018

2 Comments

 
Picture

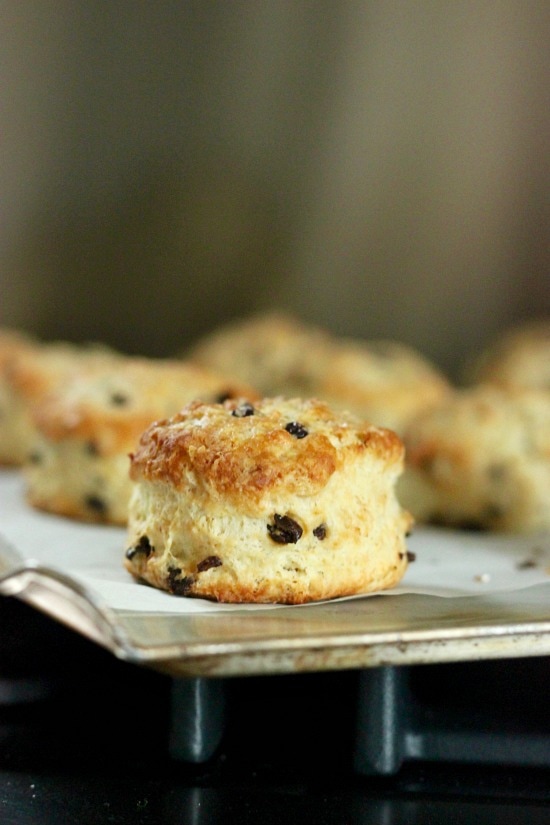
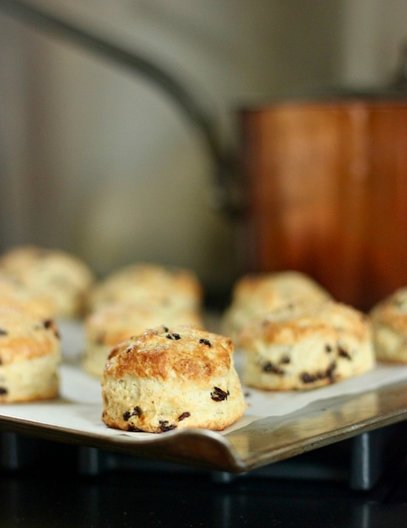
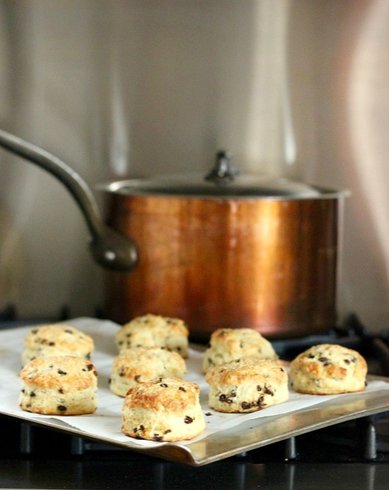
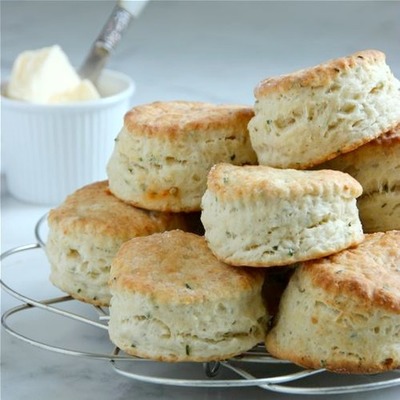
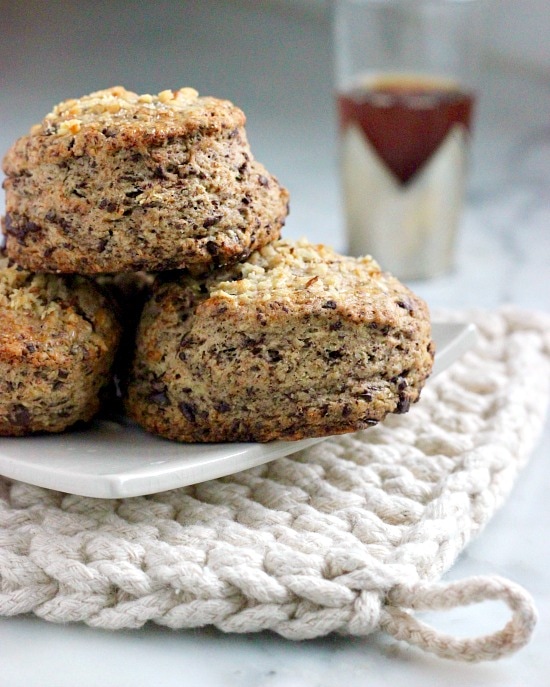
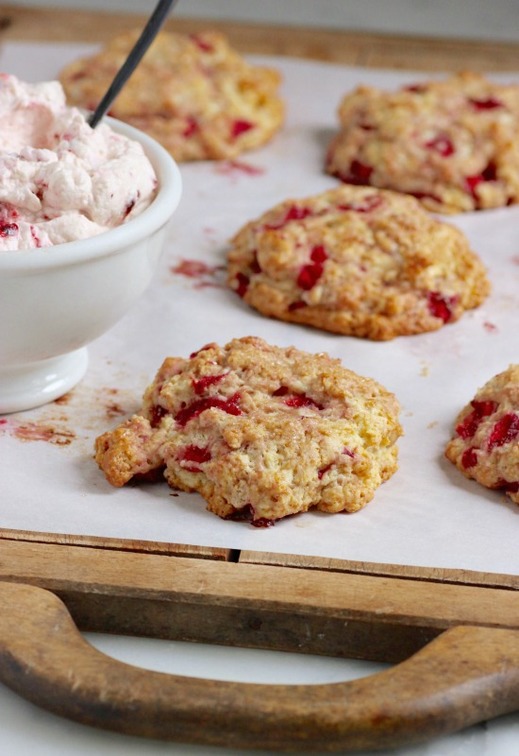
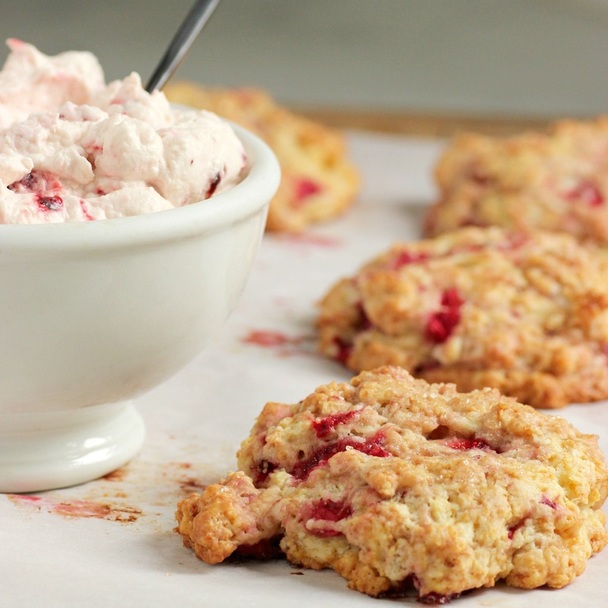
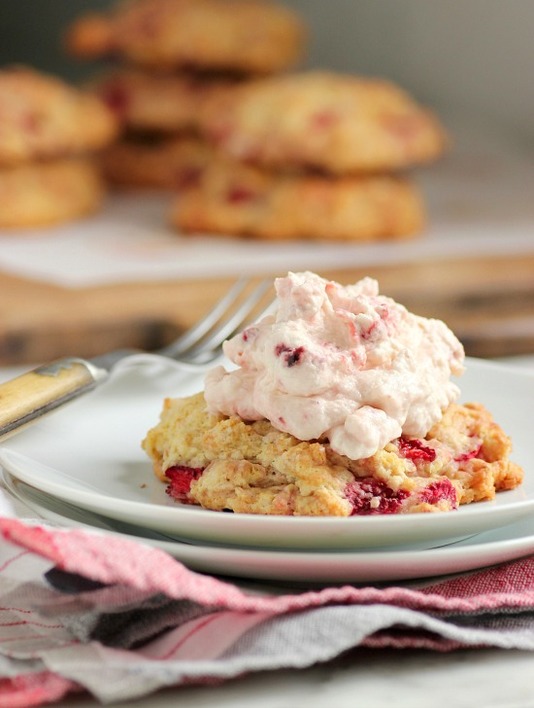
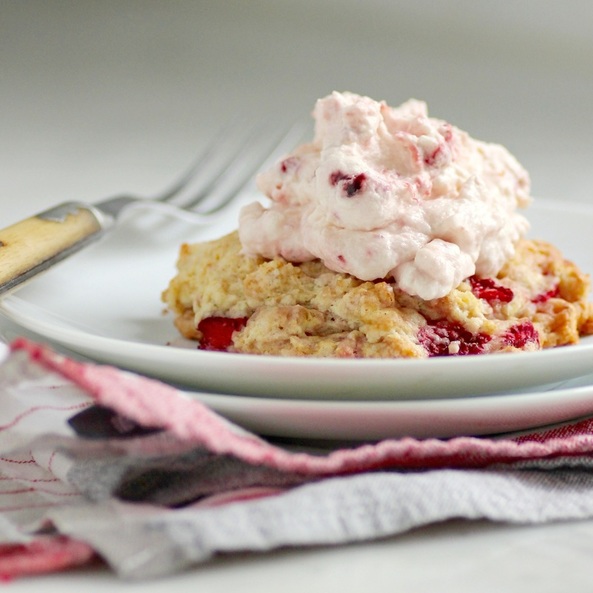
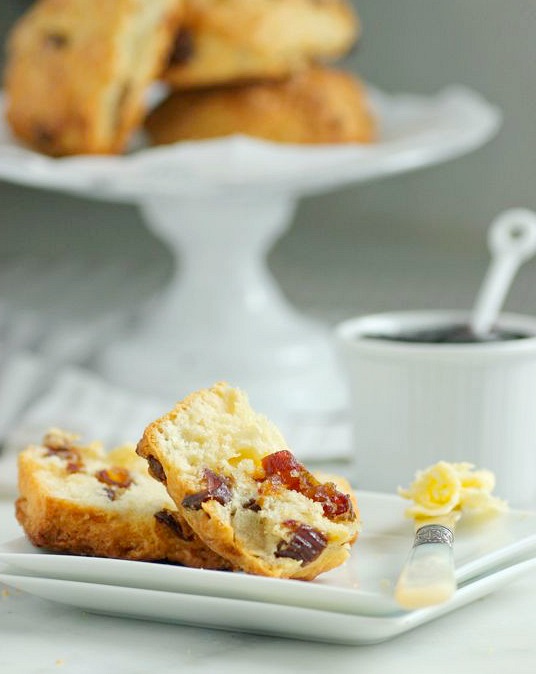
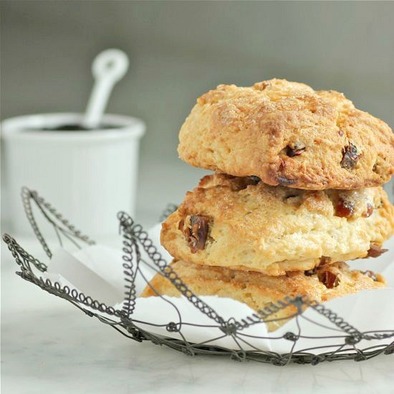
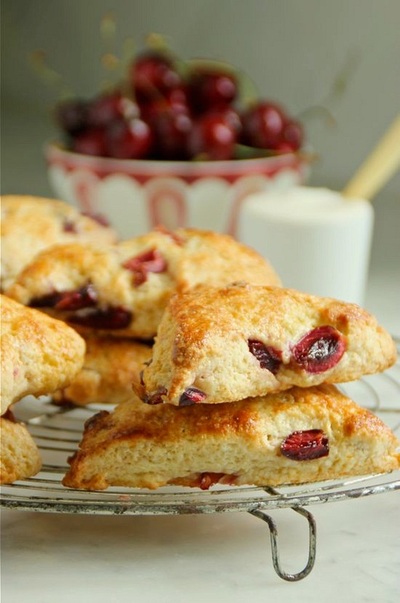
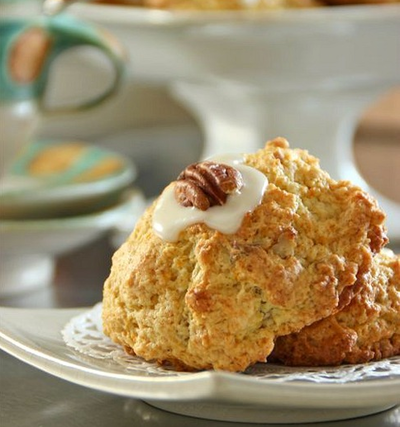
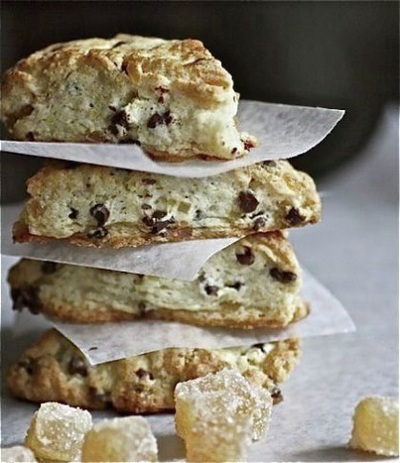
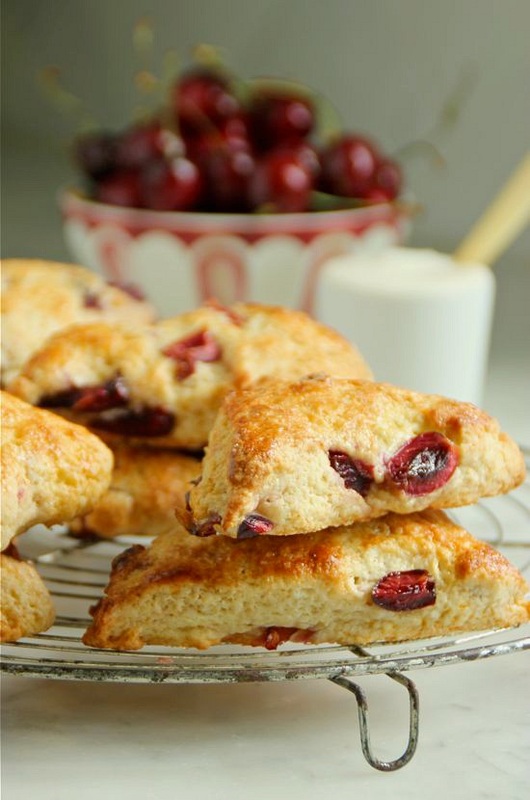
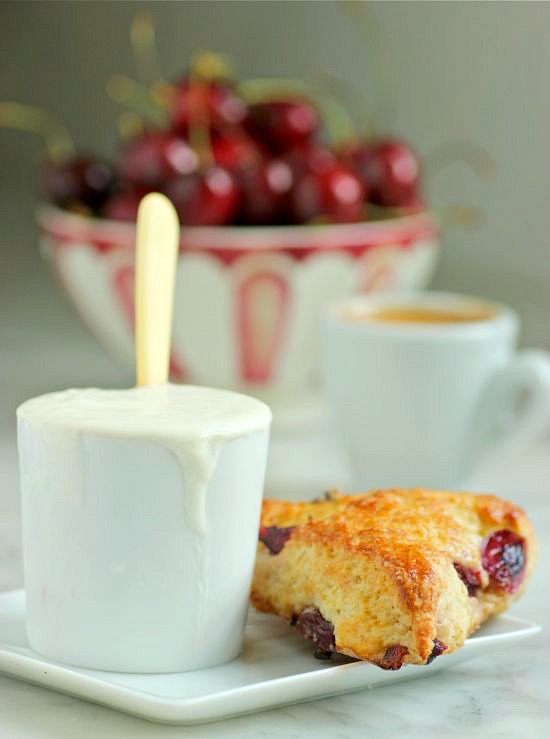
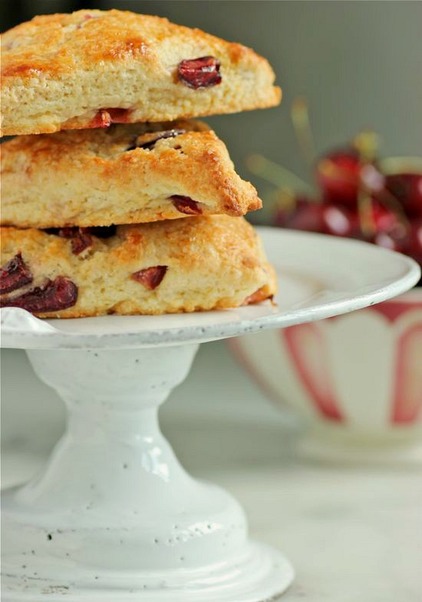
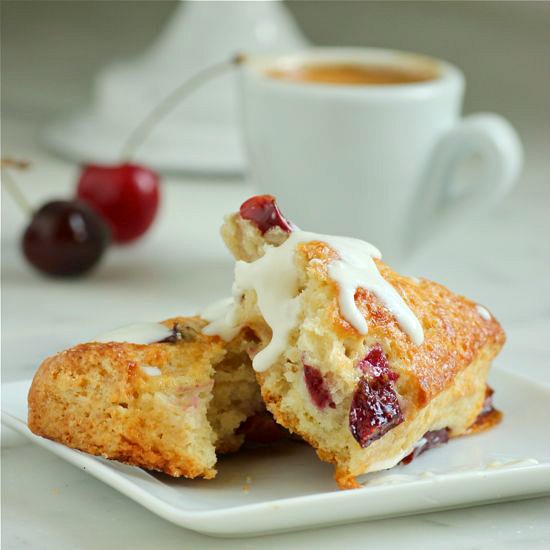
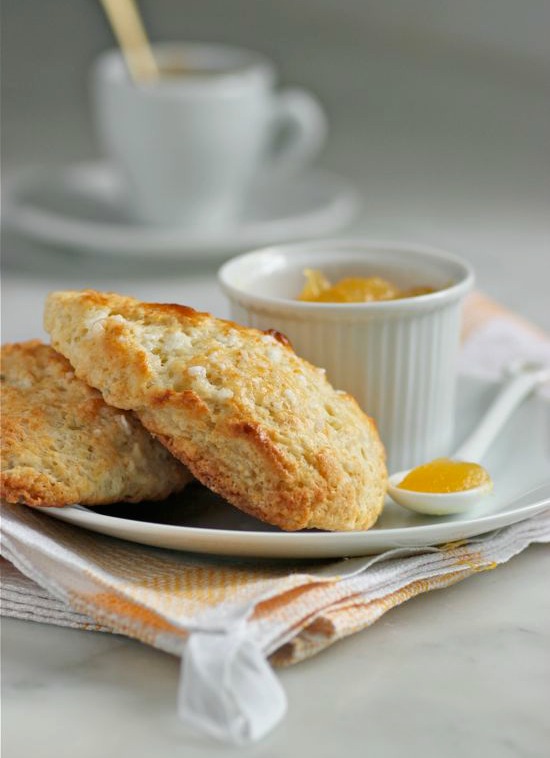
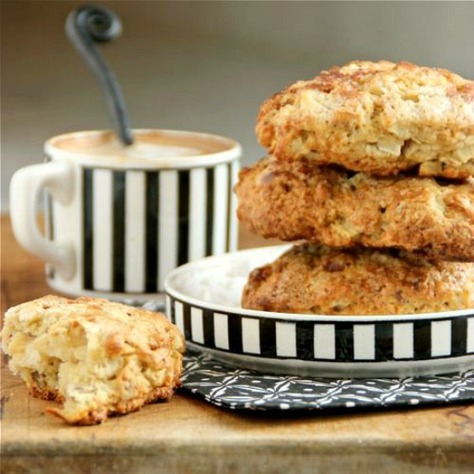
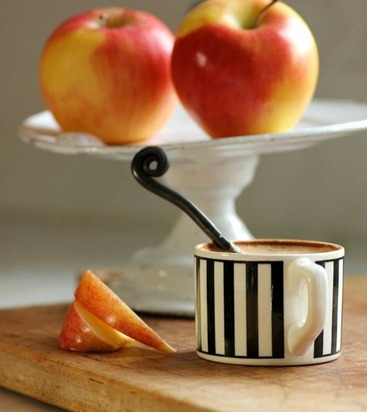
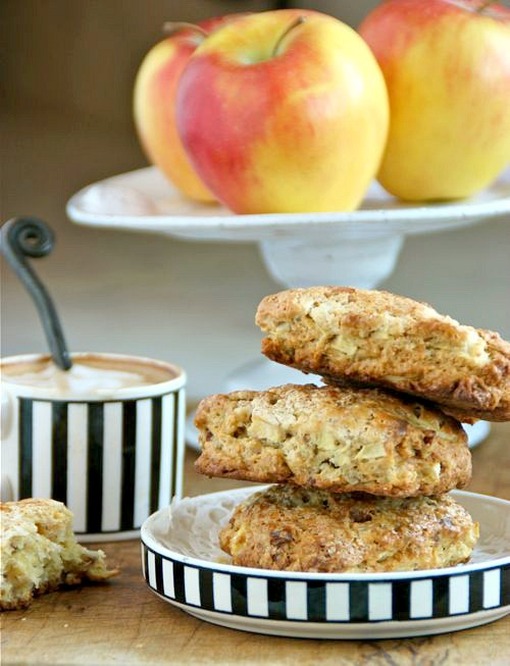
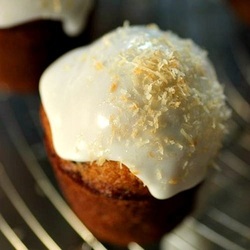
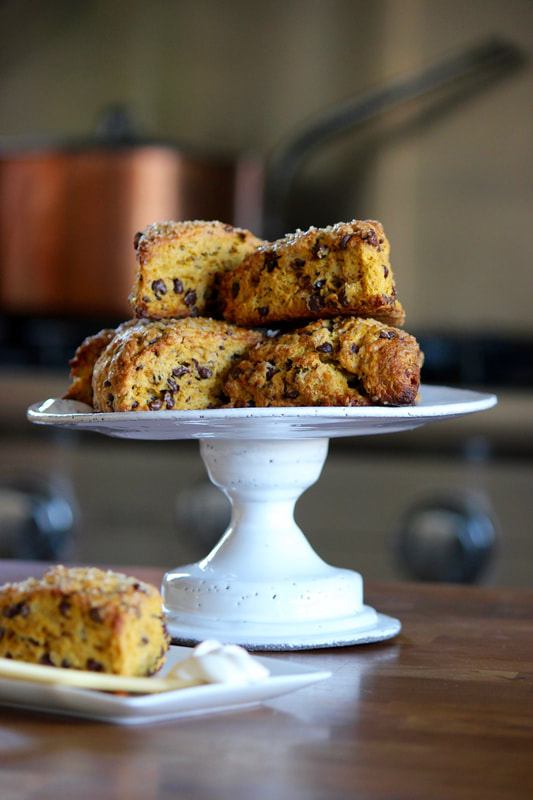
     A quick post in this typically busy holiday season... 

     I made these pumpkin scones from a King Arthur Flour recipe.  They were fabulous!  Love waking up to a treat like this in the morning!  

     ENJOY!


 • • •  Pumpkin Scones  • • •

 + adapted recipe from King Arthur Flour

• 2 3/4 cups unbleached all-purpose flour
• 1/3 cup sugar
• 1 tablespoon baking powder
• 3/4 teaspoon salt
• 3/4 teaspoon ground cinnamon
• 1/4 teaspoon ground ginger
• 1/4 teaspoon ground nutmeg
• 1/4 teaspoon ground allspice
• 1/2 cup cold, unsalted butter, diced
• 1 cup minced crystallized ginger or chocolate chips, or a combination of the two
• 2/3 cup canned pumpkin
• 2 large eggs
• turbinado sugar, for topping

1.  In a large mixing bowl, whisk together the flour, sugar, baking powder, salt and spices.   Work in the butter just until the mixture is unevenly crumbly (This can also be done in a food processor.  If using a food processor, combine the dry ingredients, then add butter and pulse until the size of large peas).
2.  Stir in the ginger and/or chocolate chips.  (Transfer flour/butter mixture from food processor to a large bowl, if using, and stir in ginger and/or chocolate chips.)
3.  In a separate mixing bowl, whisk together the pumpkin and eggs until smooth.
4.  Add the pumpkin/eggs to the dry ingredients and stir until all is moistened and holds together.
5.  Line a baking sheet with parchment.  Dust a little flour on top of parchment.
6.  Scrape the dough onto the floured parchment and divide it in half.  Round each half into a disk about 3/4-inch thick.
7.  Brush each circle with milk and sprinkle with the turbinado sugar.
8.  Using a knife that you've run under cold water, slice each circle into 6 wedges.
9.  Carefully separate the wedges so there is about a 1/2-inch space between them.
10.  Place the pan of scones in the freezer for at least 30 minutes.  This will help give the scones a high rise.  (I will freeze the scones, then place in a zip-lock bag, and pull from the freezer in the mornings to bake a few, or quite a few!)
11.  Preheat overn to 425˚F.  Bake the scones for 22 to 25 minutes, or until they are golden brown.  Be sure to leave at least 1/2-inch between the scones when baking.  You don't want them to touch each other.


2 Comments

Savory Zucchini & Gruyére Scones

9/24/2017

1 Comment

 
Picture

     Judging by its continued abundance, my zucchini never received the memo that summer is over; I won't complain.  There's nothing better than walking into the backyard and harvesting our dinner.  Or in this case... the makings of a savory scone. 

Picture

     My plan is to mix up these Zucchini and Gruyère Scones again, freeze the unbaked disks on a sheet pan, then drop into bags to freeze.  I'll pull them out to bake when I have a pot of soup on the stove this winter.  I'm thinking they'd be perfect alongside a tomato cream soup (RECIPE).

Picture

     Or, with an antipasto platter and a glass of wine...

Picture


•Savory Zucchini and Gruyère Scones•

    from the September 2017 issue of Bon Appétit (adapted)
• Makes about 12 scones using a 3-inch biscuit cutter.  I used a 2-inch cutter which made almost double that amount. 
• 3 tablespoons baking powder
• 3 tablespoons sugar
• 1  1/2 teaspoons kosher salt
• 1 teaspoon freshly ground black pepper
• 1 teaspoon fresh thyme leaves
• 3  1/4 cups unbleached all-purpose flour, plus more for surface
• 3/4 cup (1  1/2 sticks) unsalted butter, cut into 1/2-inch cubes and chilled
• 1 cup heavy cream, plus more for brushing
• 2 medium zucchini, coarsely grated, excess liquid squeezed out with a kitchen towel
• 6 ounces Gruyère, cut into 1/4-inch pieces
• Flaky sea salt for sprinkling
1.  Preheat oven to 350˚F.  Combine baking powder, sugar, kosher salt, pepper, thyme, and 3  1/4 cups flour in the bowl of a food processor.  Pulse several times.  Add the chilled butter and pulse until the size of small peas.  Transfer the mixture to a large bowl.  Pour in the cream and mix gently with a wooden spoon to distribute evenly.  Add the zucchini and Gruyère and mix into the dough just to distribute.  Using your hands, gently knead the mixture until the dough comes together.  The less you work the dough, the more tender the scones will be.  This dough will be somewhat drier than most scone recipes, but the zucchini will release additional moisture during baking.
2.  Turn the dough out onto a lightly floured surface and pat into a 2-inch thick disk.  Place a sheet of plastic wrap on top of the dough and roll out to a 1-inch thick disk.  Punch out scones with the biscuit cutter (it helps to brush the inside of the cutter with oil to help  release the scones); place on a parchment-lined baking sheet, spacing about 2-inches apart.  Brush tops with cream and sprinkle with flaky sea salt (if storing unbaked scones in freezer, wait to finish with the cream and salt until baking).
3.  Bake scones, rotating baking sheet halfway through, until golden brown, 30-40 minutes.  Transfer to a wire rack to cool.


TAKE a LOOK:


1 Comment

Currant Scones

4/13/2017

6 Comments

 
Picture

     A scone in the morning along with coffee or tea is always good -- at least that's the way we feel at our house.  This is a basic currant scone that can be dressed up, and made even better, with crème fraîche and a fruit jam. 
     The only change I made to the original recipe was to place the scones, on their baking sheet, in the freezer for 45 minutes before transferring to the oven  .  That step helps maintain the shape of the scones while baking.  Also, I sprinkled turbinado sugar over the scones after brushing with the light cream (Half & Half).  I like the crunch and a little added sweetness.


Picture
Picture
Picture
                                              RECIPE by SUSIE TOMPKINS BUELL, adapted
• 2 cups unbleached all-purpose flour
• 2 tablespoons sugar
• 2 tablespoons baking powder
• 1/4 teaspoon salt
• 4 tablespoons cold unsalted butter, cut into small pieces
• 1/2 cup dried currants
• 1 large egg, lightly beaten
• 1/2 cup milk
• Light cream or heavy cream, for brushing
• Turbinado sugar, for sprinkling

1.   Line a baking sheet with parchment paper.
2.  Combine the flour, sugar, baking powder and salt in the bowl of a food processor; pulse two or three times.  Add the butter and pulse until the mixture resembles coarse meal.  (Or... you can mix the ingredients together in a large bowl and cut in the butter with a pastry blender or two knives.)  Transfer to a large mixing bowl.  Stir in the currants.  Add the egg and 1/2 cup milk and stir with a fork just until the dough comes together.
3.  Turn the dough out onto a lightly floured surface.  Gently pat the dough into a 3/4-inch-thick slab.  Using a 2-inch biscuit cutter, cut out 12 rounds, repatting the dough as needed.
4.  Transfer the scones to the prepared baking sheet.  Place the baking sheet in the freezer  for 45 minutes.  Preheat the oven to 425˚F.
5.  Remove the scones from the freezer and brush the tops with the cream.  Sprinkle with Turbinado sugar.  Bake the scones for 15-17 minutes, or until golden.  Transfer to a rack to cool slightly.  Serve warm or at room temperature.  MAKES 12 SCONES.


TAKE a LOOK:


6 Comments

back in the kitchen... Chocolate-Walnut Scones

2/25/2017

3 Comments

 
Picture

     I'm back in my kitchen after a 2600 mile road trip to Texas.  Anymore, I'd prefer to step on a plane and fly to my destination instead of sitting for 9 hour stretches in a car... especially when the destination is 1200 miles south of the Twin Cities.  But we have a Bisous, and I am not ready to leave him behind just yet. 
     Our first stop was in Dallas where we stayed with a good friend , Lynn (from my days at the Kansas City Art Institute), and her husband, John.  We think it has been 15+ years since we last saw each other... how can that be??  Our time together was brief, but filled with what I enjoy most -- food.  I have to agree with Lynn that Dallas has the best grocery store anywhere -- HEB's Central Market.  It's at least unlike anything in Minnesota.  It was our first stop.  The variety of oranges, apples and tomatoes is endless.  The kind of place I could be left alone to explore for hours... just drop me off in the morning and pick me up at night.


Picture
Picture
Picture


     JIMMY'S, a small Italian grocery, was another stop while in Dallas.  Small, but packed full of the most wonderful Italian foods!     
     I had never seen 2-foot-long spaghetti before, or, I suppose, wild boar sausage. (I know... I need to go to Italy; a trip I'm hoping isn't too far off.)

Picture
Picture


    I brought home a shopping bag full of different pastas.
     I am still amazed that these foot long macaroni didn't break beneath piles of luggage.


     My husband and I were joined in Dallas by our daughter and her boyfriend, who continued with us on our drive through Texas.  A night was spent in Waco with relatives before our final destination of Austin.  And, I've got to say, we all loved Austin!  My husband had an office in Austin many years ago, but I never accompanied him there.  In fact, for a while we thought we'd be making a move there for his work.  I'm now thinking it might not have been a bad thing.  It's a great city and food truck heaven.
Picture
Picture
     One of the few actual restaurants we ate at while in Austin was Guero's Taco Bar on South Congress.  It was warm enough in Austin to sit outdoors for meals and these fish tacos were possibly the best I've ever eaten.  Yes, you heard me... the best.
Picture
     Bisous far succeeded my expectations as a travel companion.  He was so good!
Picture
Picture
Picture
     Our second day in Austin, we stopped on Barton Springs Road where there was a large group of food trucks (area called The Picnic).  When I saw my daughter ordering from an Italian food truck, I asked her why would she do that when there were taco trucks just steps away!  My mistake... she offered me a taste, and it was the best pasta I have ever eaten... ever!  I went to the truck's window and told Salvatore, the owner and chef, exactly how I felt.  He said he makes all of the fresh pasta himself, daily.  When we returned again the next day, just to eat more pasta, I realized I was not the only one heaping praise onto Salvatore.  I heard others telling him it was the best pasta they had ever eaten.  So, there you are... it's true.  If you visit  Austin, you must go to Cannone Cucina Italiana.  You will thank me.


Picture
    
     The road trip is over, and I am (slowly easing) back in my kitchen.  For several mornings after our return, I had nothing to eat alongside my cappuccino, and I really need that.  But, I finally got baking and made Nancy Silverton's chocolate-walnut scones.  I never question a recipe if Nancy Silverton's name is on it.  Years ago whenever my husband was in the Los Angeles area on business, he'd always make the drive to LaBrea Bakery, early in the morning, before his flight home.  He'd return with a bag of Nancy's bread for me.  I even flew out to L.A. once (back in the days of endless airline miles), for 24 hours, just to eat at Nancy Silverton and Mark Peel's restaurant Campanile.  And many years later, I went back to L.A. to eat at Osteria Mozza where she creates small plates at her mozzarella bar in the center of the restaurant (and Pizzeria Mozza next door, the following day).  I just find Nancy Silverton fascinating beyond her culinary accomplishments, and have recently streamed her on Amazon Prime, with Emeril Lagasse on Emeril's EAT THE WORLD and on Netflix's, Chef's Table (season 3).
    
     Now, back to these scones.  I think they are my favorite... ever. Tender, with a lovely, flaky crumb, and not very sweet.  My plan is to always have a bag full of these scones, unbaked, in my freezer, ready to pop in my oven whenever I need one.

     NOTE:  The original recipe calls for a 1 1/2-inch round cutter for stamping out the disks, and grouping 3 together in a clover shape before baking.  I chose to use a 2-inch cutter and baked individual scones.


Picture
• 1 1/4 cups walnuts, divided
• 7 tablespoons granulated sugar, divided
• 2 3/4 cups unbleached all-purpose flour
• 1 tablespoon plus 1 teaspoon baking powder
• Pinch of salt
• 1/2 cup (1 stick) plus 2 tablespoons unsalted butter, cut into 1-inch cubes and frozen
• 1 cup (6 ounces) finely chopped bittersweet chocolate
• 1 cup plus 2 tablespoons whipping cream, divided
• 1/4 cup crème fraîche or sour cream
• 1 tablespoon vanilla extract

1.  Place oven rack on middle shelf of oven and preheat to 325˚F.  Spread the walnuts on a baking sheet and toast in oven until lightly browned, about 8 minutes.  Shake pan halfway through so nuts toast evenly.  Remove from oven and cool completely.  Increase oven temperature to 350˚F.
2. In a food processor fitted with the steel blade, combine 1 cup of the nuts with 3 tablespoons sugar and process until the mixture is the consistency of fine meal. Add 3 more tablespoons sugar with the flour, baking powder and salt and pulse to incorporate. Add the butter and pulse on and off until the mixture is the consistency of fine meal.
3. Transfer the mixture to a large bowl and stir in the chocolate pieces. Make a large well in the center and pour in 1 cup whipping cream, the crème fraîche (or sour cream), and the vanilla. Whisk the liquids together. Using one hand, draw in the dry ingredients and mix until just combined. The mixture will be crumbly.

4.  Turn the dough out onto a lightly floured work surface and knead gently a few times, then gather it into a ball. Roll or pat the dough into a circle 1 1/2 inches thick. Spray the inside of a 2-inch round cutter with nonstick spray and cut out circles, cutting them as close together as possible and keeping the trimmings intact.
5. Gather the scraps, press them back together, and cut out additional circles. (If the dough gets too soft to cut, refrigerate it for 15 minutes.) Place the circles parchment-lined baking sheet, spacing 2 inches apart.  Freeze until firm, about 1 hour. 
6.  Brush the tops with the remaining 2 tablespoons cream and sprinkle with the remaining 1 tablespoon sugar. Using the large hole of a box grater, grate some of the remaining one-fourth cup nuts over the top of each scone. Bake for 30 to 34 minutes, until slightly firm to the touch and lightly browned. 
+  If you do not want to bake all of the scones at this time, keep in freezer for later use.


TAKE a LOOK:


3 Comments

Strawberry Crème Fraîche Biscuits

6/3/2016

2 Comments

 
Picture

     This is the first time since strawberries were planted in our garden, that I have actually had enough to do something with.  They were originally planted in one of the brick-edged garden beds; not a good idea because, of course, strawberry plants like to spread.  Plus, they seemed to languish there, barely producing more than a handful of fruit each season.  So last spring, I dug them up and moved them to the back of our yard along the fence.  They are very happy there.  The strawberries are thriving and giving me a bowlful daily!

Picture

     When I ran across this recipe for Strawberry Crème Fraîche Biscuits by Abigail Quinn, I knew that some of my garden strawberries would be baked into biscuits. 

Picture

     Both the biscuits and the strawberry whipped cream are full of tangy crème fraîche; a taste that always seems, for me, to conjure up thoughts of France. 
Picture

     Another plus for this strawberry biscuit --  it was still delicious the second day.  Usually, baked goods such as this are best eaten the day they are baked (and I would still suggest that.). But with the recipe making 12 strawberry biscuits and a good amount of the whipped crème fraîche, they've been around a while.  We are now into day 3 of eating the Strawberry Crème Fraîche Biscuits for dessert and breakfast, and I can't say that they are no longer good.  The biscuits still have a nice, tender crumb.  I'm very impressed!
     The only thing I did differently with this recipe, was to sprinkle the tops of the biscuits with turbinado sugar before baking.  Not necessary, but I really like that little crisp crunch.


Picture


Picture
Serves 12
• adapted recipe of Abigail Quinn
STRAWBERRY SWIRL
• 1 cup diced strawberries
• 2 tablespoons sugar
• 2 teaspoons lemon juice
BISCUITS
• 2 1/2 cups all-purpose flour
• 5 tablespoons sugar
• 2 1/2 teaspoons baking powder
• 1/2 teaspoon baking soda
• 1/4 teaspoon kosher salt
• 10 tablespoons cold, unsalted butter, cut into 1/2-inch cubes
• 1/2 cup crème fraîche, homemade (recipe HERE), or purchased
• 1 large egg
• 1/4 cup buttermilk
• 1/4 teaspoon pure vanilla extract
• 1 cup diced strawberries
• Turbinado sugar, for sprinkling, optional
WHIPPED CREME FRAICHE
• 3/4 cup crème fraîche
• 1/2 cup heavy cream
• 2 tablespoons sugar
• 1/2 teaspoon pure vanilla extract
• 1/8 teaspoon kosher salt

1. Make the Strawberry Swirl:  In a small saucepan cook the strawberries with the sugar and lemon juice over moderate heat until the berries break down and the juices thicken, about 12 minutes.  Let cool completely.
2.  Make the Biscuits:  Preheat the oven to 350˚F.  Line 2 baking sheets with parchment paper.  In a medium bowl, whisk the crème fraîche with the egg, buttermilk and vanilla; set aside.  In the bowl of a food processor, pulse the flour with the sugar, baking powder, baking soda and salt.  Add the cold, cubed butter and pulse until the butter is pea-size pieces.  Pour the dry ingredients into the reserved wet ingredients and using a wooden spoon, stir the mixture until a dough just comes together.  Fold in the diced strawberries, being careful not to overmix.
3.  Scoop twelve 1/4-cup mounds of the biscuit dough onto the prepared baking sheets, about 3 inches apart.  Sprinkle tops of biscuit mounds with turbinado sugar.  Bake the biscuits for about 30 minutes, until browned; shifting the pans from top to bottom and front to back halfway through baking.  Transfer the biscuits to a rack and let cool slightly.
4.  Make the Whipped Crème Fraîche:  Using a hand or stand mixer, whip the crème fraîche with the cream, sugar, vanilla and salt at moderate speed until medium peaks form.  Fold in the cooled strawberry swirl until just combined.  Serve with the warm biscuits.
MAKE AHEAD:  The strawberry swirl can be refrigerated for 3 days.  Fold into the whipped crème fraîche before serving.


TAKE a LOOK:


2 Comments

breakfast at my house... Date Scones

12/1/2015

0 Comments

 
Picture

     A gray, snowy start to the week in Saint Paul, and baking sounds good on a day like this.  What else sounds good?  Date Scones with Fleur de Sel whipped Butter.  But honestly... these scones are so good unadorned, you can forget making the salted butter... unless you really want it.

Picture


Picture
+ from FOOD & WINE (adapted)

BUTTER... optional:
• 1 stick unsalted butter, at room temperature
• 1/2 tablespoon fleur de sel
SCONES:
• 2 1/4 cups unbleached, all-purpose flour, plus more for dusting
• 1/4 cup granulated sugar
• 1 1/2 tablespoons baking powder
• 1/4 teaspoon kosher salt
• 4 tablespoons cold unsalted butter, cubed
• 1 cup chopped pitted dates
• 1 1/2 cups heavy cream, plus more for brushing
• Turbinado sugar, for sprinkling
• Jam, for serving
1.  MAKE THE BUTTER:  In a bowl, beat the butter with the fleur de sel until fluffy.  Reserve.
2.  MAKE the SCONES:  Line a baking sheet with parchment paper or Silpat.  In the bowl of a food processor, combine the 2 1/4 cups of flour, sugar, baking powder, and salt.  Pulse a couple of times.  Add the butter and pulse until the size of small peas.  Transfer to a large mixing bowl.  Add the dates and toss to coat in the flour mixture.  Drizzle in the 1 1/2 cups of cream and stir until a dough forms.  Cover with plaster wrap and let stand for 10 minutes.
3.  Turn the dough out onto a lightly floured work surface and knead gently until it comes together.  Pat the dough into a 5-by-10-inch rectangle.  Cut into 10 equal squares and arrange on the prepared baking sheet.  Refrigerate for 30 minutes.
4.  Preheat over to 375˚F.  Brush the tops of the scones with cream and sprinkle with turbinado sugar.  Bake for 25-30 minutes, until golden.  Transfer the scones to a rack to cool completely.  Serve with the salted whipped butter and jam, if desired.


TAKE a LOOK:


0 Comments

Fresh Cherry Scones

6/26/2015

1 Comment

 
Picture
    
     Lately I've been passing up some beautiful berries and stone fruit at the market.  You see, I am still chopping away at the endless stalks of rhubarb in my garden...  but it's finally time for me to move on.  I may bake several more rhubarb tarts before summer's end, but the majority of my rhubarb will now head to the freezer.  I couldn't resist these cherries yesterday and since there wasn't even a slice of bread in my kitchen this morning, I quickly got to work mixing up some fresh cherry scones for breakfast. 
    
Picture

     Serving the scones with crème fraîche is optional, but highly recommended!  Use either purchased or homemade (recipe HERE).

Picture


Picture


Picture

• 1 large egg
• 1 teaspoon vanilla extract
• 1/8 teaspoon almond extract
• 1/2 cup heavy cream

• 2 cups unbleached, all-purpose flour
• 1/3 cup granulated sugar
• 2 teaspoons baking powder
• 1/8 teaspoon kosher salt
• 1/3 cup cold butter, cubed
• 1 cup fresh bing cherries, halved
• 1 egg, beaten
• Turbinado (raw) sugar, for sprinkling
• Crème Fraîche, for serving

1.  In a large mixing bowl briefly whisk the large egg.  Add the vanilla and almond extracts, along with the heavy cream; whisk to combine.  Set bowl aside.
2. 
In the bowl of a food processor, combine the flour, granulated sugar, baking powder, and salt; pulse several times to combine.  Add the cubed butter and pulse until the butter is the size of small peas.
3.  Add the flour mixture along with the halved, fresh cherries to the liquid ingredients in the bowl.  Using a fork, gently stir until combined.  Lightly dust a work surface with flour and place the dough on top.  With floured hands, knead the dough 3 or 4 times, then flatten into a 3/4-inch-thick circle.  Using a sharp knife, cut dough into 8 wedges. Transfer wedges to a parchment-lined baking sheet, leaving generous space between the scones since they will spread during baking.  Brush scones with beaten egg and sprinkle generously with the Turbinado sugar. 
4.  Place the baking sheet in refrigerator to chill while oven is heating. PREHEAT OVEN to 375˚F.  When the oven is preheated, transfer the baking sheet to middle rack of oven.  Bake scones for approximately 16 to 20 minutes, or until golden.  Remove from oven and cool scones on a rack.  Serve with crème fraîche if desired.  Scones are always best eaten the day they are baked.


TAKE a LOOK:


1 Comment

Not quite what I expected...

3/14/2015

2 Comments

 
Picture

     This week I baked chocolate chip cookies and lavender-lemon scones.  Both were delicious, but with results I had not anticipated.  The cookies and the scones spread while in the oven, more than I ever thought they would.  But hey... they were still good, and I would make both of them again, possibly with a little tweaking.  If you're interested, here are the links...
     And may I suggest... use a smaller round cutter for the cookies than the 2-inch dimension given in the recipe, or do as one reviewer did and cut the dough into small squares. 

Picture

 Chocolate Chip Cookies | Saveur, October 2014

 Sweet Lavender-Lemon Scones | Bon Appetit, May 2012


2 Comments

Mornings at My House... Fresh Apple Scones

1/10/2014

0 Comments

 
Picture
Picture


When I'm doing something, I tend to be consumed by it. 
No multi-tasking for me.  My most recent project has been the repair of this Dutch rug destroyed by the owner's German Shepherd puppy.  I finished late last night after seven solid hours of work.  It's done!  Now I can move on to something else -- like cooking dinner tonight.
     Meals are overlooked when I'm engrossed in a project such as this.  Today I'll be back in the kitchen!
     One thing I did make the past few days was one of my favorite scone recipes -- Fresh Apple Scones with Pecans. 

Picture
Picture
Picture
• 1 1/4 cups flour
• 4 tablespoons brown sugar, divided
• 1/4 teaspoon salt
• 1/4 teaspoon baking soda
• 1 teaspoon baking powder
• 1/4 cup unsalted butter
• 1/4 cup sour cream
• 1 egg
• 1 cup finely diced apples
• 1 tablespoon sour cream
• 1/4 teaspoon cinnamon

1.  In the bowl of a food processor, combine flour, 3 tablespoons brown sugar, salt, soda and baking powder.  Process briefly.  Cube cold butter and add to the flour mixture.  Pulse until the butter resembles peas.  In a large bowl, combine 1/4 cup sour cream and egg and mix until blended.  Stir in diced apples.  Add the flour mixture and stir until combined.  Gather the dough together into a ball in the bowl and, with floured hands, knead lightly five times.
2.  Divide the dough in half and place on a baking sheet that has been lined with parchment paper or Silpat.  With floured hands, press each into a disc about five inches in diameter.  Using a floured knife, cut each disc into four wedges and separate the wedges slightly.  Brush top of dough with remaining 1 tablespoon sour cream.  Sprinkle with mixture of remaining 1 tablespoon brown sugar and cinnamon.  Bake at 400˚F for 20-25 minutes, or until done.


TAKE a LOOK:


0 Comments

Cherry Cream Scones

11/15/2013

6 Comments

 
Picture

     Friend and fellow blogger Tom at Tall Clover Farm recently described my favorite kind of morning (read about it HERE).  The kind of morning that begs for freshly baked scones to enjoy with a hot cup of coffee.

Picture


                     • Cherry Cream Scones •
                adapted from Successful Farming Magazine | January 1995

• 3/4 cup dried sour cherries
• 1 cup boiling water
• 3 cups unbleached, all-purpose flour
• 3 tablespoons granulated sugar
• 1 tablespoon baking powder
• 1/2 teaspoon salt
• 1/2 teaspoon cream of tartar
• 1/2 cup cold, unsalted butter cut into cubes
• 1 egg yolk
• 1/2 cup sour cream
• 3/4 cup half-and-half, or light cream
• 1/2 teaspoon almond extract
• 1 egg white, beaten
• 1/8 cup granulated sugar

PREHEAT OVEN to 400˚F

1.  In a small bowl, soak cherries in boiling water for 10 minutes, drain and set aside. 
2.  In the bowl of a food processor, combine flour, 3 tablespoons sugar, baking powder, salt, and cream of tartar; pulse 2 or 3 times.  Add the cubed butter and pulse until the size of small peas; transfer mixture to a large mixing bowl.
3.  In another bowl, combine egg yolk, sour cream, half-and-half, and almond extract.  Add to the bowl of dry ingredients and stir until combined.  Gently fold in the cherries. 
4.  With floured hands gently knead the dough while in the bowl, 6 to 8 times.  This is an extremely wet and sticky dough.  Sprinkle a little flour onto the dough while kneading if necessary, but the less flour used, the more tender the scones.
5.  Divide dough in half and shape into 2 balls on a parchment-lined baking sheet.  Flatten balls into 6-inch disks.  Cut each disk into 6 wedges, arranging wedges so they do not touch.
6.  Brush tops with egg white and sprinkle with the additional 1/8-cup sugar.  Bake on middle rack of oven for 20 to 25 minutes or until golden brown.  Serve warm.  Scones are best eaten the day they are made. 


TAKE a LOOK:


6 Comments
<<Previous
    Picture


    Picture
    Picture
    Enter your Email

    Preview | Powered by FeedBlitz


    Categories

    All
    Amana
    Appetizers
    Beef
    Breads
    Breakfast
    Cakes
    Chocolate
    Condiments
    Cookies
    Daring Bakers Challenge
    Desserts And Sweets
    Drinks
    Eggs
    Espresso
    Etcetera
    Fish
    French Bulldogs
    Friday Night Dinner
    Fruit
    Germany
    Gratins
    Great Kitchens
    Grilling
    Ice Cream
    Lamb
    Main Dishes
    Muffins
    My Garden
    My Kitchen Renovation
    New Years Day Brunch
    Paris
    Pasta
    Pork
    Poultry
    Provence
    Restaurants
    Rhubarb
    Rice
    Salads
    Scones
    Seafood
    Side Dish
    Soup
    Sunday Mornings
    Sweet And Savory Tarts
    Thanksgiving
    Tomatoes
    Vegetables
    Vegetarian

  • Home
  • PAINTINGS
  • About
  • Passions-to-Pastry Blog
  • Contact
  • Recipes