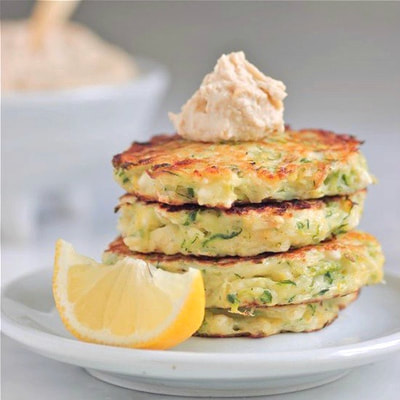
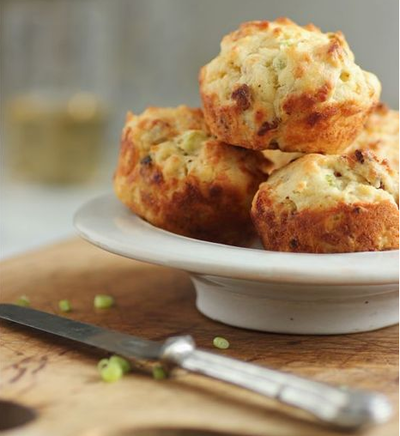
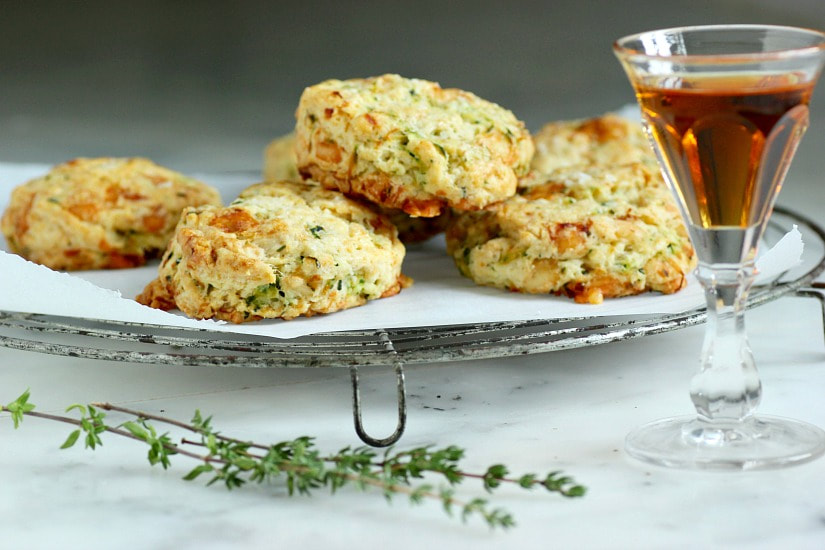
 Judging by its continued abundance, my zucchini never received the memo that summer is over; I won't complain. There's nothing better than walking into the backyard and harvesting our dinner. Or in this case... the makings of a savory scone. 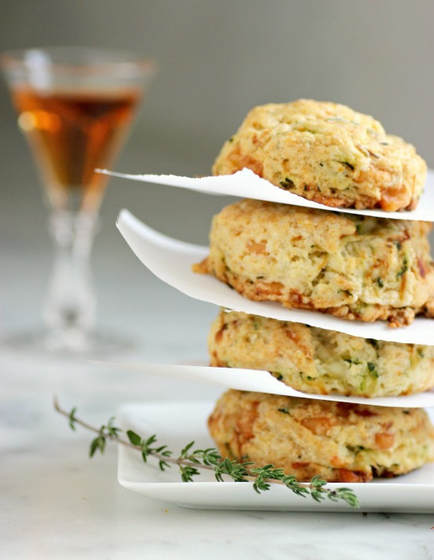 My plan is to mix up these Zucchini and Gruyère Scones again, freeze the unbaked disks on a sheet pan, then drop into bags to freeze. I'll pull them out to bake when I have a pot of soup on the stove this winter. I'm thinking they'd be perfect alongside a tomato cream soup (RECIPE).  Or, with an antipasto platter and a glass of wine... 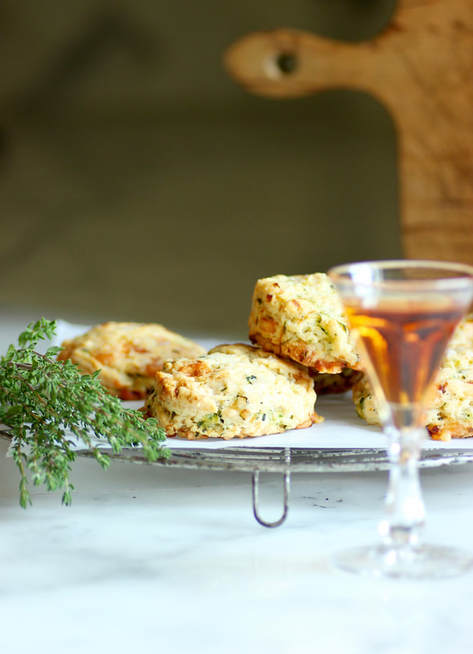 •Savory Zucchini and Gruyère Scones• from the September 2017 issue of Bon Appétit (adapted) • Makes about 12 scones using a 3-inch biscuit cutter. I used a 2-inch cutter which made almost double that amount. • 3 tablespoons baking powder • 3 tablespoons sugar • 1 1/2 teaspoons kosher salt • 1 teaspoon freshly ground black pepper • 1 teaspoon fresh thyme leaves • 3 1/4 cups unbleached all-purpose flour, plus more for surface • 3/4 cup (1 1/2 sticks) unsalted butter, cut into 1/2-inch cubes and chilled • 1 cup heavy cream, plus more for brushing • 2 medium zucchini, coarsely grated, excess liquid squeezed out with a kitchen towel • 6 ounces Gruyère, cut into 1/4-inch pieces • Flaky sea salt for sprinkling 1. Preheat oven to 350˚F. Combine baking powder, sugar, kosher salt, pepper, thyme, and 3 1/4 cups flour in the bowl of a food processor. Pulse several times. Add the chilled butter and pulse until the size of small peas. Transfer the mixture to a large bowl. Pour in the cream and mix gently with a wooden spoon to distribute evenly. Add the zucchini and Gruyère and mix into the dough just to distribute. Using your hands, gently knead the mixture until the dough comes together. The less you work the dough, the more tender the scones will be. This dough will be somewhat drier than most scone recipes, but the zucchini will release additional moisture during baking. 2. Turn the dough out onto a lightly floured surface and pat into a 2-inch thick disk. Place a sheet of plastic wrap on top of the dough and roll out to a 1-inch thick disk. Punch out scones with the biscuit cutter (it helps to brush the inside of the cutter with oil to help release the scones); place on a parchment-lined baking sheet, spacing about 2-inches apart. Brush tops with cream and sprinkle with flaky sea salt (if storing unbaked scones in freezer, wait to finish with the cream and salt until baking). 3. Bake scones, rotating baking sheet halfway through, until golden brown, 30-40 minutes. Transfer to a wire rack to cool. TAKE a LOOK:
1 Comment
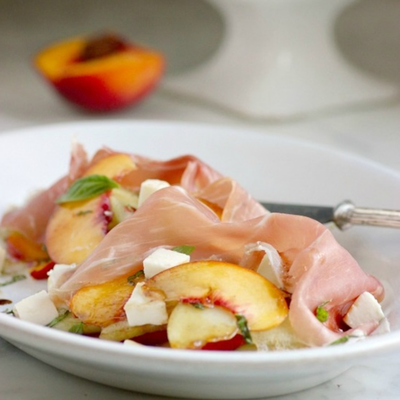
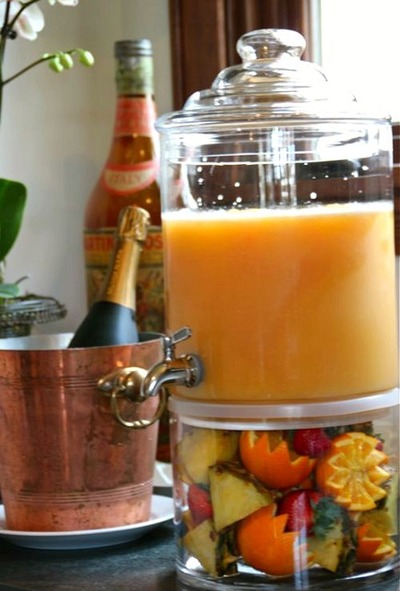
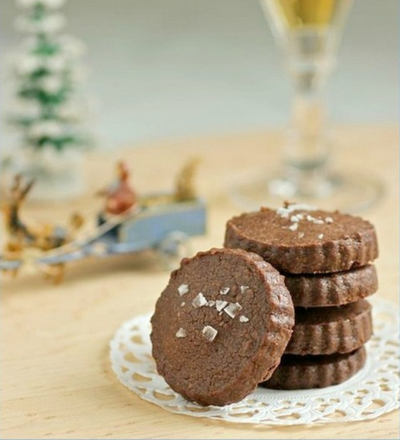
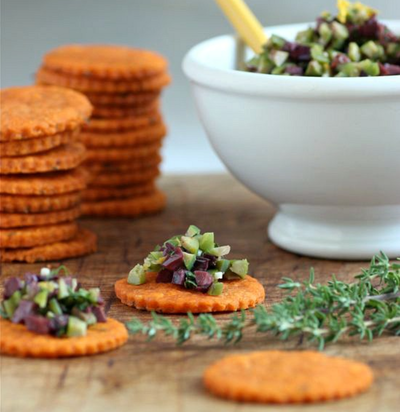
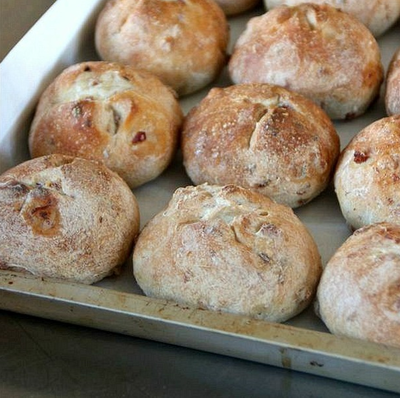
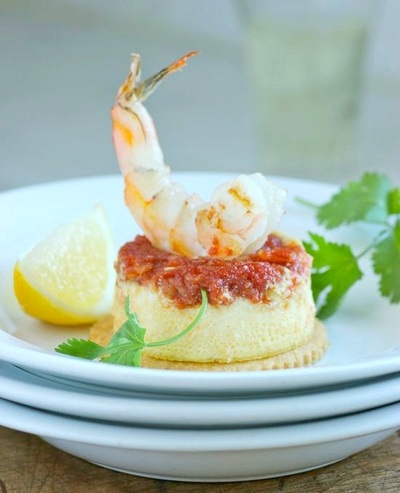
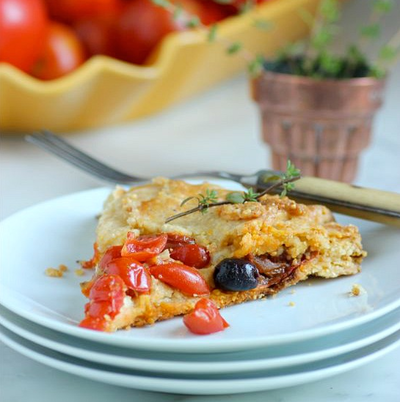
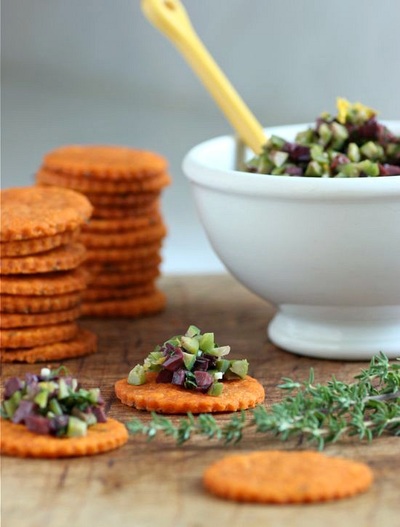
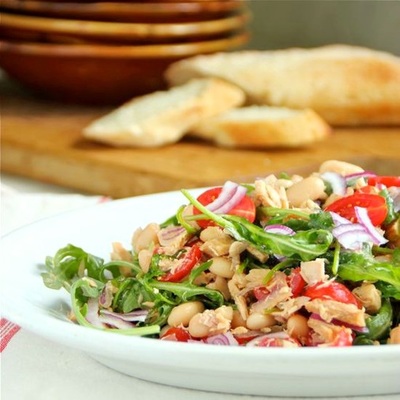
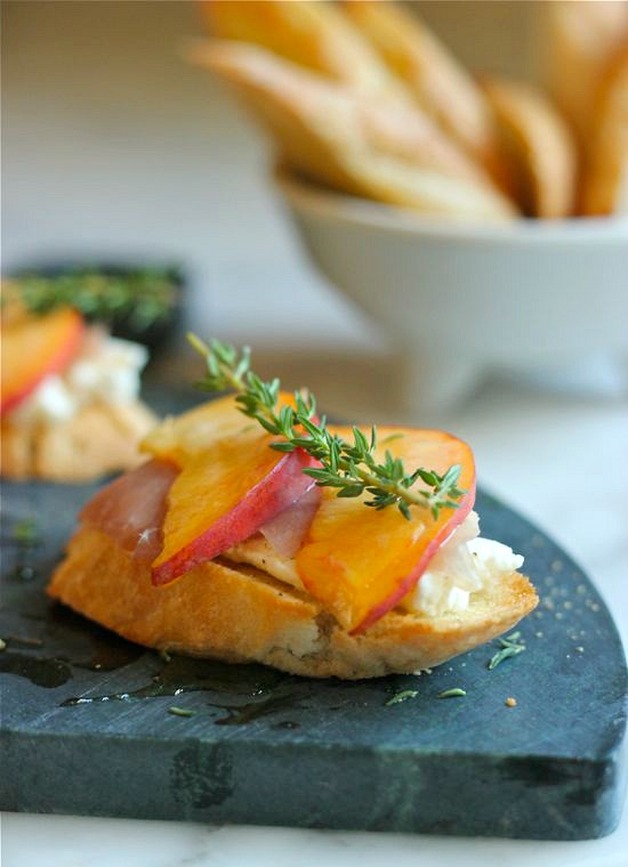
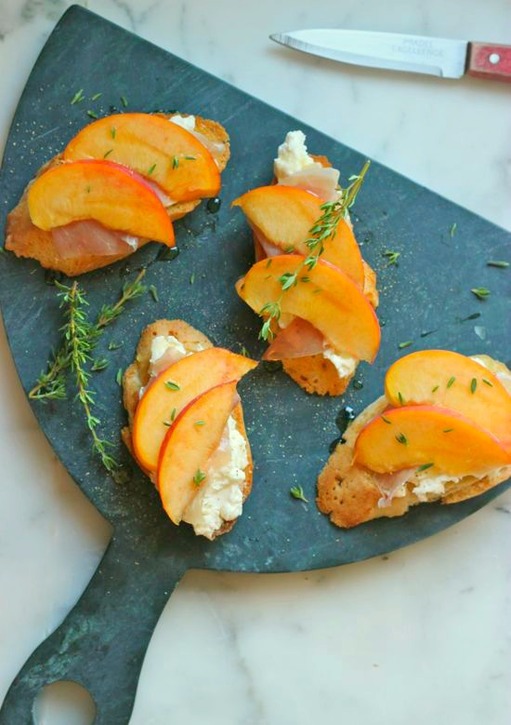
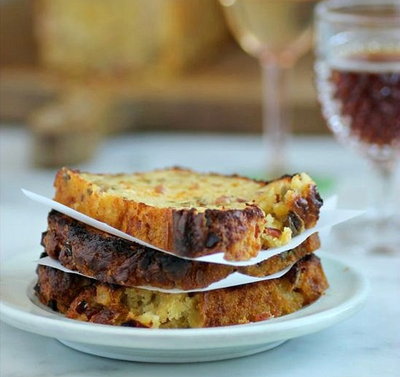
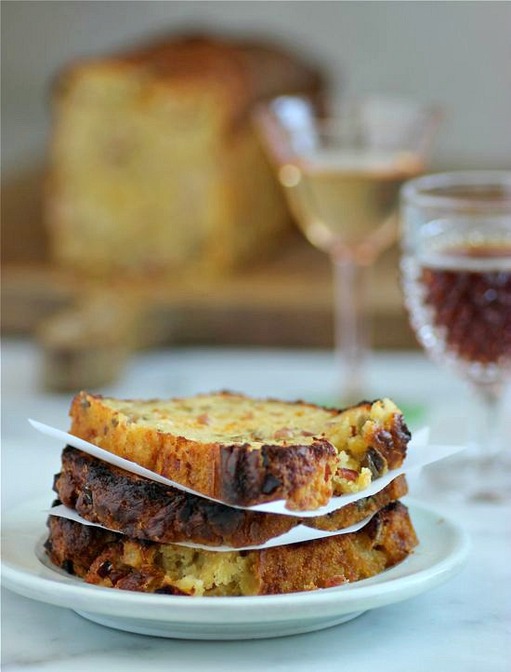
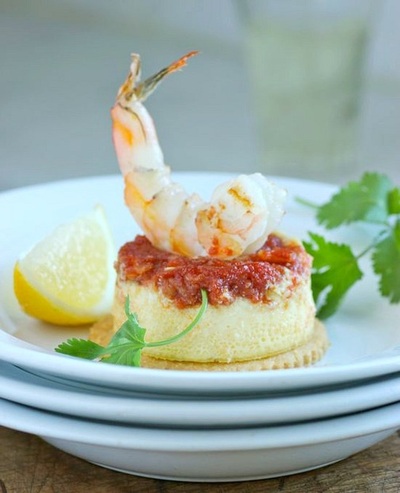
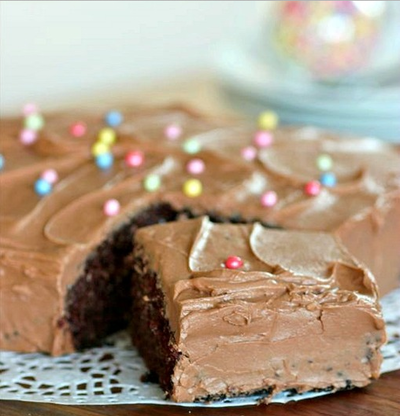
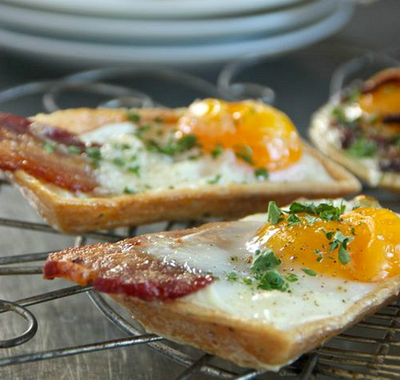
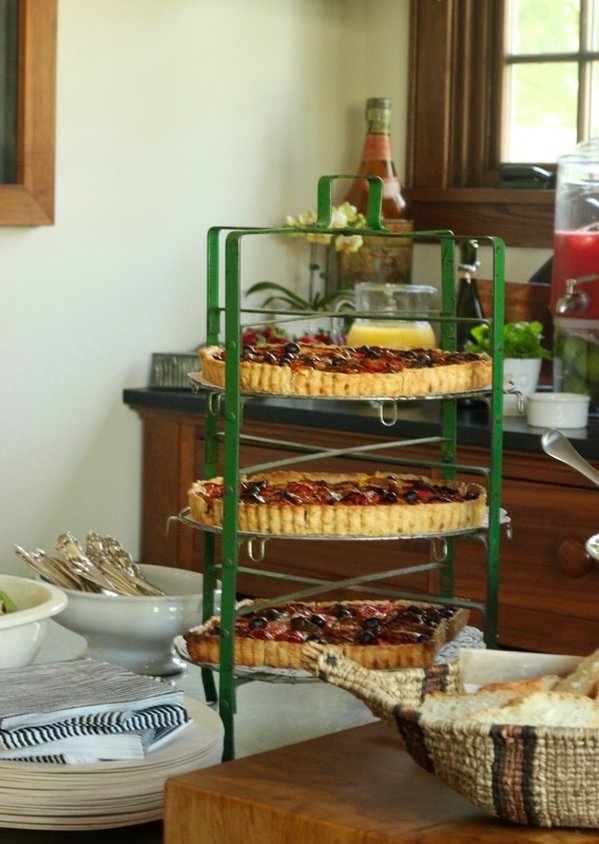 This past weekend my daughter Claire hosted a baby shower for her sister, Whitney, along with Whitney's close friend, Allison. Yes... I'm going to be an Oma. The event took place in my home, and my contribution for this gathering was lunch. The plan (for months) had been a luncheon outdoors on the patio and in the garden, of course! But the weather turned against us with 90+ degree heat and unbearable dew points that forced everyone attending inside; not ideal in our minds, but we made it work... 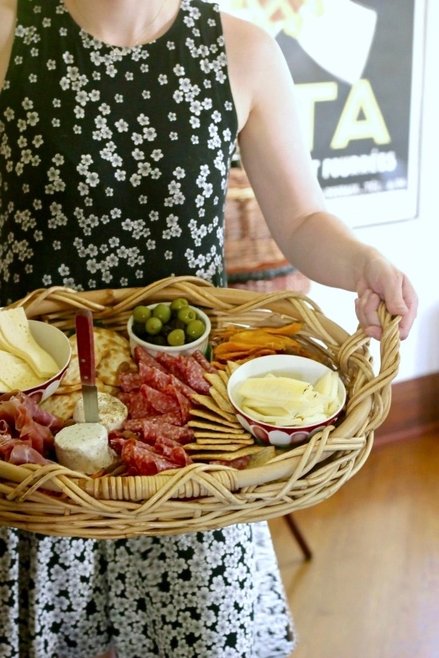 Appetizers were placed in the living room. 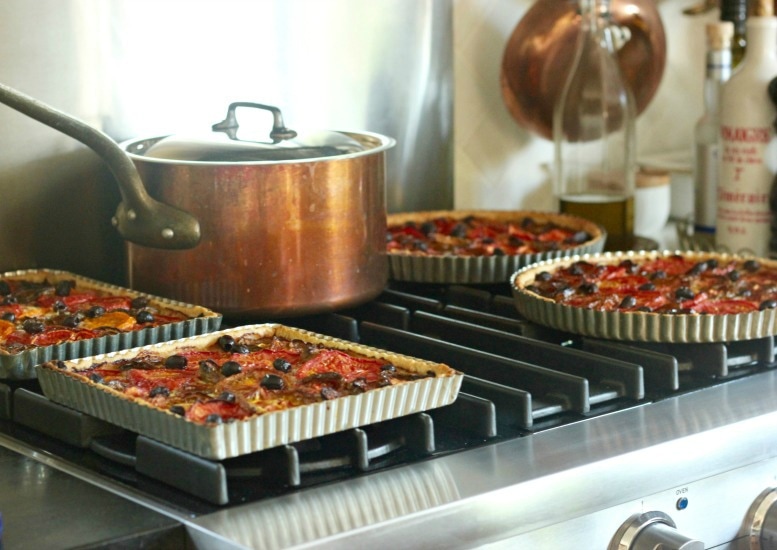 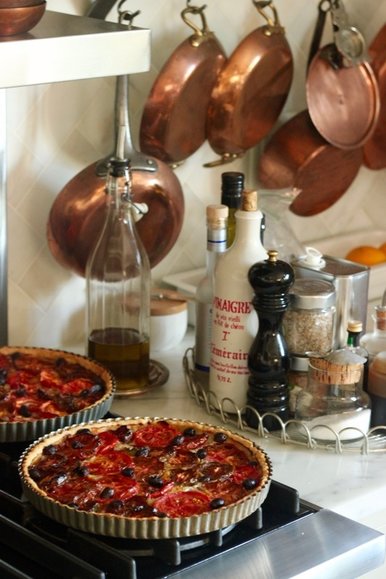 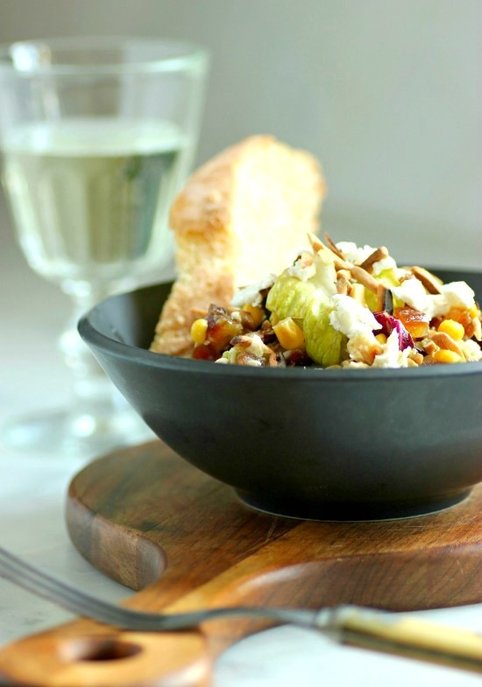 I have been making my version of this chicken, corn and avocado salad (recipe below) since eating it at a local restaurant this spring. 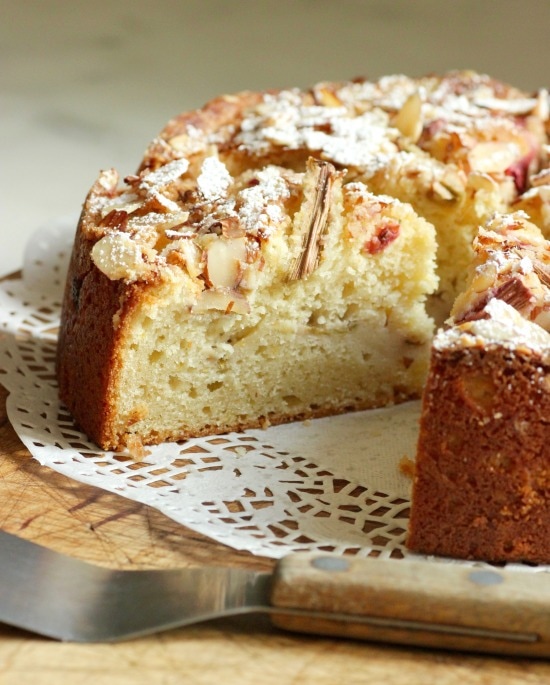 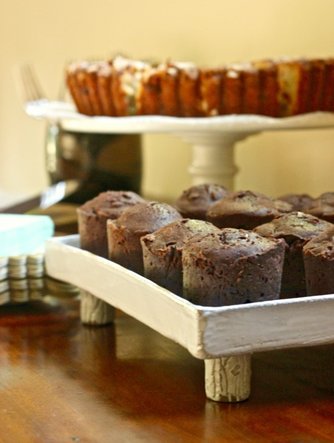 Dessert was 3 Rhubarb and Almond Cakes and Chocolate Bouchons (recipe HERE) Yes... I always prepare more than we need. Drinks consisted of Mimosas made with Prosecco, Rosé, and non-alcoholic Watermelon-Ginger Spritzers (recipe HERE), which were just the thing on a hot, sultry day. The baby girl is due in September... a sister for Midge the French Bulldog.  CHICKEN, CORN, and AVOCADO SALAD The ingredients of the salad below are approximate Serves 4 • 1 Rotisserie chicken, skin removed and meat from the bones cut into bite-size pieces • 16-ounce can organic corn, drained • a handful of Medjool dates, pitted and diced • 1-2 avocados, cut into 1/2-inch dice • 5-ounce bag of Italian greens (or combine romaine, butter lettuce, and radicchio) • 1/4 cup sliced or slivered almonds, toasted • goat cheese, as much as you like for tossing on top of salad • apple cider vinegar • extra-virgin olive oil • salt and freshly ground pepper 1. In a large bowl, gently combine the chicken, corn, dates, avocado and greens. 2. In a small bowl, whisk together equal amounts of apple cider vinegar and olive oil. Add salt and pepper to taste. Poor dressing over salad and gently toss. Add additional salt and pepper if needed. 3. Sprinkle almonds and goat cheese over the top of the salad and serve. RHUBARB and ALMOND CAKE adapted recipe from The Floating Kitchen 10 servings • 1 cup sugar • 1/2 cup unsalted butter, at room temperature • 2 large eggs • 1 cup plain Greek yogurt • 1 tablespoon grated orange zest • 3/4 teaspoon vanilla extract • 1/4 teaspoon almond extract • 1 1/2 cups unbleached all-purpose flour • 1/2 cup almond meal • 1 teaspoon baking powder • 1/2 teaspoon baking soda • 1/2 teaspoon ground cardamom • 1/4 teaspoon salt • 3/4 pound rhubarb • 1 tablespoon turbinado sugar • 1/3 cup sliced almonds • Confectioners' sugar for serving 1. Preheat oven to 350˚F. Line the bottom of a 9-inch springform pan with a round of parchment paper. Generously coat the parchment paper and the sides of the pan with non-stick cooking spray. Set aside. 2. In the bowl of a stand mixer and using the paddle attachment, beat 1 cup of the sugar and the butter together on medium speed until light and fluffy. Add the eggs, one at a time, mixing after each addition. Add the yogurt, orange zest and extracts and beat until just incorporated. 3. In a medium bowl, combine the flours, baking powder, baking soda, cardamom and salt. Add dry ingredients to the cake batter, adding in one-third at a time, mixing on low speed until none of the white streaks remain. Set aside. 4. Trim rhubarb of leaves and if the stalks are wide, slice them in half lengthwise. Cut the rhubarb stalks into pieces 1 1/2-inches in length. 5. Spread about half of the cake batter evenly over the bottom of the prepared springform pan. Layer about half of the rhubarb over the batter in a single layer, leaving a half-inch space uncovered around the edges of the pan. Spread the remaining cake batter over the rhubarb and arrange rhubarb pieces on top. You may not need all of the rhubarb. Sprinkle the sliced almonds and turbinado sugar over the cake. 6. Place the cake on the middle rack of the preheated oven. Bake for approximately 50-60 minutes, or until a toothpick inserted into the middle comes out clean. Remove cake from the oven and set it on a wire rack to cool. Once cooled, run a knife around the outer edge of the cake and release the sides of the springform pan. Cut into slices and dust with the Confectioners' sugar. • The cake can be stored at room temperature in an airtight container for up to 2 days. TAKE a LOOK: 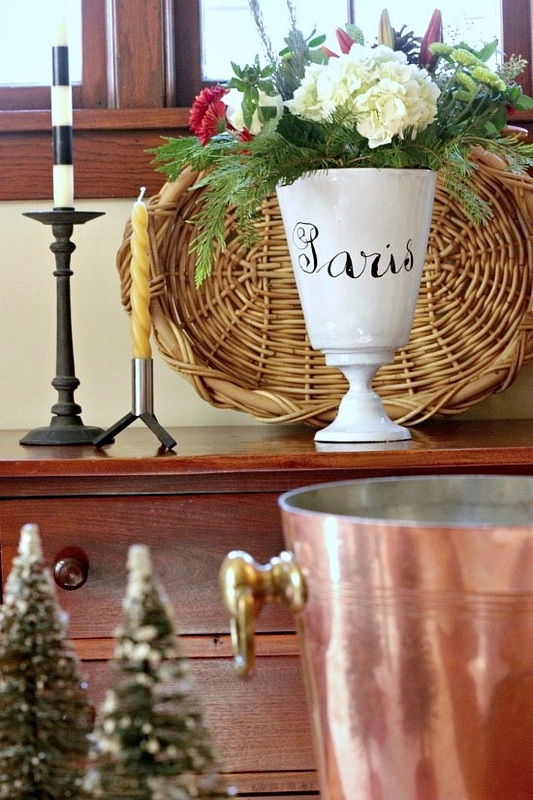 During the holiday season, our big celebration has always been on New Year's Day. That is when my husband and I host our annual brunch; an event that now spans 30 years. 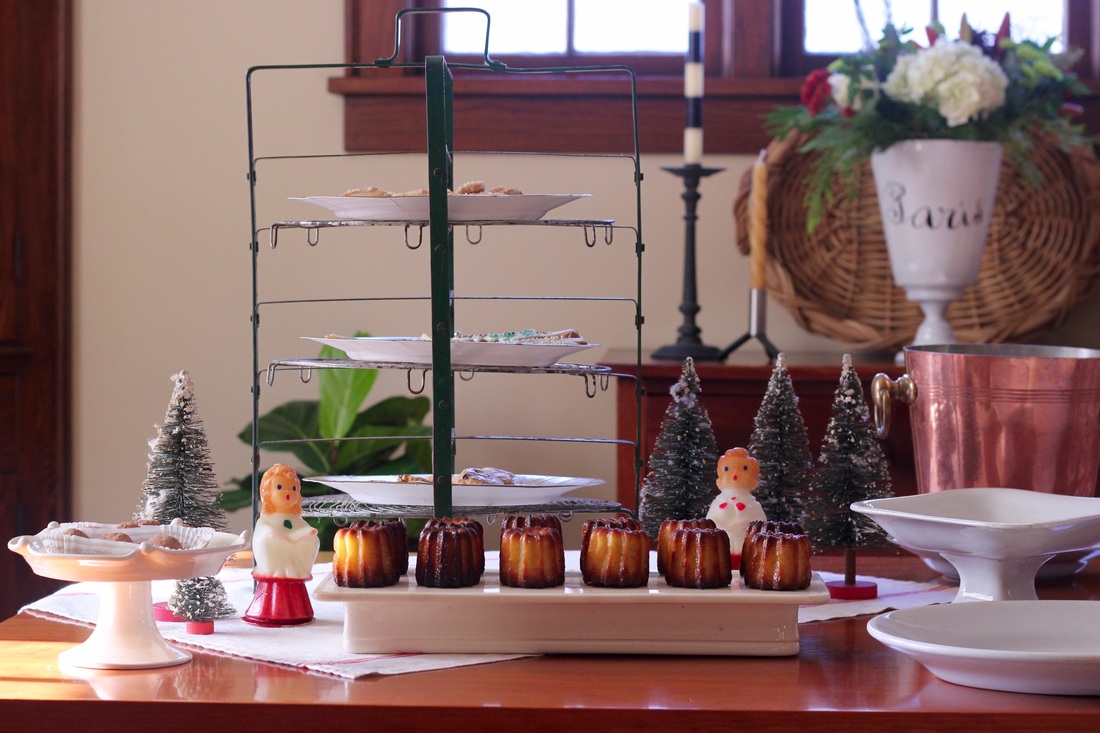 What I don't do very often, however, is plan an event right before Christmas. But a week ago, feeling like I had the holidays under control, I asked friends who are in our gourmet "supper club" if they would like to come over for an evening of appetizers and drinks. Amazingly, during this very busy time of the year, everyone was free! 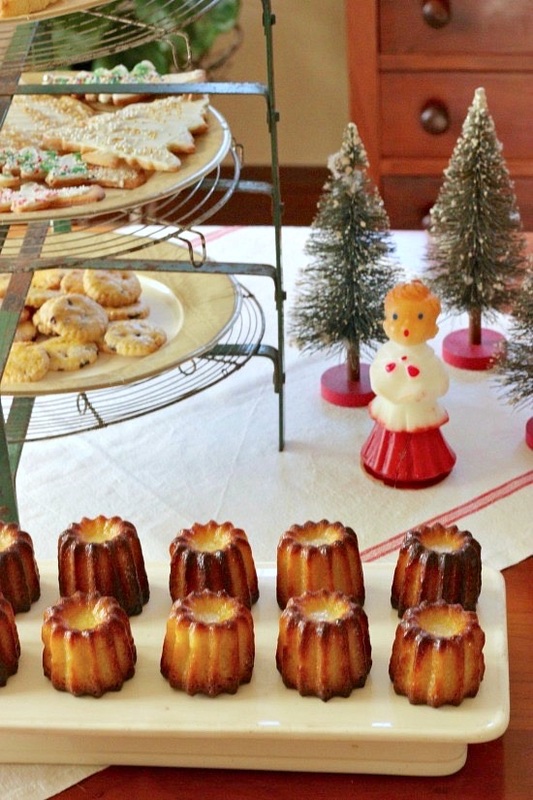 . I cooked and baked some of my favorites, and I have links for you below to all of the foods on my menu. 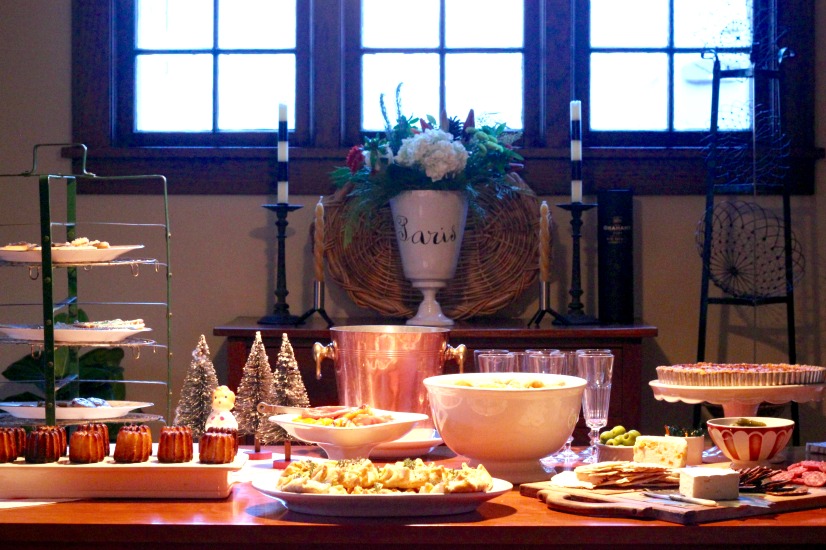 And the best part, for me anyway, was pulling out favorite serving pieces, stands, and vintage decorations... and sharing it all with family and friends.   • Tortellini Salad with Snow Peas • Zucchini Galettes with Fresh Ricotta and Lemon • Époisses, Ham and Apple Tart • Rolled Vanilla Christmas Tree Cookies • Vanilla Shortbread Cookies • Macademia Shortbread Biscotti • Sablés à l'Orange et Raisins • French Canelés • Chocolat Chaud ... assorted cheeses, olives, salami, crackers, roasted peppers and drinks were also served TAKE a LOOK: 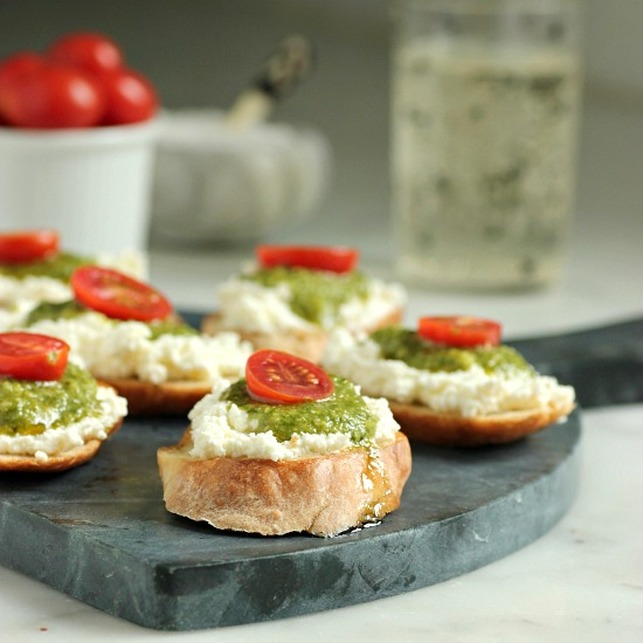 I never purchase pre-made pesto. I make my own, and only during the summer when I have basil growing in my garden. Back in the day, I would plant two packages of basil seeds, usually the end of May, when all chances of a frost had passed. That was it. But in recent years, in addition to the seeds, I have begun adding several good-sized plants; eliminating the wait for those cherished basil leaves. 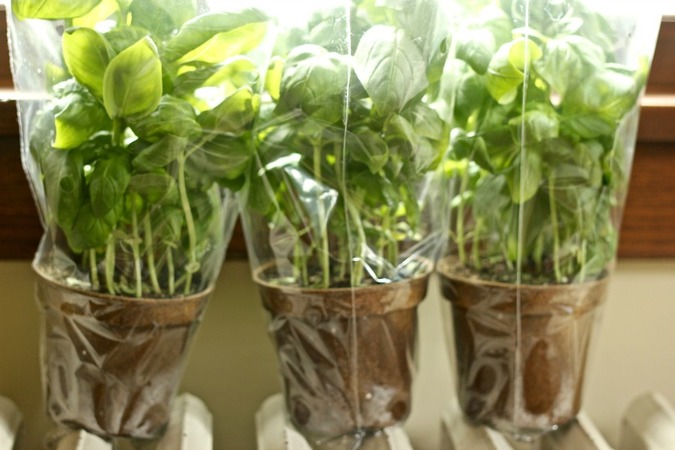 After a 92 degree day earlier this May, I never thought we'd be experiencing 30 degree temps again. But that just happened and my basil is still waiting for its spot in the garden. In the meantime, I purchased that first container of pesto. I had just made some fresh ricotta and baguettes, and along with the pesto, I had the perfect combo for appetizers that night.  • Baguette, cut into 1/2-inch, slightly-angled slices • Extra-virgin olive oil, for brushing • Fresh Ricotta, purchased or homemade • Basil pesto, purchased or homemade • Cherry or grape tomatoes, halved 1. Preheat oven to 325˚ F. 2. Brush both sides of the baguette slices with olive oil. Place on a parchment lined baking sheet and transfer to the middle rack of oven. Bake for approximately 10-15 minutes, flipping slices once until lightly toasted 3. Spread bread slices with fresh ricotta. Top with a spoonful of pesto and place a tomato half on top. TAKE a LOOK: 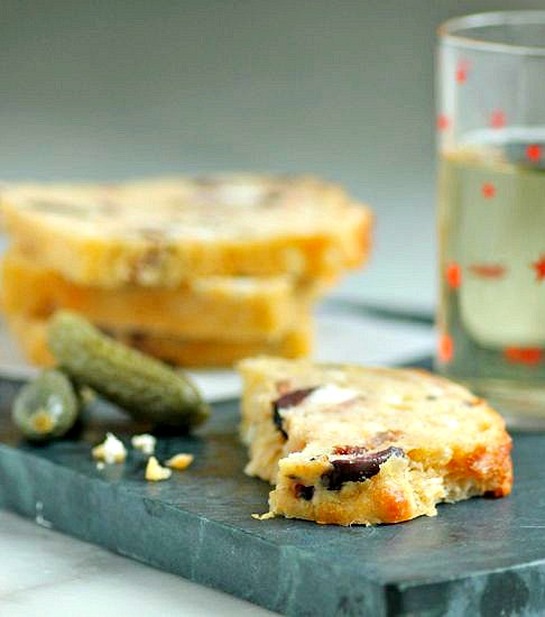 I suggest you make several loaves of this Goat Cheese, Bacon, and Olive Quick Bread, and keep in your freezer. That's what I'm doing. It is such a great savory bread/cake to have on hand! I like serving it in the late afternoon with a glass of chilled white wine. If storing in the freezer, defrost and reheat in oven before serving. This bread (which reminds me of a French weekend savory cake) will be a regular on the patio this summer! + Savory Goat Cheese, Bacon, and Olive Quick Bread Recipe by David Lebovitz | February 2016 Food & Wine • 6 slices of thick-cut bacon, cut crosswise into 1/2-inch strips • 1 1/2 cups all-purpose flour • 2 teaspoons baking powder • 1 to 2 teaspoons cayenne • 1/4 teaspoon kosher salt • 4 large eggs, at room temperature • 1/2 cup buttermilk • 1/4 cup extra-virgin olive oil • 2 teaspoons Dijon mustard • 6 ounces fresh goat cheese, crumbled • 1 1/3 cups freshly grated Parmigiano-Reggiano cheese • 1/2 cup pitted kalamata olives, halved lengthwise • 2 scallions, thinly sliced • 1 red serrano chile, seeded and minced • 2 teaspoons minced thyme leaves 1. Preheat oven to 350˚F. Coat a 9-inch loaf pan with cooking spray; line the bottom with waxed or parchment paper. In a skillet, cook the bacon over moderate heat until crispy, 8-10 minutes. Drain on paper towels. 2. In a bowl, whisk together the flour, baking powder, cayenne, and salt. In another bowl, whisk the eggs with the buttermilk, olive oil, and mustard. Stir the egg mixture into the dry ingredients until just combined. Fold in the goat cheese, Parmigiano-Reggiano, olives, bacon, scallions, chile and thyme. Scrape the batter into the prepared loaf pan and smooth the surface. 3. Bake the bread until golden on top and a toothpick inserted in the center comes out clean, 35 to 40 minutes. Let cool for 15 minutes, then run a knife around the loaf to loosen it from the pan. Invert onto a rack and cool completely. TAKE a LOOK: 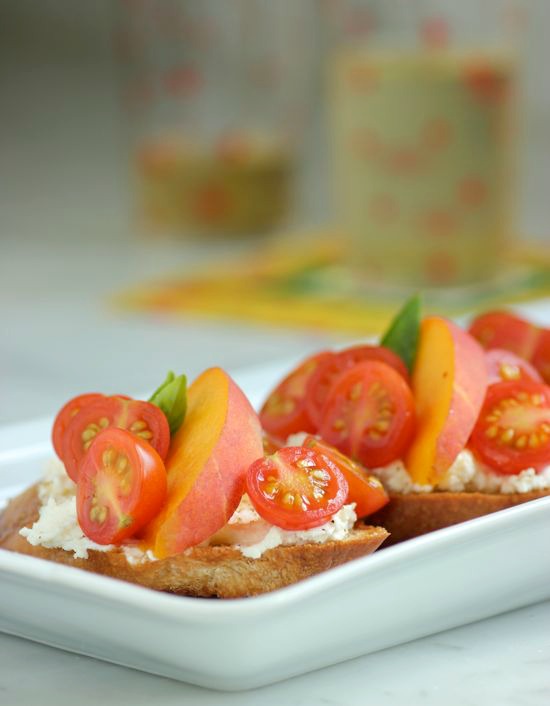 I've been trying hard to make the most of what is left of a Minnesota summer. And that means spending as much time as possible on the patio with family and friends, eating end- of-the-season fruits and vegetables. This week I've been serving up Olive Oil Toasts with Peaches, Cherry Tomatoes and Fresh Ricotta. A platter of these plus a glass of crisp white wine is all I need to be content. Just don't do as I did... When my husband asked me this morning what I was grilling, I realized I never turned off the burners on the gas grill last night. What was I thinking? Or maybe I should rephrase that... Why wasn't I thinking? 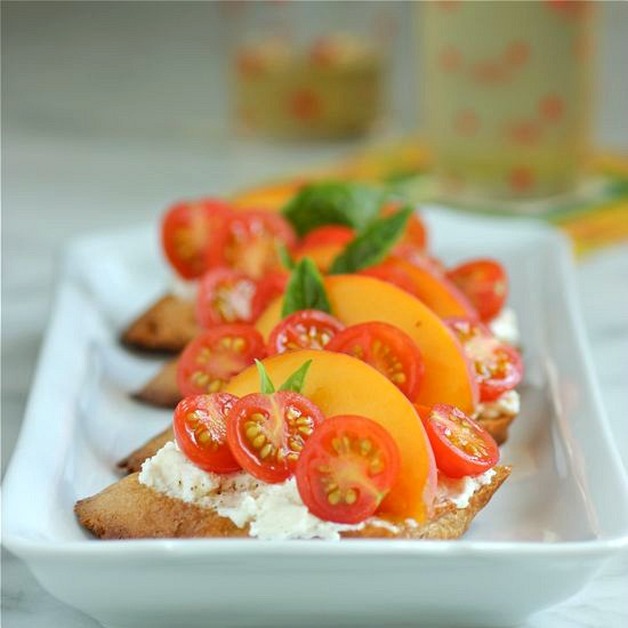  • Baguette slices, angular cut approximately 1/2-inches thick • Extra-virgin olive oil • Sea salt • Fresh ricotta • Freshly ground black pepper • Peaches, cut into thin wedges • Cherry tomatoes, preferably heirloom, halved • Fresh basil 1. Lightly brush both sides of the baguette slices with olive oil. Grill the slices over medium-low heat until golden. Remove and sprinkle sea salt over the grilled bread. 2. Spread the baguette slices generously with fresh ricotta, Sprinkle the ricotta lightly with freshly ground pepper. 3. Gently press peaches and cherry tomatoes onto the ricotta and garnish with basil. 4. Enjoy summer!! TAKE a LOOK: 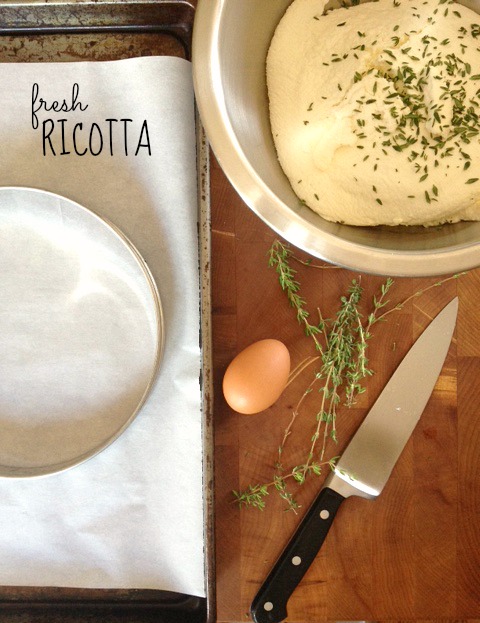 The recipe I use for making my ricotta (get it HERE) gives me about one finished pound of fresh ricotta. You will need slightly more than that for this recipe, so if making your own, make two batches -- it's easy enough! • an adapted recipe from Marie Claire Seasonal Kitchen by Michele Cranston • 1 pound, 5 ounces (2 1/3 cups) fresh ricotta cheese • 1 teaspoon fresh thyme leaves • 1/4 cup Nicoise olives (or possibly more!), pitted and roughly chopped • 2 tablespoons grated Parmesan cheese • 1 egg • 2 ripe tomatoes, or comparable amount of cherry tomatoes • 1/2 red onion, finely diced • 6 large basil leaves, thin julienne • small handful of flat-leaf parsley, roughly chopped • 1 teaspoon balsamic vinegar • 2 tablespoons extra-virgin olive oil • bruschetta, crostini, or purchased brioche toasts, for serving TAKE a LOOK: 1. PREHEAT OVEN to 350˚F. Line a sheet pan with parchment paper. 2. In a mixing bowl, combine the ricotta, thyme, olives, Parmesan, and egg. Place an 8-inch springform pan on the sheet pan (I used an 8-inch baking ring) and spoon the mixture into the pan or ring, Smooth out the top. 3. Bake the ricotta for 35 to 40 minutes, or until firm and lightly golden. Remove from oven and allow to cool to room temperature. 4. MAKE the SALSA... Slice the tomatoes in half and scoop out the seeds. Finely chop the tomatoes and mix in a bowl with the onion, basil, and parsley. Add the balsamic and olive oil. Stir together until combined. 5. Carefully unmold the ricotta and (carefully) transfer to a serving plate. Spoon the salsa over the top. Serve with toasts. 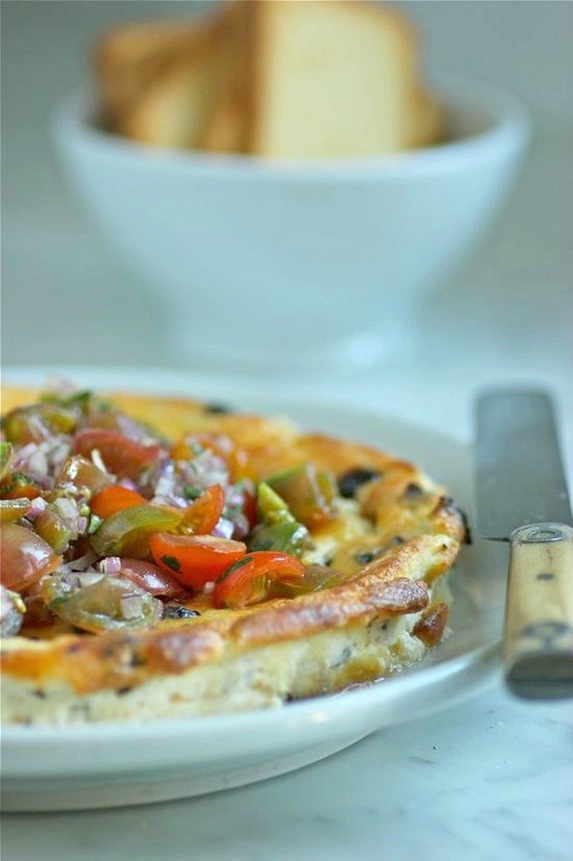 I hope you're not tiring of my fresh ricotta postings, because I'm sure not. I've been having a great time in my kitchen making ricotta about every 4 or 5 days. I veered at the last minute from mixing some fresh ricotta with a bit of honey and orange zest and topping with blueberries, to baking this Fresh Ricotta served with a Tomato Herb Salsa instead. Now that my garden tomatoes are finally ripening on their vines, I'm incorporating them into every meal! This baked ricotta makes a really great appetizer for summer al fresco entertaining. I ran out of time to grill my own crostini, so I used purchased brioche toasts that were topped with the ricotta and salsa. I served them alongside a pasta filled with roasted eggplant, sweet onions, and grilled chicken and finished the pasta off on a suggestion from Stacey Snacks. I tossed the pasta with butter, a splash of really good balsamic, and a few tablespoons of capers. Yes Stacy, you were right -- very delicious! The ricotta-tomato salsa toasts and eggplant pasta were a really nice combination. Leftovers today -- YAY! 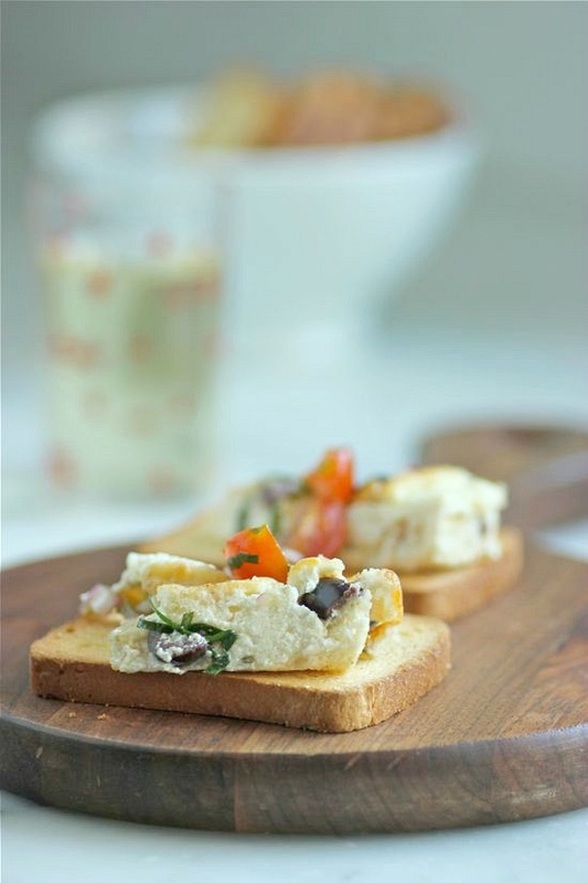 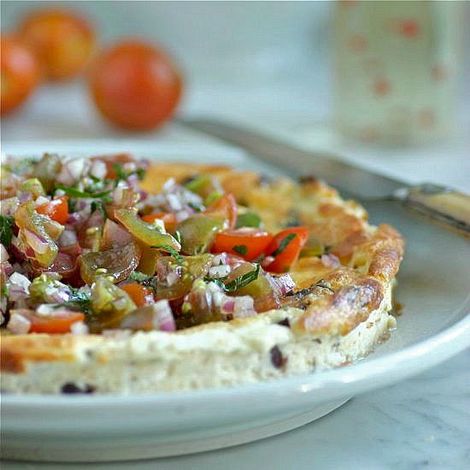
|


Categories
All
|