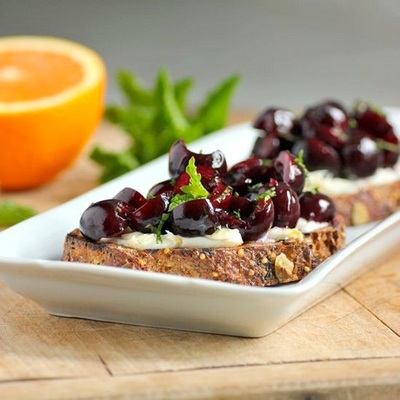
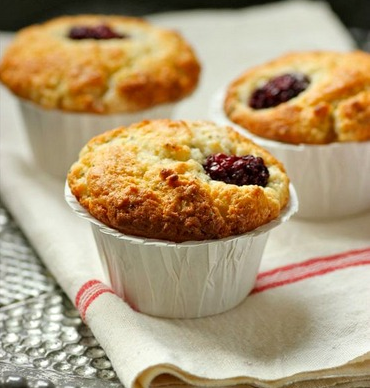
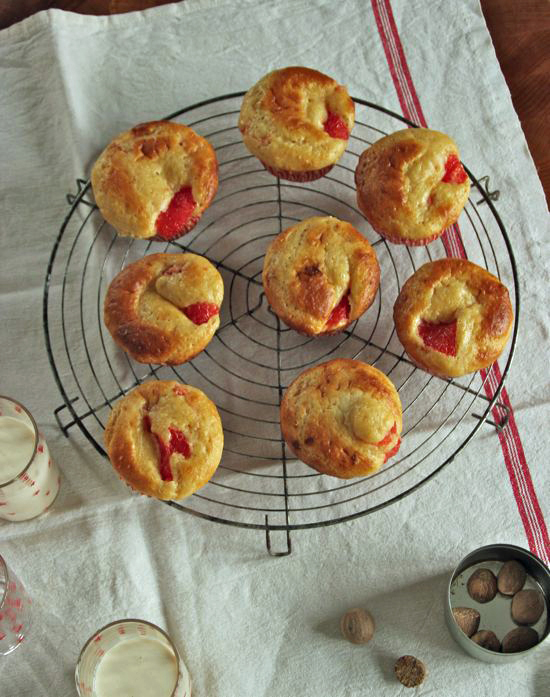
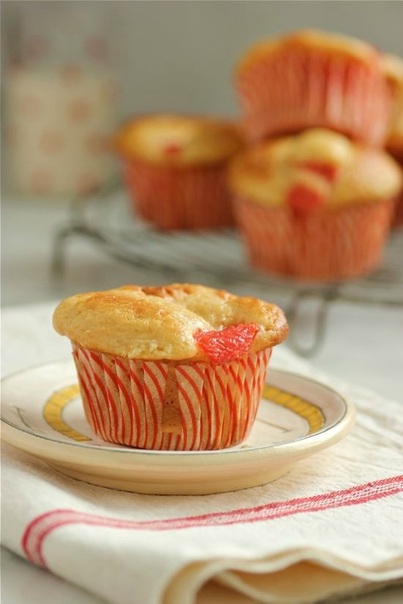
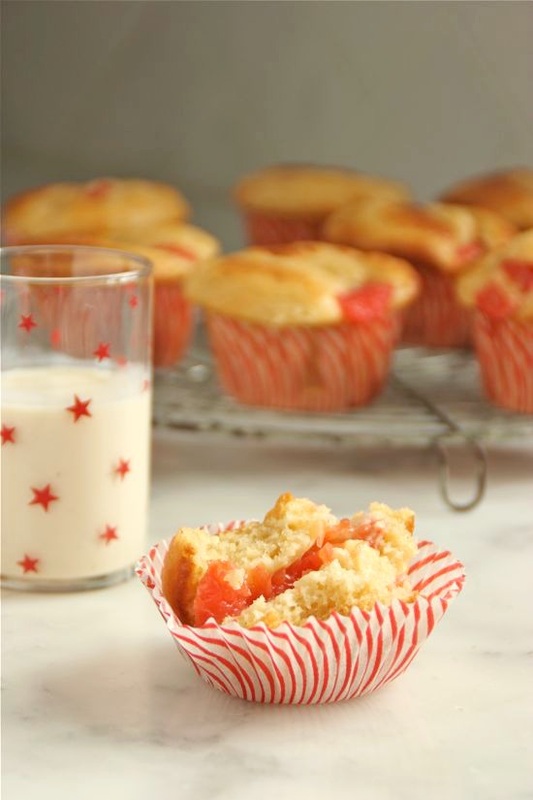
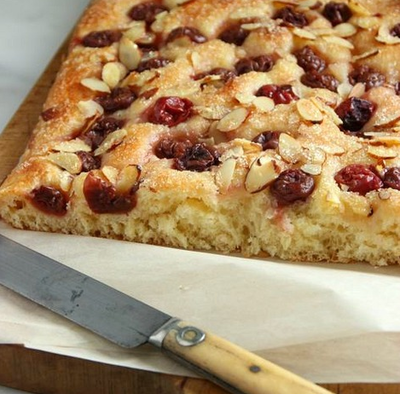
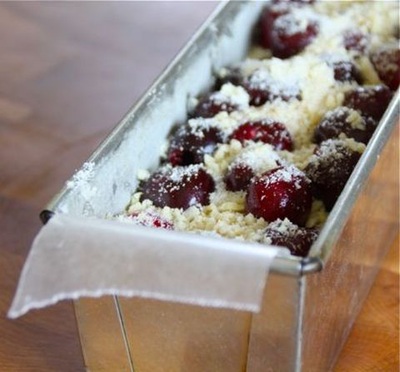
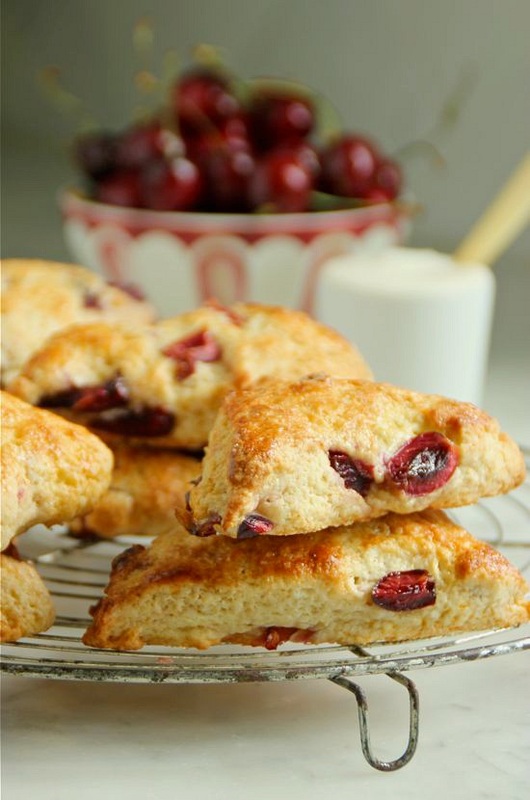
 Lately I've been passing up some beautiful berries and stone fruit at the market. You see, I am still chopping away at the endless stalks of rhubarb in my garden... but it's finally time for me to move on. I may bake several more rhubarb tarts before summer's end, but the majority of my rhubarb will now head to the freezer. I couldn't resist these cherries yesterday and since there wasn't even a slice of bread in my kitchen this morning, I quickly got to work mixing up some fresh cherry scones for breakfast. 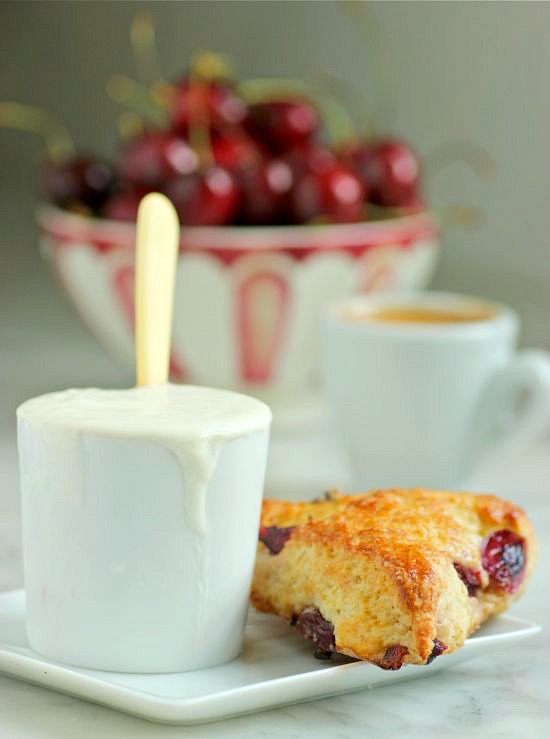 Serving the scones with crème fraîche is optional, but highly recommended! Use either purchased or homemade (recipe HERE). 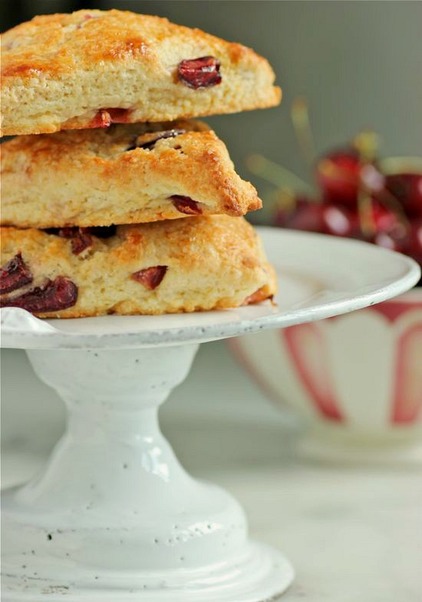 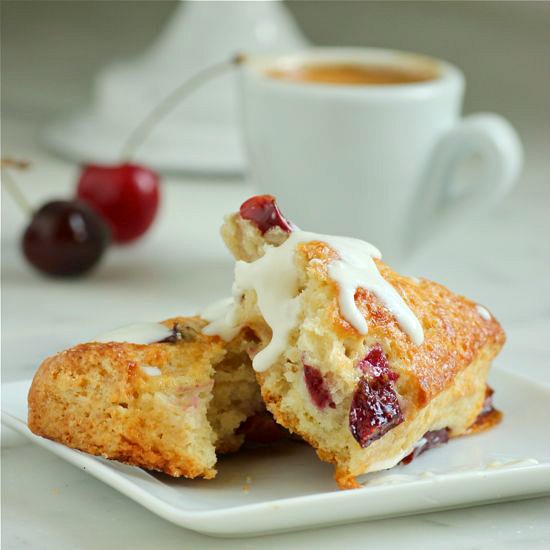  • 1 large egg • 1 teaspoon vanilla extract • 1/8 teaspoon almond extract • 1/2 cup heavy cream • 2 cups unbleached, all-purpose flour • 1/3 cup granulated sugar • 2 teaspoons baking powder • 1/8 teaspoon kosher salt • 1/3 cup cold butter, cubed • 1 cup fresh bing cherries, halved • 1 egg, beaten • Turbinado (raw) sugar, for sprinkling • Crème Fraîche, for serving 1. In a large mixing bowl briefly whisk the large egg. Add the vanilla and almond extracts, along with the heavy cream; whisk to combine. Set bowl aside. 2. In the bowl of a food processor, combine the flour, granulated sugar, baking powder, and salt; pulse several times to combine. Add the cubed butter and pulse until the butter is the size of small peas. 3. Add the flour mixture along with the halved, fresh cherries to the liquid ingredients in the bowl. Using a fork, gently stir until combined. Lightly dust a work surface with flour and place the dough on top. With floured hands, knead the dough 3 or 4 times, then flatten into a 3/4-inch-thick circle. Using a sharp knife, cut dough into 8 wedges. Transfer wedges to a parchment-lined baking sheet, leaving generous space between the scones since they will spread during baking. Brush scones with beaten egg and sprinkle generously with the Turbinado sugar. 4. Place the baking sheet in refrigerator to chill while oven is heating. PREHEAT OVEN to 375˚F. When the oven is preheated, transfer the baking sheet to middle rack of oven. Bake scones for approximately 16 to 20 minutes, or until golden. Remove from oven and cool scones on a rack. Serve with crème fraîche if desired. Scones are always best eaten the day they are baked. TAKE a LOOK:
1 Comment
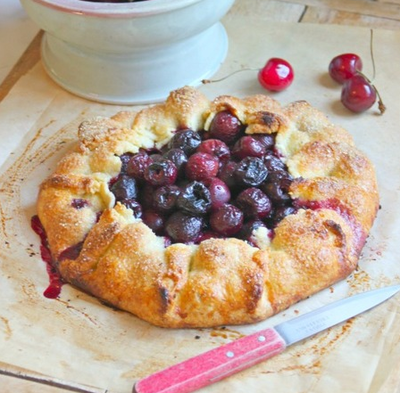
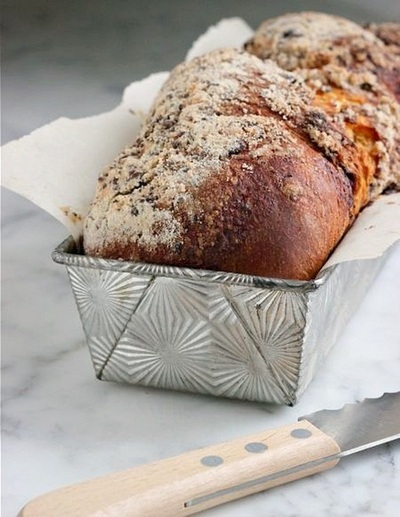
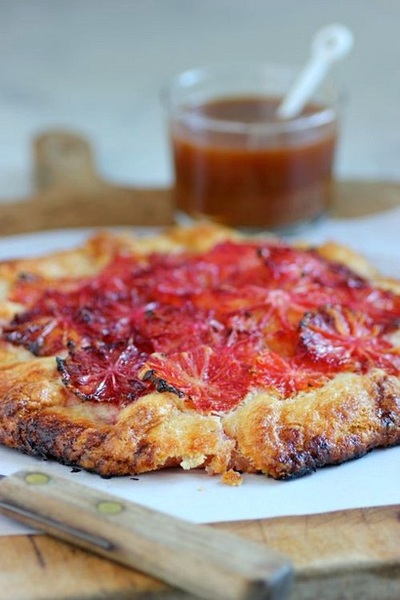
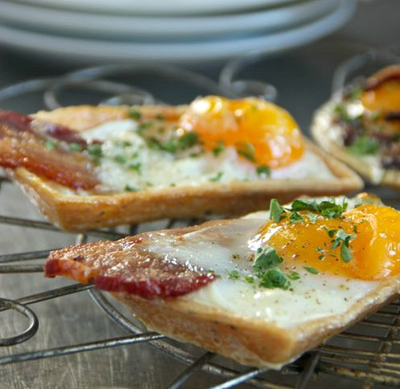
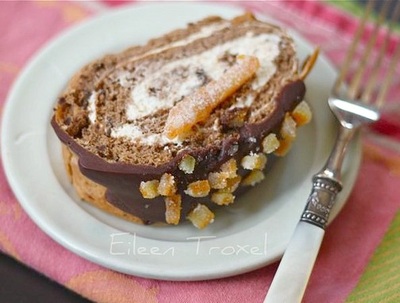
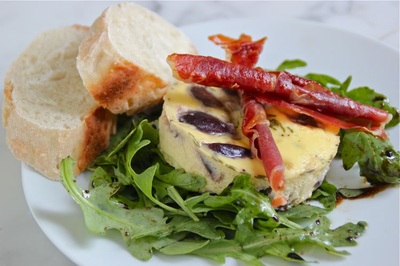
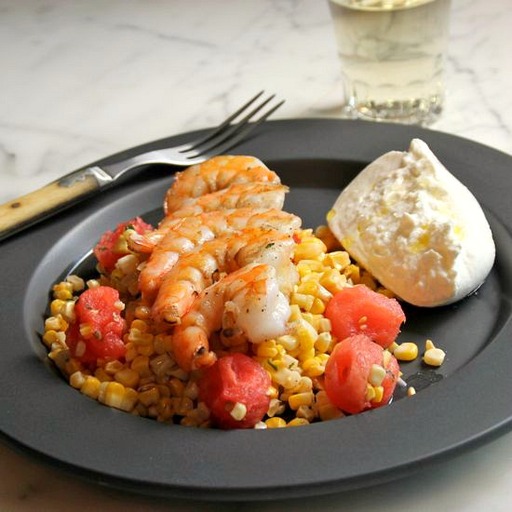
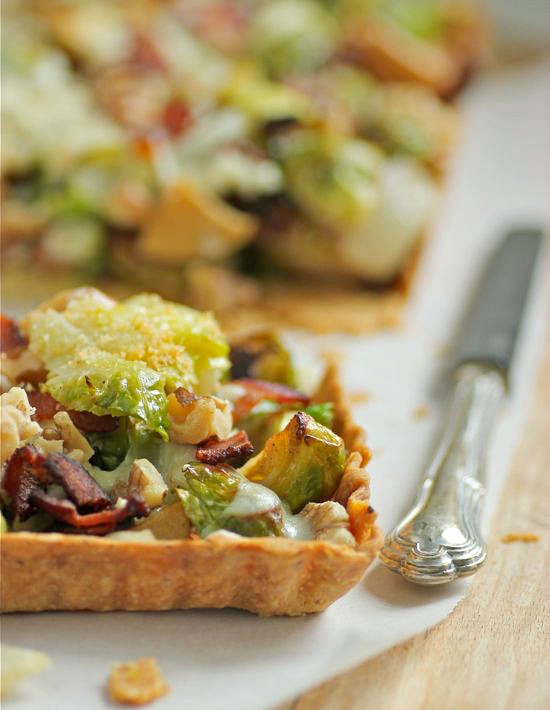 Recently I was contacted by a company asking me to promote their lifestyle by writing a post on my philosophy for healthy living in Minnesota during the winter months... and to create a recipe to accompany my musings on wellness. Honestly, I don't know what it was about Passions to Pastry that made me seem like a plausible candidate for this. I dislike being outdoors when it's cold and much of what comes out of my kitchen includes fat, usually in the form of butter.  What I first considered a very odd request, eventually got me thinking about my general health. Do I exercise enough, especially in the winter? Even though I'm in my kitchen cooking and baking for hours every day, do I really eat well? And probably my biggest concern... how is my mental health? Something I believe is connected to exercise, good nutrition, and a positive attitude (which is sometimes lacking in my winter demeanor). While I was thinking about all of this today, my husband had a health assessment at the health club where we belong. He was told that he must be eating really good fats, because numbers and percentages on his tests were excellent. We eat butter. I bake with butter and I cook mostly with olive oil. We eat eggs. LOTS of eggs. I only purchase whole milk and whole milk products, such as yogurt, sour cream and cottage cheese. I do not believe in low-fat or non-fat. Seventeen years ago I eliminated hydrogenated oils from my kitchen and our lives. That changed everything. It's a no brainer as far as I'm concerned. And I must ask... why do doctors' offices and hospitals serving coffee to their patients, always offer a powdered creamer that's full of hydrogenated oils? It makes absolutely no sense whatsoever. 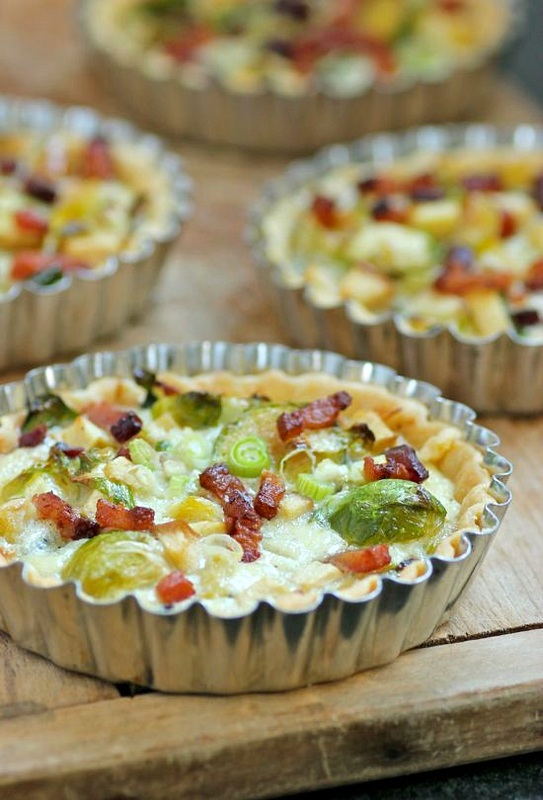 Summers are easy for me. I spend much of my time in my vegetable garden, bike 15 to 20 miles several times a week along the Mississippi river, and entertain often, serving alfresco meals on the patio made with organic produce from my garden. That is when I am the happiest... and healthiest. Admittedly, winter becomes more difficult. I tend to hibernate, filling my time with indoor projects, baking of bread, and thoughts plus plans for the upcoming gardening season... and travel; something I prefer doing during the summer months instead of winter. It's a balance and a trade-off I cherish. I can't imagine living anywhere else.  I often make savory tarts during this time; combining a flaky pastry with healthy fruits and vegetables in addition to rich cheeses, eggs, and cream. (Make this a vegetarian version by removing the bacon and adding chopped walnuts.) Meals like this help get me through a long, northern winter! 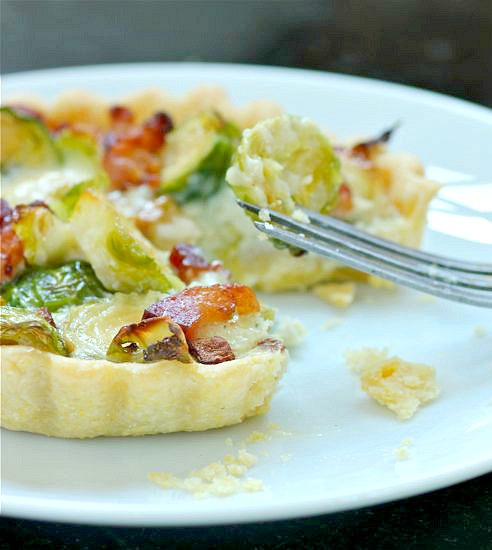  • recipe makes six 4-inch tarts or one 10-inch tart CRUST • 1 1/4 cup unbleached all-purpose flour • 1/4 cup cornmeal • 1/2 teaspoon salt • 8 tablespoons cold unsalted butter, cut into 1/2-inch cubes • 3 to 4 tablespoons ice water FILLING • 4 strips apple-smoked bacon • 10 ounces brussels sprouts • 1 small apple, diced (I used Fuji) • Olive oil • 3/4 cup blue cheese, diced • 1/2 cup Half & Half or whole milk • 2 large eggs • Salt and freshly-ground pepper • 2 green onions, white and pale green part, thinly sliced 1. To make the crust... Combine the flour, cornmeal and salt in the bowl of a food processor. Pulse a couple of times. Add the butter and pulse until the size of small peas. Add the ice water, 1 tablespoon at a time, while pulsing until the dough just starts to come together. You will use 3 to 4 tablespoons of water. 2. Transfer the tart dough to a large piece of plastic. Press into a disk, wrap in the plastic; place in the refrigerator for 1 to 2 hours. 3. In the meantime, make the filling... Slice the bacon into 1/4-inch pieces. Place bacon in a skillet over medium-low heat; cook until brown but not crisp. Drain and set bacon aside. 4. Preheat oven to 375˚F. Trim and slice brussels sprouts. Cut the apple into small dice. Combine on a baking sheet with 1-inch sides; drizzle with olive oil and sprinkle with salt and pepper. Bake in the center of the oven, stirring occasionally, until the brussels sprouts just start to brown, about 20 minutes. Remove pan and increase oven temperature to 400˚F. 5. Remove the tart dough from the refrigerator and transfer to a work surface. Place the disk on a sheet of lightly-floured wax paper or parchment. Dust the top of the disk lightly with flour and cover with a sheet of plastic wrap -- If making individual tarts, divide the dough into 6 equal pieces before rolling. Roll the dough slightly larger than the tart tin(s) and gently press into the pans. Do not stretch the dough. Trim the top edge and place in freezer for 5 minutes. Remove and line pan with a piece of aluminum foil. Fill with dried beans or rice, transfer to the preheated oven, and bake for 15 minutes. Remove the foil and beans and return the tart pan(s) to oven. Continue to bake until crust is golden brown. Remove and reduce oven temperature to 375˚F. 6. Scatter the blue cheese evenly onto the tart crust (or divide equally between the individual tarts). In a medium bowl combine the cream or milk with the eggs and salt and pepper to taste. Whisk by hand just briefly until smooth. Add the sliced green onions. 7. Fill the tart shell(s) with the brussels sprouts-apple mixture. Sprinkle with the reserved bacon and slowly pour the egg mixture over the filling. 8. Bake in the center of the oven for approximately 20 minutes, or until the custard filling is set. Great for a light dinner with a salad or as part of a brunch. TAKE a LOOK: 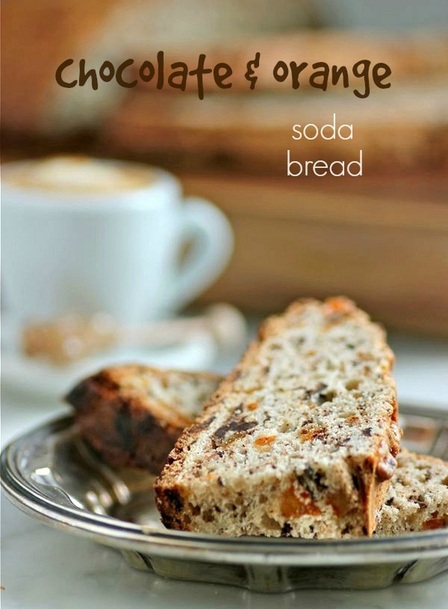 This Soda Bread with Dark Chocolate and Candied Orange Peel is the perfect mid-morning snack with a cup of tea or coffee. I've been nibbling on slices along with an espresso con panna... Really good! 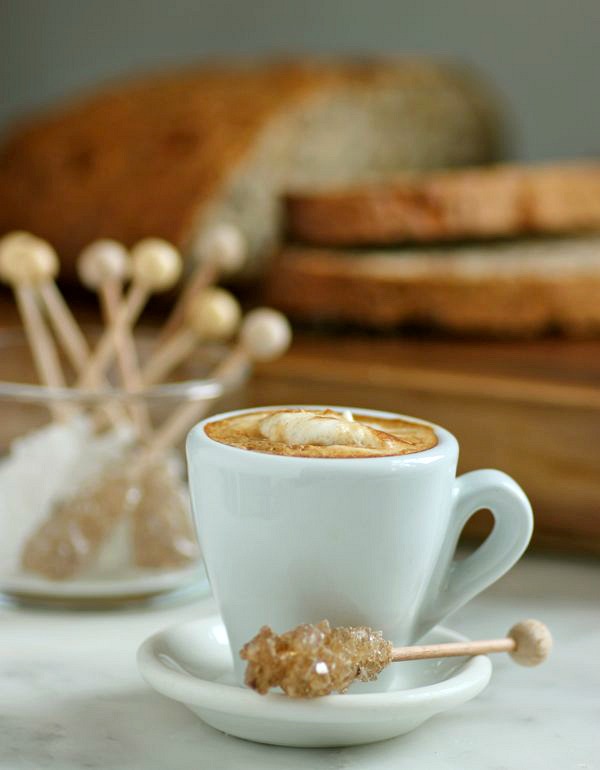 NOTE: There is one suggestion I will make. The recipe calls for stirring 1 1/4 cups of buttermilk along with an egg, into the flour mixture. My dough was extremely wet. Wet enough to add a good amount of flour to the dough during the short knead. I will suggest mixing the egg with 1 cup buttermilk and incorporating that first. If your dough seems dry, add the remaining 1/4 cup. My bread was still delicious, but my mound of dough spread out during the baking a little more than I had desired. 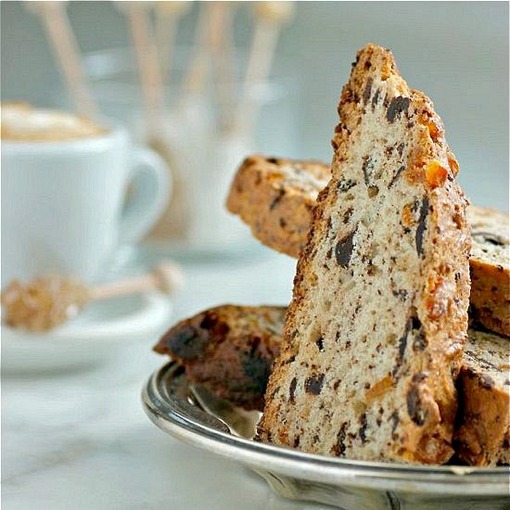  Soda Bread with Dark Chocolate and Candied Orange Peel adapted recipe, BON APPETIT | APRIL 2005 • 3 cups unbleached, all-purpose flour • 1/2 cup plus 1 tablespoon sugar (I roll my candied orange peels in sugar, so I deducted 1 tablespoon from this recipe. Add an additional 1 tablespoon sugar if your orange peels are not coated in sugar) • 2 teaspoons salt • 2 teaspoons baking powder • 1/2 teaspoon baking soda • 6 tablespoons chilled, unsalted butter, cut into 1/2-inch cubes • 6 ounces bittersweet chocolate, cut into 1/3-inch pieces • 6 ounces candied orange peel, diced • 1 1/4 cups buttermilk, divided (see NOTE above) • 1 large egg 1. PREHEAT OVEN to 350˚F. 2. Line a rimmed baking sheet with parchment paper and butter the paper. In a large mixing bowl, whisk the flour, sugar, salt, baking powder, and baking soda. Add the butter. Using your fingertips, rub the butter into the dry ingredients until the mixture resembles coarse meal. Stir in the chocolate and orange peel. In a medium bowl, whisk 1 cup of the buttermilk with the egg to blend. Add this to the dry ingredients and stir just until incorporated. If the dough seems dry, add up to 1/4 cup additional buttermilk -- see my NOTE above. 3. Turn the dough out onto a floured work surface and knead gently just until the dough comes together, about 5 times. 4. Form the dough into a 6 1/2-inch round, about 2 1/2-inches high. Transfer to the baking sheet. 5. Bake the bread on the middle rack of the preheated oven until browned and firm when pressed, about 1 hour and 10 minutes. A toothpick inserted into the center should come out clean. 6. Transfer bread to a rack to cool completely, at least 3 hours. Store bread, wrapped in foil, at room temperature. Bread is best eaten within 2 days. TAKE a LOOK:  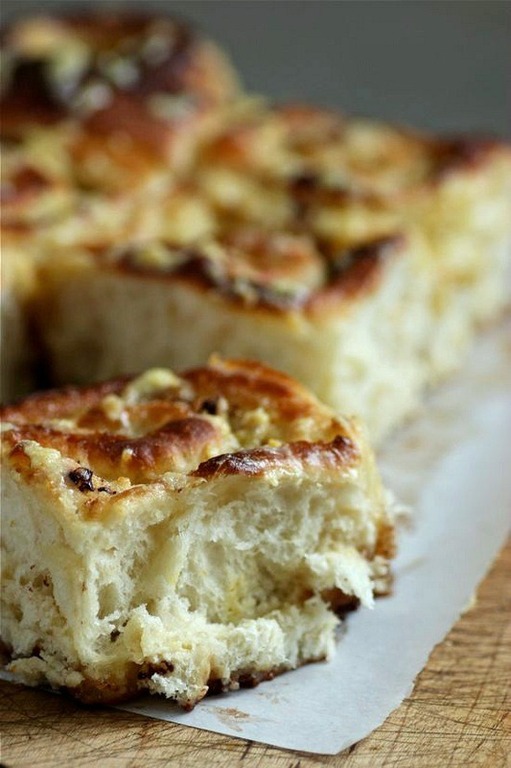 I baked Orange-Chocolate Rolls yesterday morning. Several of the rolls were sweet breakfast treats for my family; the others were delivered to a friend who just returned home from the hospital after heart surgery.  Mix up the yeast dough, fill, and shape the day before you plan to serve the rolls; refrigerate overnight and bake the following morning. Your house will smell divine... I used recently-made candied orange rind in the filling for my rolls, along with bittersweet chocolate. If you do not feel like taking the time to make candied orange rind, substitute 5 tablespoons orange zest for the 4 tablespoons citrus rind. Orange and Chocolate... possibly my favorite flavor combination. 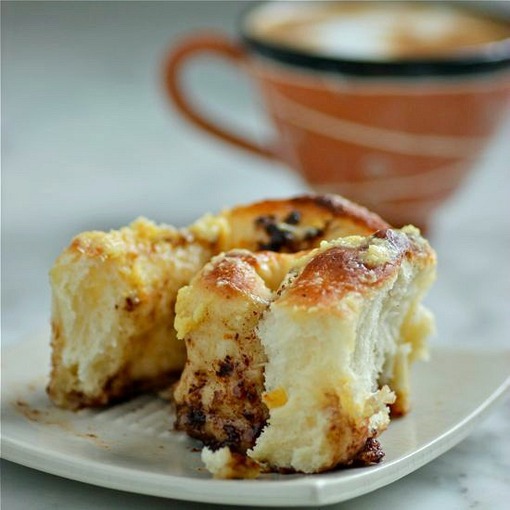  • an adapted recipe from Saveur, issue #144 • 1 1/4 cups milk, lukewarm • 1 (1/4-ounce) package active dry yeast • 1/3 cup sugar • 2 tablespoons unsalted butter, melted, plus 14 tablespoons, softened • 1 1/2 teaspoon kosher salt • 1 large egg, lightly beaten • 4 cups unbleached, all-purpose flour • 1/2 cup packed brown sugar • 2 tablespoons orange zest • 3 cups confectioners' sugar, plus additional confectioners sugar for icing • 1 teaspoon orange juice, plus additional orange juice for icing • 1 teaspoon vanilla extract • 4 tablespoons candied orange rind, finely diced • 6 tablespoons bittersweet chocolate, chopped 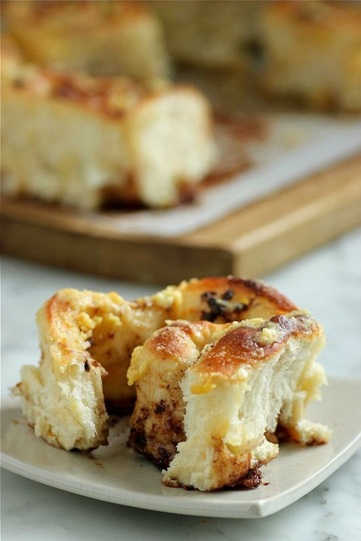 1. Combine the milk and yeast in a small bowl, along with a pinch of the 1/3 cup sugar. Proof the yeast for about 10 minutes, or until foamy. Pour the yeast mixture into the bowl of a standing mixer. Stir in the remaining sugar, 2 tablespoons melted butter, 1 teaspoon salt, and the egg; add the flour and using a dough hook, mix on low speed until dough forms. Increase speed to medium-high and beat until smooth, about 8 minutes. Transfer the dough to a large, lightly-buttered bowl and cover with plastic wrap. Place the dough in a warm spot until doubled in size, about 1 1/2 hours. 2. Meanwhile, to make the filling: beat the 14 tablespoons of softened butter, brown sugar, and 2 tablespoons orange zest in a bowl on high speed of mixer until smooth. Add remaining salt, confectioners' sugar, 1 teaspoon orange juice and vanilla; beat until smooth. Transfer 1/3 cup of filling to a small bowl and reserve. 3. Transfer dough to a lightly-floured work surface. Using a rolling pin, roll dough into an 18-inch-by-10-inch rectangle. Spread the filling evenly over the dough. Sprinkle the candied orange rind and the chopped chocolate over the top of the filling. Lifting up the edge of the long side of dough, roll it into a log. Cut the log into 12 equal rounds. Transfer rounds, cut side up, to a buttered 9-inch-by-13-inch baking dish; cover with plastic wrap and refrigerate overnight. 4. Preheat oven to 375˚F. Uncover rolls and bake on middle rack of oven until golden brown, about 25 minutes. Remove from oven and let cool before drizzling the icing. 5. To make the icing: Take the reserved filling; thin with orange juice and whisk in enough confectioners' sugar to make an icing that can be drizzled over the baked rolls. TAKE a LOOK: 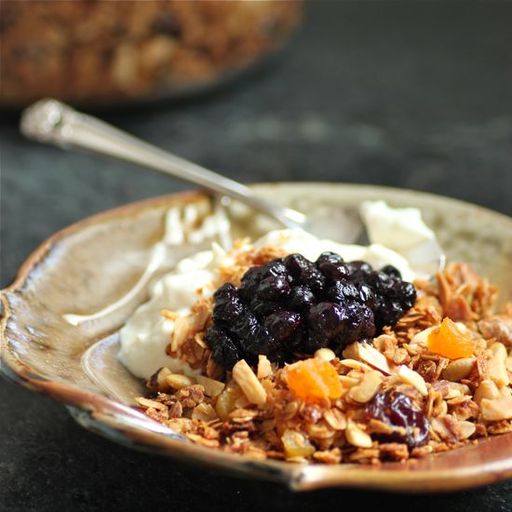
Life for me slows down in January. The holidays are over. The Christmas tree has been taken down. Preparing for our New Year's Day brunch is history. I finally have the time to sit and peruse cookbooks and the stacks of recipes I've pulled throughout the year. It's a great time to recharge. I also feel like my eating takes a radical change of direction in January. I've eradicated all cookies from the house! My thoughts have returned to healthy foods with vegetables overtaking my counters, refrigerator, and menus. And with bright, white light, reflecting off the snow and pouring in through the windows of my house, I have some of the best conditions of the year for photographing my work in the kitchen. Days full of experimentation await! This morning for breakfast I'm eating Greek yogurt with honey and fruit-filled granola. + Nutty Granola with Dried Cherries and Apricots |


Categories
All
|