Living Tastefully
  • Home
  • PAINTINGS
  • About
  • Passions-to-Pastry Blog
  • Contact
  • Recipes

A New Page on LivingTastefully

7/27/2019

4 Comments

 
Picture

     In addition to my favorite recipes on Passions to Pastry, I have a new page devoted to my watercolor paintings of dogs.  Check it out!


4 Comments

New Orleans Slideshow

4/9/2019

0 Comments


     I have heard from several people who were wondering where the photos of New Orleans are on the April 8, 2019 post, "About a Birthday...".  If you receive my posts by email, you need to actually go into the website to see the slideshow.  It will not come up within the email.  Sorry about that ;-)


0 Comments

About a Birthday...

4/8/2019

3 Comments

 
Picture

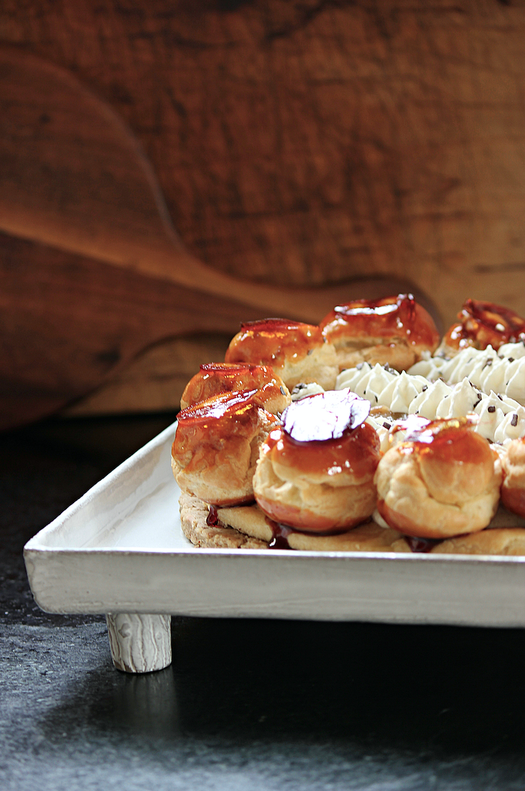
     Today is my daughter Claire's 26th birthday and since Mondays are busy for everyone, our family celebrated this milestone yesterday.  Claire is a 6th grade stem-science teacher, and one week before her spring break began she said to me, "Let's go somewhere together!"  New Orleans is where we ended up... my first time there.  After having some great meals, and a roasted banana Gâteau Saint Honoré one night for dessert, this is what my daughter requested for her birthday cake.  This is my rendition of the Banana Gâteau Saint Honoré.
     I've been debating whether or not to print out the recipe.  I can't say it's a difficult dessert to make, but there were endless steps that I customized to make it exactly what I wanted the end result to be... pecan pâte brisée, choux pastry, roasted bananas, banana pastry cream, chiboust, caramel, whipped cream.  Many components.  Email me if interested??
     Below are several of my favorite photos from our trip to New Orleans.  Low 80's and humidity felt really good after experiencing the winter from hell in Minnesota this year.
 

Picture
          The birthday girl...


3 Comments

Happy Valentine's Day

2/14/2019

5 Comments

 
Picture
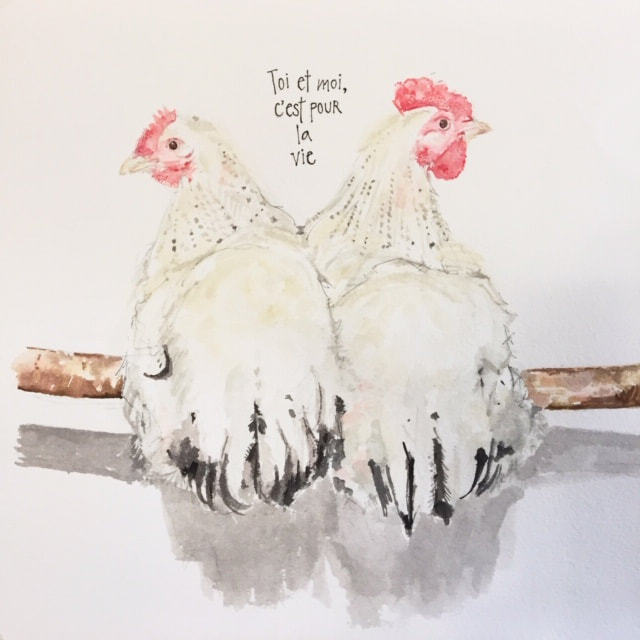
•my latest watercolor painting•

"It's you and me forever"


5 Comments

Raspberry Éclairs

2/11/2019

7 Comments

 
Picture
  
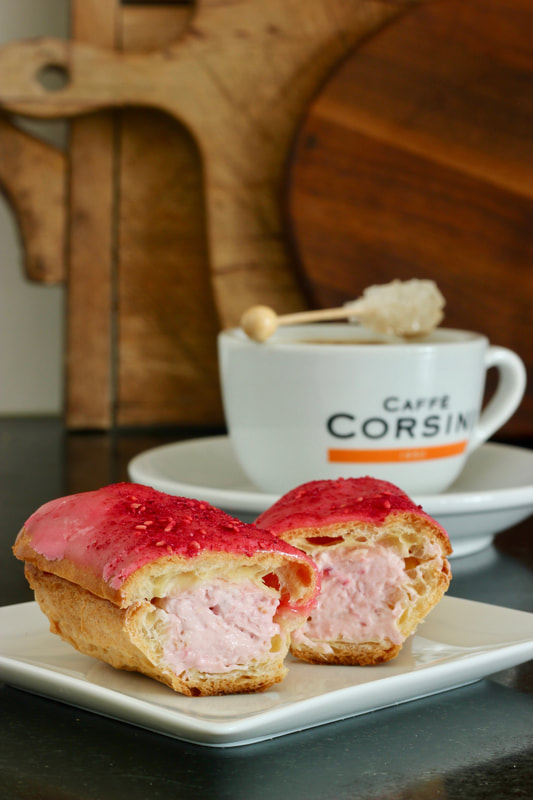
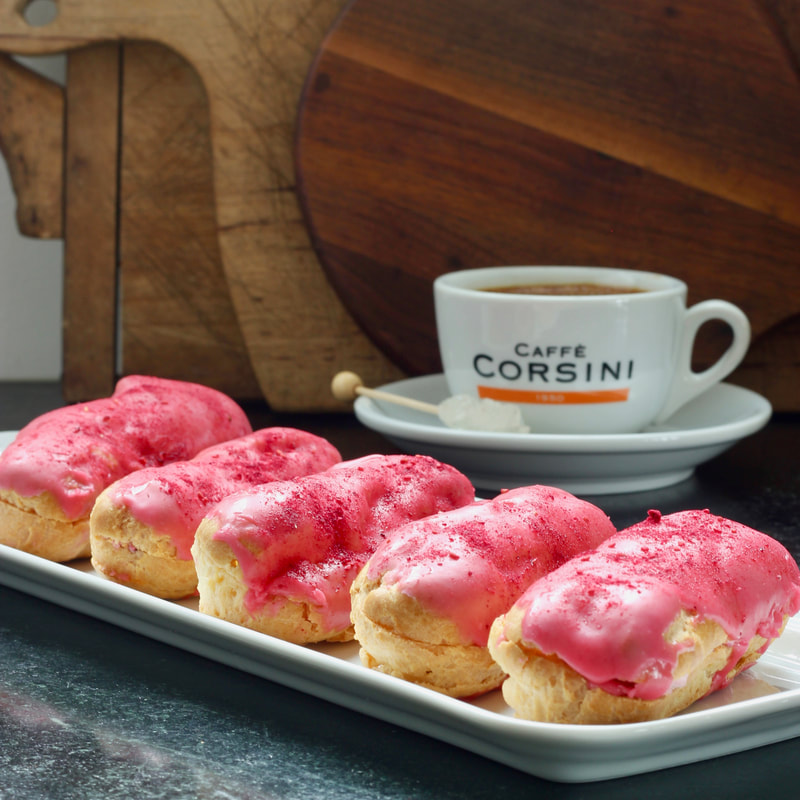
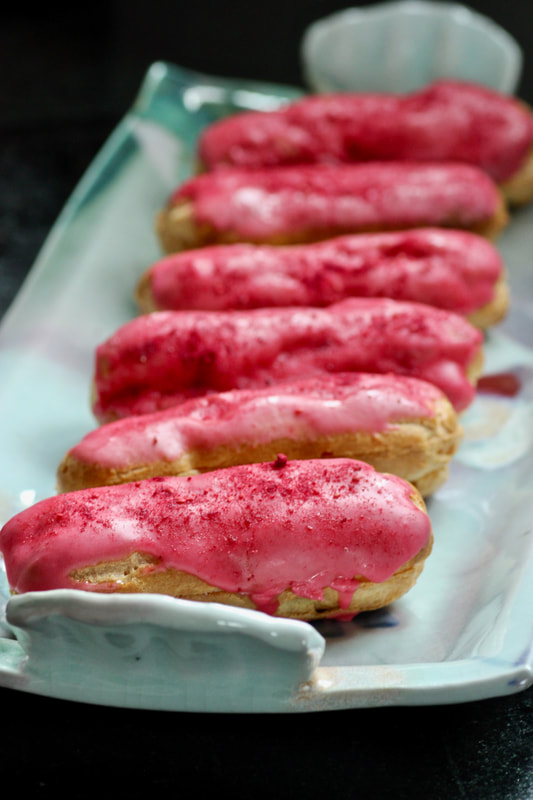
     It would be easy enough to say that I made éclairs à la framboise because Valentine's Day is this week.  All anyone needs to do is look at them to agree that Valentine's is the perfect time to bake and devour this pink pastry. 
Picture

     But it actually had more to do with the dismal weather we've been experiencing here in Saint Paul, Minnesota.  It started with the Polar Vortex.  The cold was a challenge for anyone heading outdoors, but especially difficult for my French Bulldog, Bisous.  I never let him outdoors during the extreme cold unless I accompanied him; a good decision after our first time out together in the backyard.  After two minutes, his feet were already so cold that he fell sideways and couldn't walk.  I scooped up that 30 pound "little man" and ran like hell towards the house.  Since then, it seems like every other day we've had ice or snow, or both.
     We've also been dealing with a very sick, little granddaughter for the past 10 days.  Liv is my culinary dream child... she loves everything that comes out of my kitchen.  But there were several days she wasn't able to eat, and when she finally did start feeling better I wanted to take her something special.  When I saw this New York Times recipe for raspberry eclairs, I knew immediately we all needed this colorful pastry!

Picture


   Raspberry and Cream Éclairs


        by Samantha Seneviratne | New York Times Cooking
recipe slightly adapted


FOR THE RASPBERRY CREAM:
• 1 tablespoon cold water
• 1 teaspoon gelatin
• 1  1/2 cups fresh raspberries
• 8 ounces cream cheese, at room temperature
• 3 tablespoons honey
• 2 tablespoons confectioners' sugar
• 1  1/2 teaspoon vanilla extract
• 1/2 cup freeze-dried raspberries (found at Trader Joe's), ground to a fine powder
• 3/4 cup heavy cream
FOR THE PUFFS:
• 6 tablespoons unsalted butter
• 2 teaspoons granulated sugar
• 1/2 teaspoon kosher salt
• 3/4 cup all-purpose flour
• 3 large eggs
FOR THE GLAZE:
• 1 cup fresh raspberries
• 2 cups confectioners' sugar
• 3/4 teaspoon vanilla extract
• pinch of kosher salt

1.  Make the raspberry cream:  Add 1 tablespoon cold water to a small bowl; sprinkle the gelatin evenly on top.  Let the mixture stand for 5 minutes.  Meanwhile, smash 1/2 cup fresh raspberries in a large bowl.  Add the cream cheese, honey, confectioners' sugar, vanilla and half of the freeze-dried raspberry powder and beat with a wooden spoon until smooth and creamy.  Set aside.
2.  Heat 1/4 cup heavy cream in a small saucepan over medium-high.  Stir in the gelatin mixture and cook until the gelatin is completely dissolved, about 3 minutes.  Set aside to cool slightly, then stir into the cream cheese mixture until combined.  Cover and chill for at least 30 minutes.
3.  Prepare the puffs:  In a medium saucepan, bring the butter, granulated sugar, salt and 3/4 cup water to a simmer over medium heat, stirring with a wooden spoon to help the butter melt.  As soon as it comes to a boil, add all the flour at once; stir constantly until the dough forms a ball and pulls away from the sides of the pan, about 1 minute.  Remove the pan from the heat and let the mixture cool for 3 to 4 minutes, stirring the dough occasionally to cool.
4.  Heat oven to 450˚F.  Off the heat, add the eggs to the pan, one at a time, stirring vigorously with a wooden spoon (this can also be done in a stand mixer using the paddle attachment).  The dough will break apart and slide around in the pot before it comes back together.  Transfer the dough to a piping bag fitted with a large round or star tip.
5.  Line two baking sheets with parchment paper (it helps to place a small dot of the pastry dough on the back of each corner to help secure the parchment to the baking sheet).  Pipe the dough into 4  1/2-inch-by 3/4-inch lengths about 3 inches apart.  With a damp fingertip, flatten any points.  Bake until deep golden brown and puffed, rotating the sheets halfway through, 20 to 24 minutes.  They should be light and crisp.  Turn the oven off.  Poke each éclair on either end with a toothpick to allow steam to escape.  Return the puffs to the oven and prop the oven door open slightly with the handle of a wooden spoon.  Alow the puffs to dry out completely, about 15 minutes.
6  Prepare the glaze:  Mash the fresh raspberries and push them through a fine-mesh sieve, reserving all the juice and discarding the seeds.  Add the confectioners' sugar, vanilla and salt to the reserved juice and whisk until smooth.
7.  Finely chop the remaining 1 cup fresh raspberries.  Whip the remaining 1/2 cup cream to soft peaks.  Gently stir the chilled raspberry cream to loosen it, then fold in the raspberries and whipped cream.  Transfer the cream to a pastry bag fitted with a large tip.  Slice the top third off each éclair and fill the lower portion with cream.  Dip the top of the top piece in the glaze, letting any excess drip off, and replace it.  Sprinkle with the remaining raspberry powder.  Serve immediately.   Éclairs are best eaten the day they are made, but if there are leftovers, cover with plastic wrap and refrigerate. 


7 Comments

New Year's Day, 2019

1/2/2019

5 Comments

 
Picture

HAPPY NEW YEAR'S!  Wishing all of you the best in 2019...
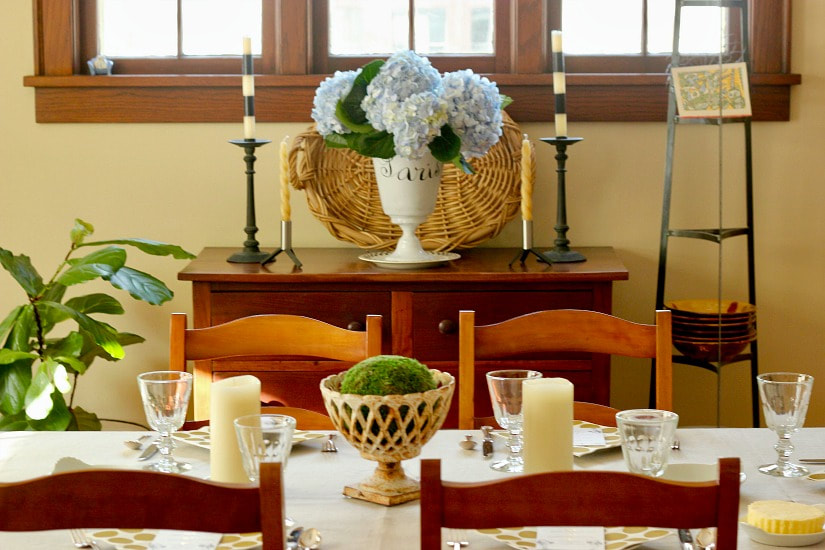
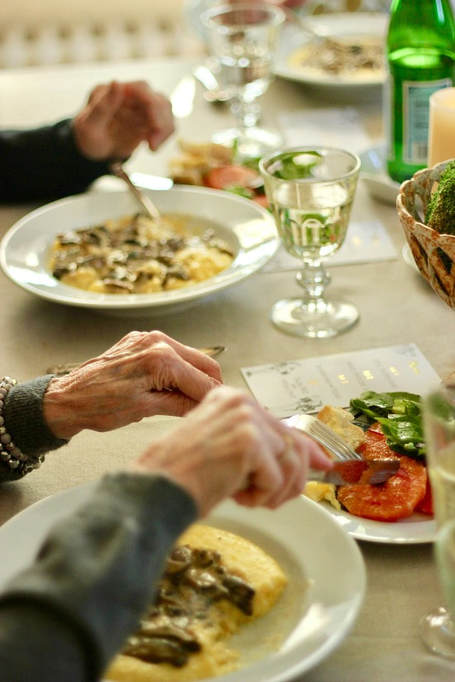
     Yesterday was our 32nd (!) annual New Year's Day Brunch.  Two of our regulars, unfortunately, were in France and not celebrating with us this year (unfortunate for us, not for them ;)  We ended up being a group of eleven.
Picture
    
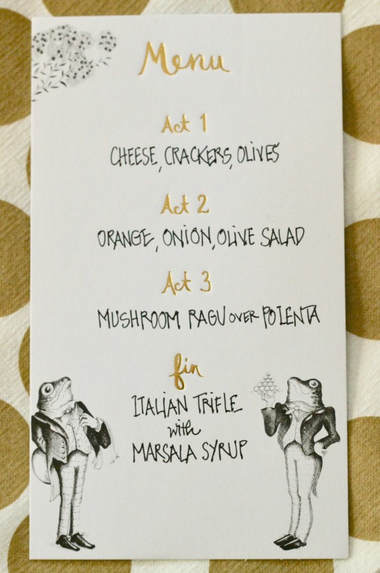
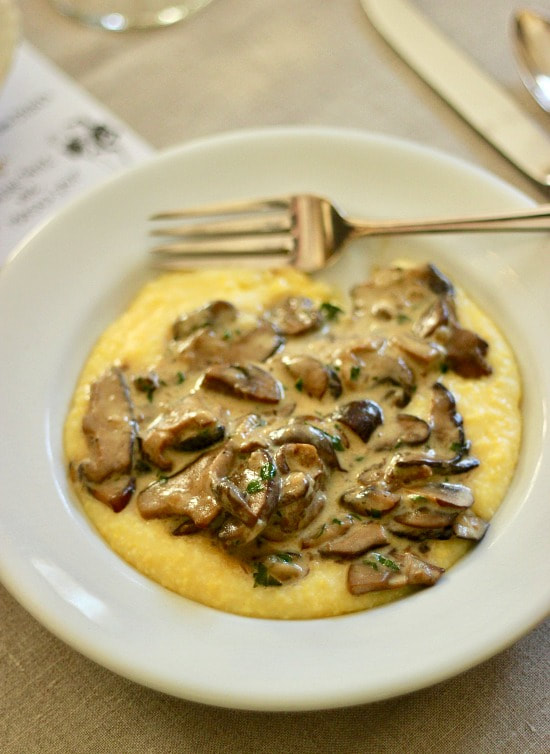
     This year's menu took on somewhat of an Italian theme.  I've been on a polenta kick recently, making pork ragu with polenta for Christmas dinner.  Yesterday, I switched out the pork for a mushroom ragu with marsala.  Of course, I hoped it would be good, but I was not expecting how good!  Right now I cannot remember an entrée that I loved as much as this.  If you're in need of a supreme, comforting meal anytime soon, make this! 

Picture

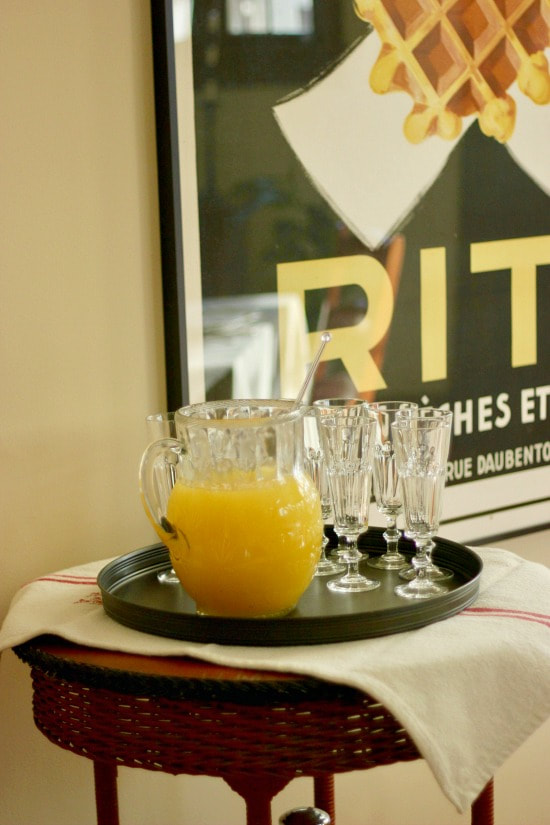
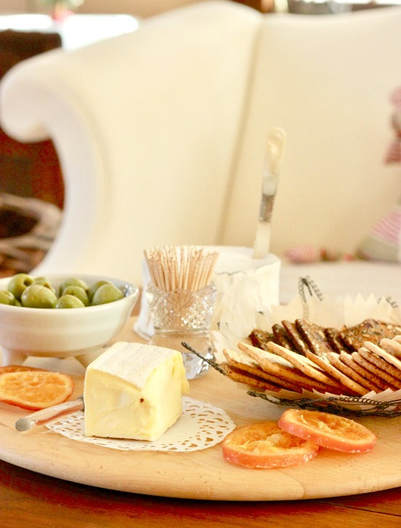
The drinks table... Prosecco and orange juice, always.

Picture

To start off...


Picture

     Four of my favorite attendees...

Picture


Picture

     I used cremini, oyster, and shiitake mushrooms, a total of 3 pounds, for the ragu; enough to feed 12. 

Picture
 
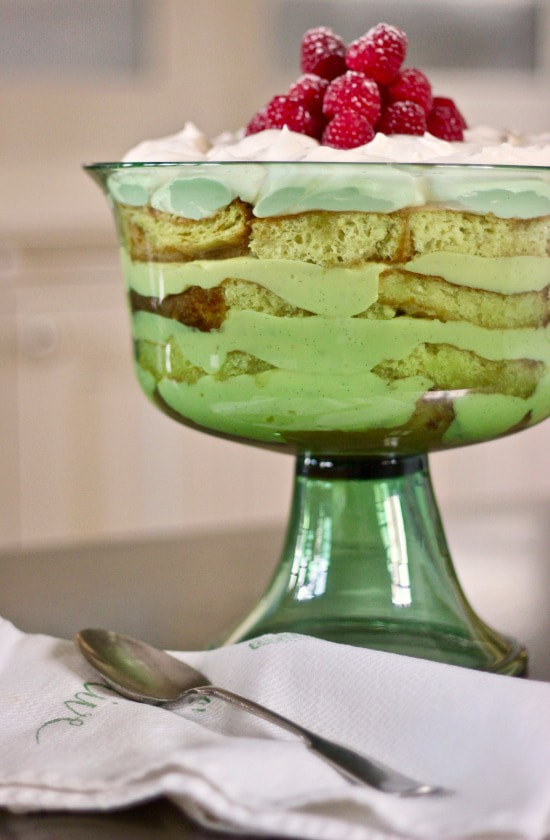
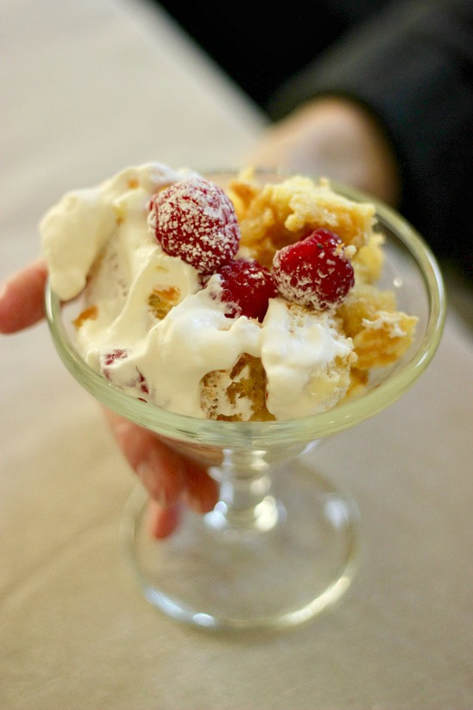
     Dessert was an Italian Trifle with Marsala syrup.  The sponge cake was baked with fresh orange zest ( recipe HERE )

Picture
Picture

MUSHROOM RAGU
recipe, adapted, from Giada De Laurentis
+ The recipe below will feed 4 persons, although the original recipe says 6 persons.  For my brunch, I tripled this recipe to feed 12, using slightly less broth (4-4 3/4 cups) in the process.

• 1/4 cup extra-virgin olive oil
• 1 large onion, chopped
• 2 garlic cloves, minced
• 1 pound mixed mushrooms (cremini, oyster, shiitake) chopped
• Salt and freshly ground black pepper
• 1/2 cup Marsala
• 2 cups chicken broth (if tripling this recipe, use less than 6 cups.  See above)
• 1/3 cup heavy cream
• 1/4 cup flat-leaf Italian parsley, chopped
• 1/2 to 3/4 cup grated Parmesan


In a large skillet heat the oil. When almost smoking, add the onions and garlic over medium-low heat until the onions have wilted, about 8 minutes. Add the mushrooms and season with salt and pepper. Raise heat to high and saute until mushrooms are tender and all the liquid has evaporated. Remove pan from heat and pour in Marsala. Return pan to stove and allow wine to evaporate, about 3 minutes. Add chicken broth and simmer for 1/2 hour until the sauce has reduced by half. Add heavy cream and mix well. Take the pan off the heat and add the fresh parsley and Parmesan and mix thoroughly.

CREAMY POLENTA
+ adapted recipe from allrecipes.com
Serves 4-6
• 4 cups water
• 1 teaspoon salt
• 1 cup polenta
• 3 tablespoons butter
• 1/2 cup freshly grated Parmigiano Regianno cheese

1.  Bring water and salt to a boil in a large saucepan; pour polenta slowly into boiling water, whisking constantly until all polenta is stirred in and there are no lumps.
2.  Reduce heat to low and simmer, whisking often, until polenta starts to thicken, about 5 minutes. Polenta mixture should still be slightly loose. Cover and cook for about 30 minutes, whisking every 5 to 6 minutes.  Polenta is done when texture is creamy and the individual grains are tender.
3.  Turn off heat and gently stir butter into polenta until butter partially melts; mix 1/2 cup Parmigiano-Reggiano cheese into polenta until cheese has melted.  Stir and taste for salt before transferring to bowls.  Top with Mushroom Ragu and serve.


5 Comments

Pumpkin Scones

12/12/2018

2 Comments

 
Picture

     A quick post in this typically busy holiday season... 

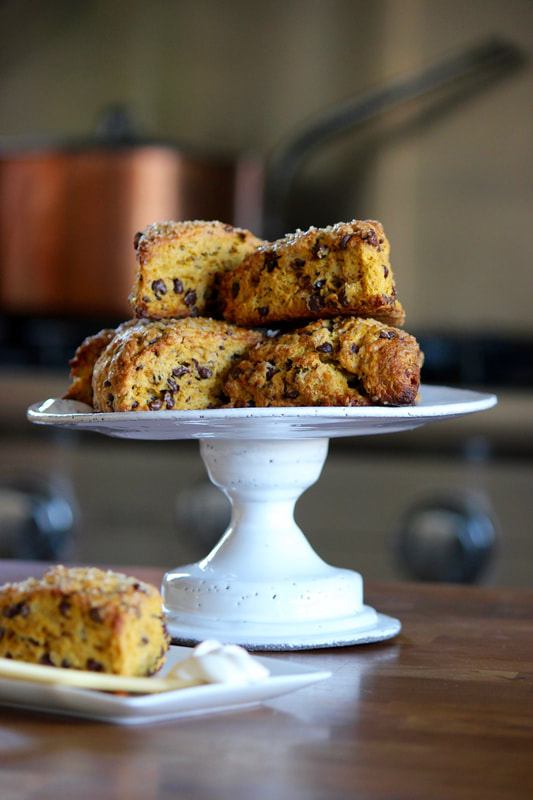
     I made these pumpkin scones from a King Arthur Flour recipe.  They were fabulous!  Love waking up to a treat like this in the morning!  

     ENJOY!


 • • •  Pumpkin Scones  • • •

 + adapted recipe from King Arthur Flour

• 2 3/4 cups unbleached all-purpose flour
• 1/3 cup sugar
• 1 tablespoon baking powder
• 3/4 teaspoon salt
• 3/4 teaspoon ground cinnamon
• 1/4 teaspoon ground ginger
• 1/4 teaspoon ground nutmeg
• 1/4 teaspoon ground allspice
• 1/2 cup cold, unsalted butter, diced
• 1 cup minced crystallized ginger or chocolate chips, or a combination of the two
• 2/3 cup canned pumpkin
• 2 large eggs
• turbinado sugar, for topping

1.  In a large mixing bowl, whisk together the flour, sugar, baking powder, salt and spices.   Work in the butter just until the mixture is unevenly crumbly (This can also be done in a food processor.  If using a food processor, combine the dry ingredients, then add butter and pulse until the size of large peas).
2.  Stir in the ginger and/or chocolate chips.  (Transfer flour/butter mixture from food processor to a large bowl, if using, and stir in ginger and/or chocolate chips.)
3.  In a separate mixing bowl, whisk together the pumpkin and eggs until smooth.
4.  Add the pumpkin/eggs to the dry ingredients and stir until all is moistened and holds together.
5.  Line a baking sheet with parchment.  Dust a little flour on top of parchment.
6.  Scrape the dough onto the floured parchment and divide it in half.  Round each half into a disk about 3/4-inch thick.
7.  Brush each circle with milk and sprinkle with the turbinado sugar.
8.  Using a knife that you've run under cold water, slice each circle into 6 wedges.
9.  Carefully separate the wedges so there is about a 1/2-inch space between them.
10.  Place the pan of scones in the freezer for at least 30 minutes.  This will help give the scones a high rise.  (I will freeze the scones, then place in a zip-lock bag, and pull from the freezer in the mornings to bake a few, or quite a few!)
11.  Preheat overn to 425˚F.  Bake the scones for 22 to 25 minutes, or until they are golden brown.  Be sure to leave at least 1/2-inch between the scones when baking.  You don't want them to touch each other.


2 Comments

Hazelnut Biscotti

10/23/2018

0 Comments

 
Picture
  
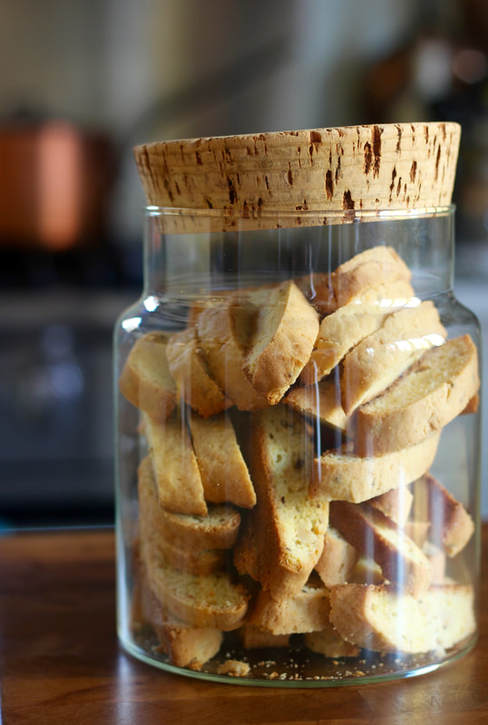
     During my recent trip to Italy, I resisted (slightly) temptation to bring things back home with me.  I visited a food lover's dream, Mercato Centrale, while in Florence.  That's where I bought the massive wedge of Parmigiano, that caused me to be very selective in anything else I purchased.  Scouring groceries and food emporiums was close to the top of my list of things I wanted to do while in Italy. 

Picture

     At the Mercato Central I almost purchased a small bag of Biscotti di Prato, but in the end I convinced myself that the cookies, most likely, would be mere crumbs by the time I returned home.  Plus, biscotti are easy cookies to bake!  I'd search for a recipe that closely resembled what I ate in Florence.

Picture

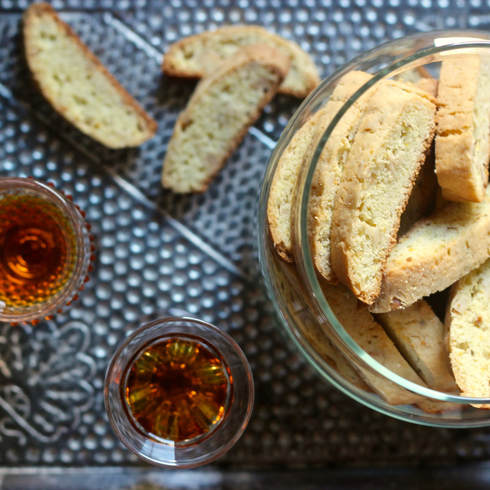
     This recipe is from Tartine Bakery in San Francisco.  I'm also planning on making another version, next time, from The Il Fornaio Baking Book.  Not because I didn't like Tartine's biscotti. I did!  They're FANTASTIC.  I'm only curious how some slight differences between the two will change the final product.  
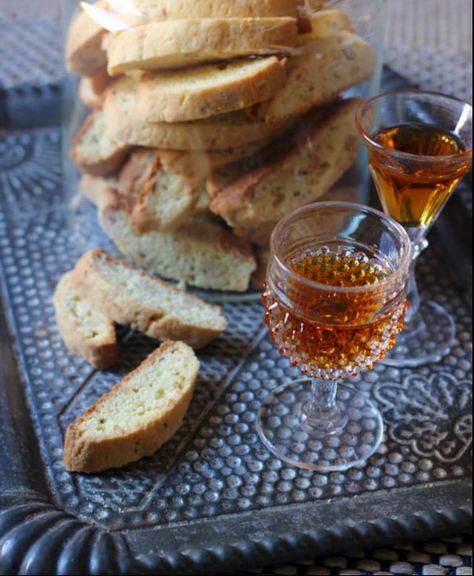
     Great for dipping in a glass of Vin Santo... and also in a glass of cold milk!
 

Picture
Picture
adapted from TARTINE, by Elisabeth M. Pruitt and Chad Robertson
• 1/2 cup hazelnuts, peeled (follow a fool-proof method by My Baking Addiction HERE)
• 1/2 cup unsalted butter, very soft
• 3/4 cup sugar
• 2 large eggs
• 1 teaspoon aniseeds
• 4 teaspoons Grand Marnier
• 2 teaspoons orange zest, grated
• 2 cups, plus 2 tablespoons all-purpose flour
• 1 1/2 teaspoons baking powder
• 1/4 teaspoon salt
• 1 large egg for wash, optional
1.  Preheat oven to 325˚F.  Line a baking sheet with parchment paper or a nonstick liner.
2.  Chop the skinned hazelnuts.
3.  In the bowl of a stand mixer fitted with a paddle attachment on medium speed, or by hand with a wooden spoon, cream the butter until light and creamy, about 2 minutes.  Slowly add the sugar and beat until light in color and fluffy, about 2 minutes.  Scrape down the sides of the bowl with a rubber spatula.  Add the eggs and beat until the mixture is smooth.  Beat in the aniseeds, liqueur, and orange zest.  Add the flour, baking powder, and salt and mix until just combined.  Stir in the chopped nuts.
4.  On a lightly floured work surface, divide the dough into 2 equal portions.  Shape each portion into a log about 2-inches in diameter.  Set the logs on the baking sheet, spacing them about 2-inches apart.  If you want to glaze the biscotti, whisk the egg and brush over the logs (this is optional - I didn't glaze my logs).
5.  Bake the logs until set to the touch and browned on top, about 25-30 minutes.
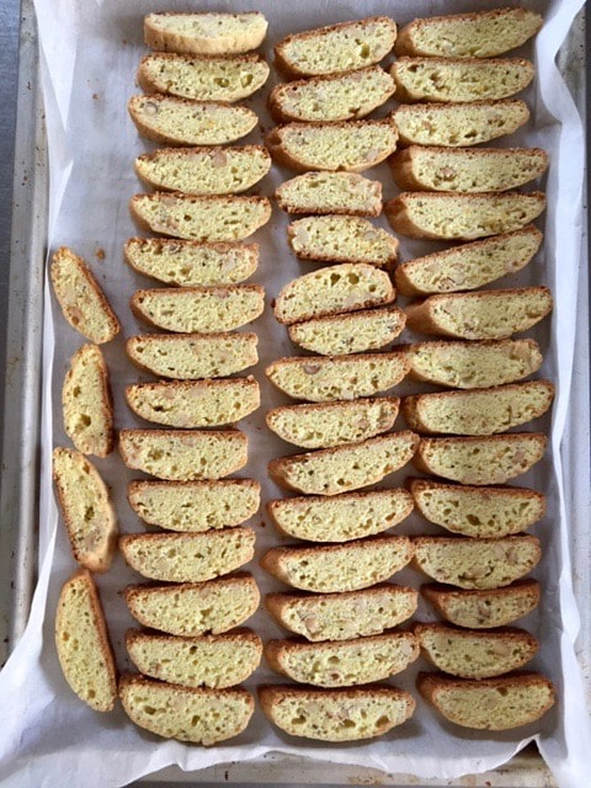
6.  Place the logs on a wire rack and cool for 5 minutes.  Transfer logs to a cutting board and using a serrated knife, slice the logs diagonally 1/2-inch thick.  Return the sliced biscotti to the parchment-lined baking sheet cut side down.
7.  Bake the biscotti until the edges are lightly toasted.  My cookies took about 10 minutes, but start checking yours at 5 minutes.  Cool biscotti on a wire rack and transfer to an air-tight container to store.


Picture
• Tuscan Horse •
Florence


0 Comments

Somewhere Other Than France...

10/19/2018

3 Comments

 
Picture

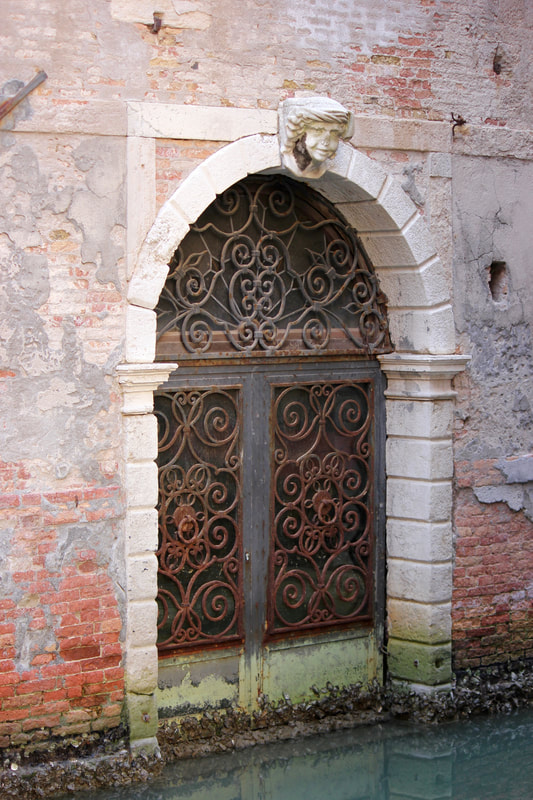
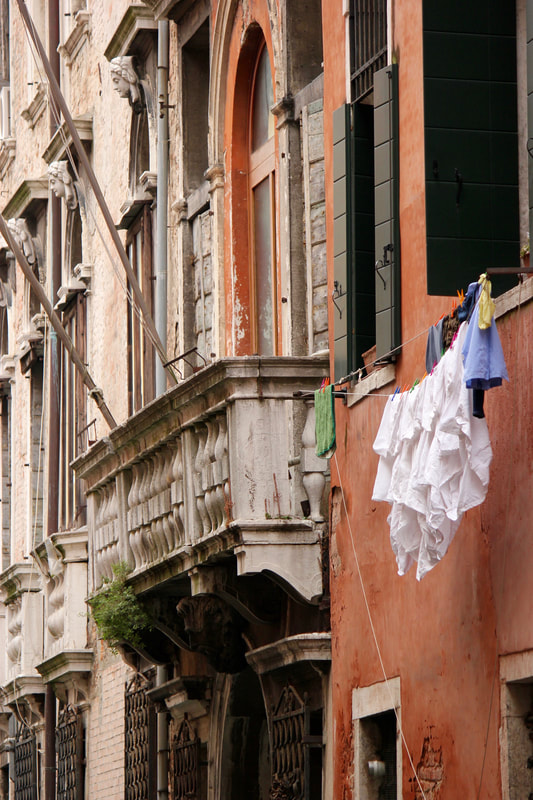
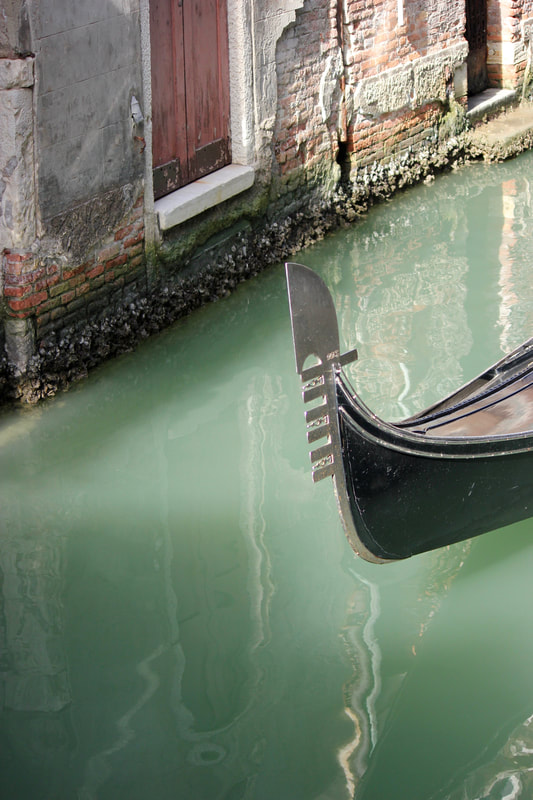
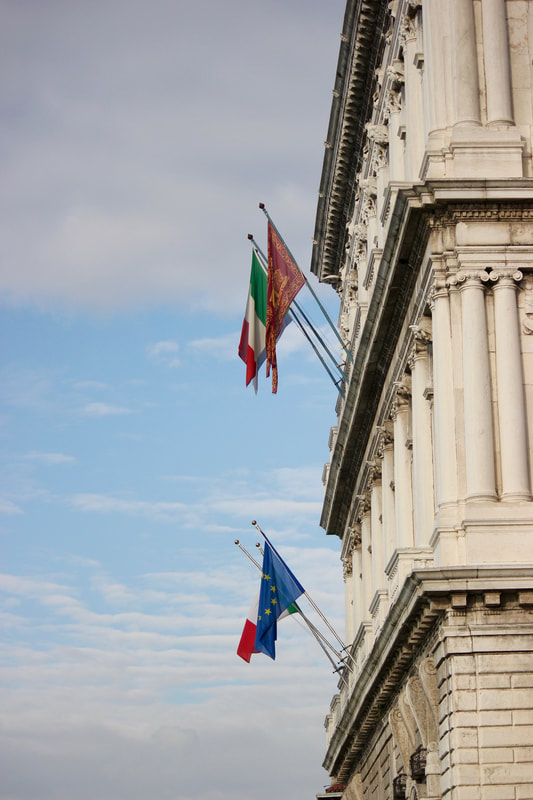
    This month, for the first time, I traveled to Italy; visiting Venice, Florence, and Rome.  It was just what I needed to refuel my imagination.  I'm happy to say, this trip was good for me, and I am eager to cook, bake, and paint again!
    
Picture

    Beauty abounds in Italy and it felt good to be behind my camera lens again, capturing the images that inspire me.

Picture

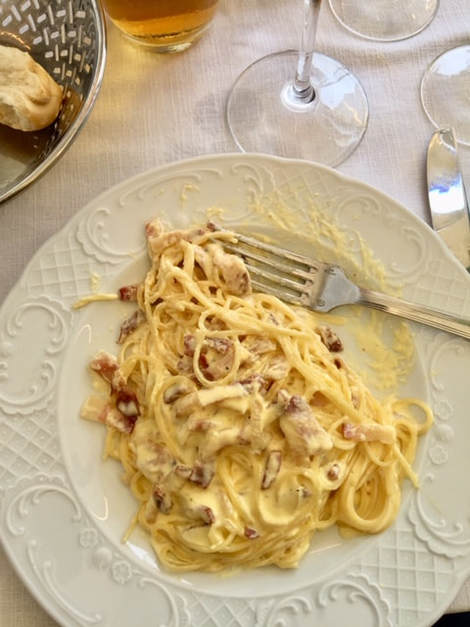
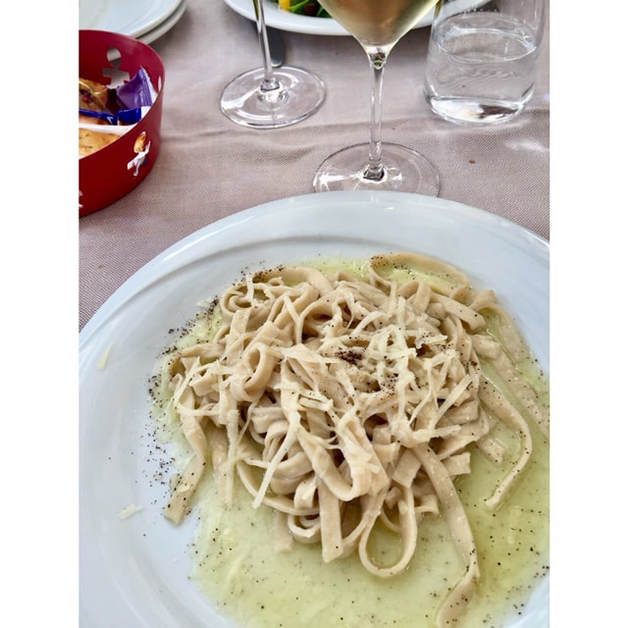
     The food I enjoyed in Italy was everything I hoped it would be, except for one disappointing meal
     The Spaghetti Carbanara was eaten in the shadow of the Rialto Bridge in Venice; our table just inches from the canal.  The Cacio e Pepe is a favorite of my daughter, Claire, and insisted I have some in Rome.

Picture
Spaghetti Carbonara

Picture
Cacio e Pepe

Picture


Picture


Picture


Picture

     I hauled back a conservative load of food items from Italy -- an enormous wedge of Parmigiano Reggiano, a small bottle of balsamic, and olive oil.  Also, ingredients for Tagliatelle with Truffles (my best meal in Florence), but that was it.  And when I use those ingredients in the coming weeks, it will make me happy.
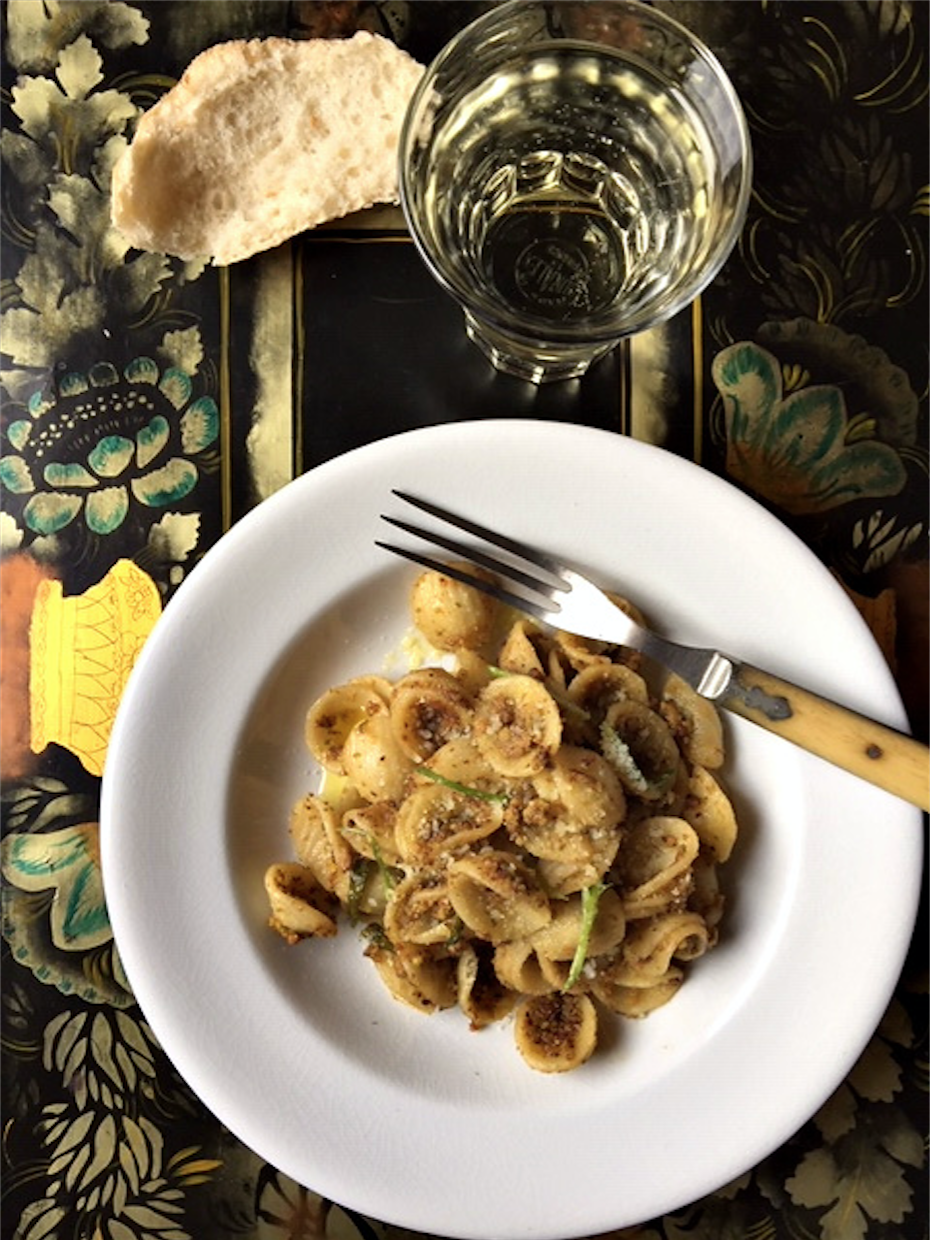
     Before I left for Italy, I read an article by a Venetian writer on her love of Orecchiette Pasta with Pistachio Pesto.  I found the recipe below and have made it twice.  I absolutely love it, as does my family.  Purchasing shelled pistachios make this an easy and quick pasta to prepare.  Please try it and let me know how you like it!


Picture
Picture
    Recipe by Frank Falcinelli and Frank Castronovo
• 7 ounces unsalted roasted shelled pistachios (1 1/2 cups)
• 1/2 cup extra-virgin olive oil
• 2 tablespoons chopped mint
• 1 garlic clove, minced
• 1/2 cup finely shredded pecorino cheese, plus more for serving
• 2 scallions, cut into 2-inch lengths and julienned
• salt
• 1 pound orecchiette


1.  In a food processor, chop the pistachios. Add the olive oil, mint and garlic and pulse to combine. Transfer to a bowl, stir in the 1/2 cup of cheese and the scallions; season with salt 
2.  In a large pot of salted boiling water, cook the pasta until al dente; drain, reserving 1/2 cup of the cooking water. Return the pasta to the pot. Add the cooking water and the pesto and cook over low heat, tossing, until coated. Serve, passing more cheese at the table.


3 Comments

Bread Pudding with Strawberry-Rhubarb Sauce

6/19/2018

1 Comment

 
Picture

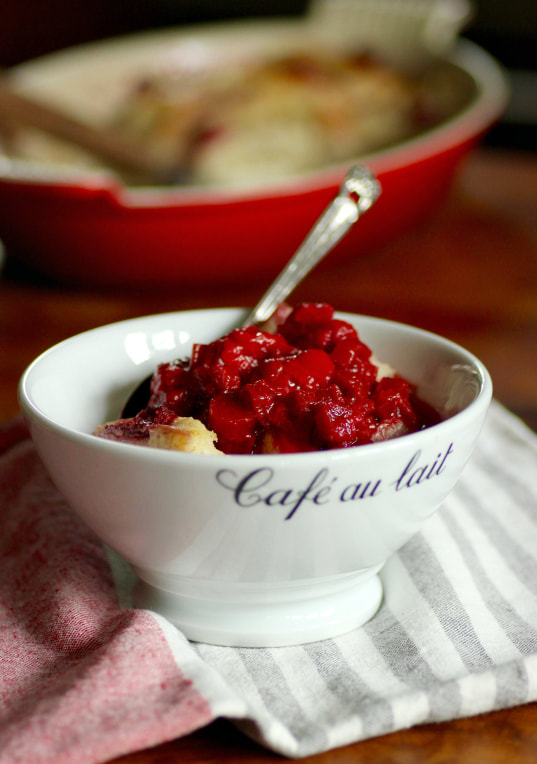
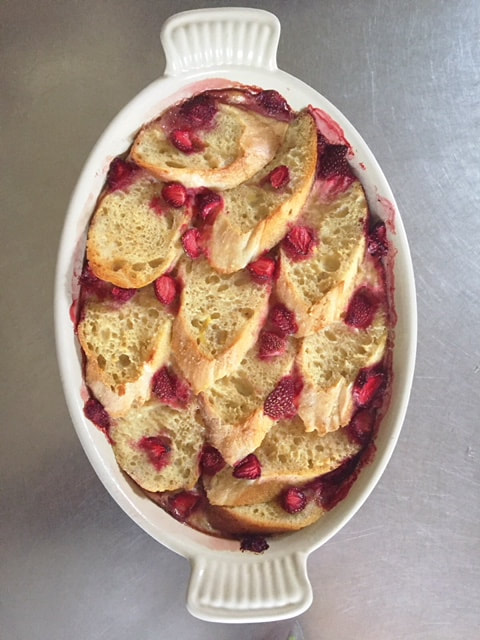
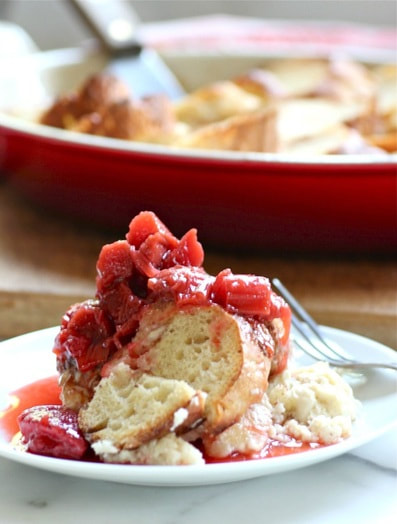
     In my attempt to keep up with the bounty of strawberries and rhubarb in my garden, I revisited a recipe I've had for 35 years... Did I just write 35 years?  That's almost impossible to believe.  But it's been even longer that I've been clipping, writing down, bookmarking, copying, and tearing out recipes and filing them away -- into BIG files.  And maybe that's why this recipe for bread pudding with strawberry-rhubarb sauce has gotten overlooked the past few years.  Six years, to be exact, since I last made this recipe.  But thanks to the abundance of strawberries (some days yielding 5 pounds) and my endless supply of rhubarb (good thing I like it so much), my attack plan has been to default to a super easy strawberry-rhubarb sauce.  And that reminded me of this simple bread pudding.  When served warm, or at room temperature with the chilled sauce, it is heaven.

Picture

     I have so many strawberries, I added some to the top of the bread pudding before baking.  A sweet little addition.  
     And don't limit the strawberry-rhubarb sauce just to bread pudding... cornmeal waffles, vanilla ice cream, french toast, and yogurt all benefit from a serving of this sauce, just to name a few... 


Picture


Picture
Country Living Magazine | 1982
• 12 to 14 slices from a French Baguette, 1/2-inch thick
• 3 to 4 tablespoons soft butter
• 3 large eggs
• 2 cups whole milk, or half milk-half cream
• 1/3 cup sugar
• 1/2 teaspoon ground cinnamon
• Pinch of sea salt
• Strawberry-Rhubarb Sauce, recipe follows
1.  Heat oven to 350˚F.  Butter a 10-inch round or other shallow 2 quart baking dish.  Butter each slice of bread on one side and arrange, buttered side down, in the dish with sides of the bread touching or overlapping slightly.
2.  Beat together the eggs, milk, sugar, cinnamon, and salt until well-blended.  Pour over the bread slices.  Allow the bread to soak up the custard for about 10 minutes.
3.  Bake on the shelf just above the center of the oven for about 40 minutes, or until golden brown and slightly puffed and crusty.  Serve hot or warm with the Strawberry-Rhubarb Sauce.


STRAWBERRY-RHUBARB SAUCE

• 3 1/2 cups fresh rhubarb, 1-inch pieces
• 1 pound fresh strawberries, sliced in half (quartered if large)
• 1/2 cup sugar
• 1 tablespoon finely grated organic orange peel
1.  In a medium-sized enameled saucepan, combine all the ingredients and let stand 10 minutes.  Stir again, cover, and bring to a simmer over low heat.  Increase heat and bring to a gentle boil, uncovered, over moderate heat.  Cook until rhubarb is tender, but not mushy.


TAKE a LOOK:


1 Comment
<<Previous
    Picture


    Picture
    Picture
    Enter your Email

    Preview | Powered by FeedBlitz


    Categories

    All
    Amana
    Appetizers
    Beef
    Breads
    Breakfast
    Cakes
    Chocolate
    Condiments
    Cookies
    Daring Bakers Challenge
    Desserts And Sweets
    Drinks
    Eggs
    Espresso
    Etcetera
    Fish
    French Bulldogs
    Friday Night Dinner
    Fruit
    Germany
    Gratins
    Great Kitchens
    Grilling
    Ice Cream
    Lamb
    Main Dishes
    Muffins
    My Garden
    My Kitchen Renovation
    New Years Day Brunch
    Paris
    Pasta
    Pork
    Poultry
    Provence
    Restaurants
    Rhubarb
    Rice
    Salads
    Scones
    Seafood
    Side Dish
    Soup
    Sunday Mornings
    Sweet And Savory Tarts
    Thanksgiving
    Tomatoes
    Vegetables
    Vegetarian

  • Home
  • PAINTINGS
  • About
  • Passions-to-Pastry Blog
  • Contact
  • Recipes