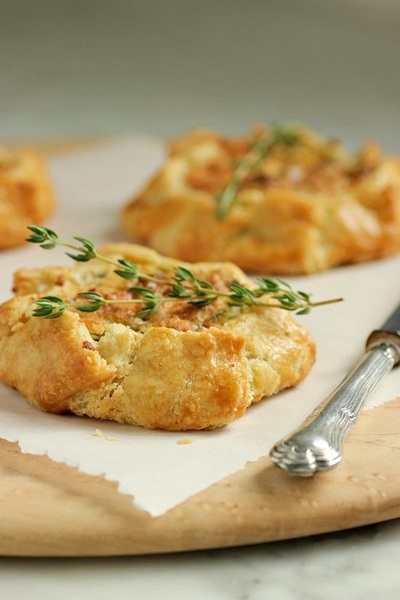
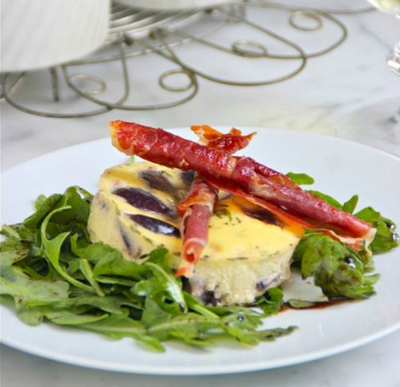
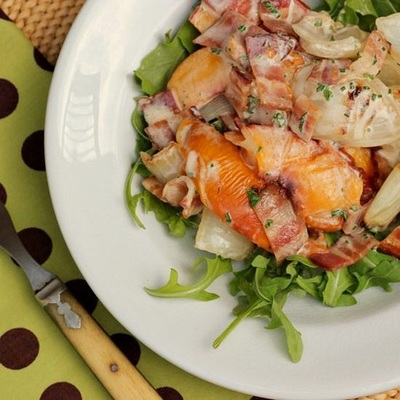
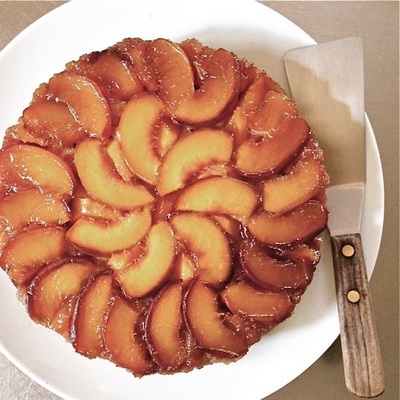
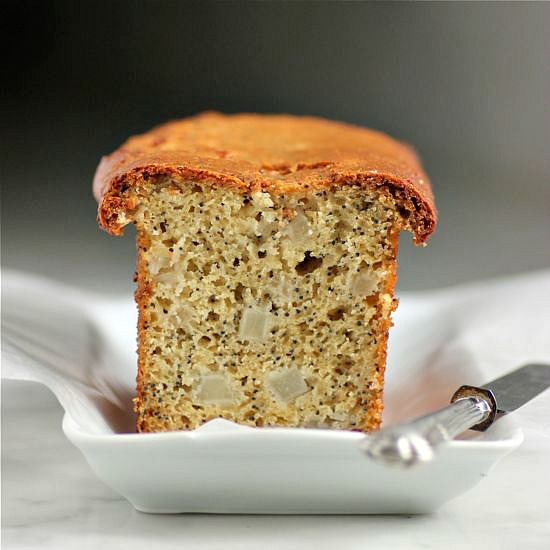
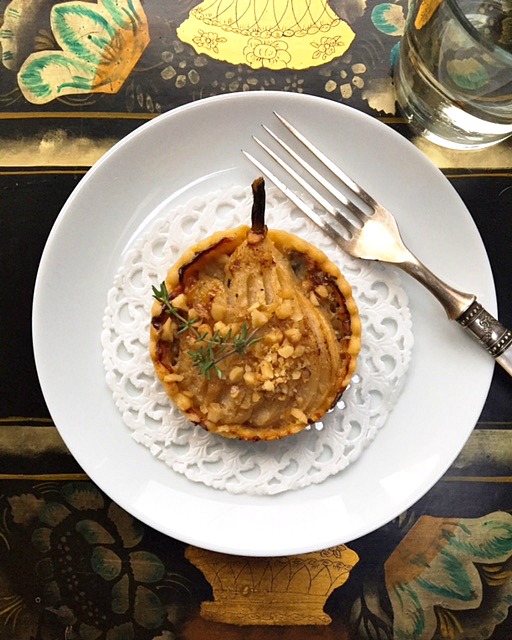
 Yesterday, I was able to play in my kitchen... I spent last week preparing for a dinner I made Sunday night to benefit the Madeline Island Music Camp. Being busy with that, I ignored a bag of organic pears that by now had seen better days. And since my idea of a good time is being in my kitchen and making tarts, that's exactly what I did yesterday with my neglected fruit. 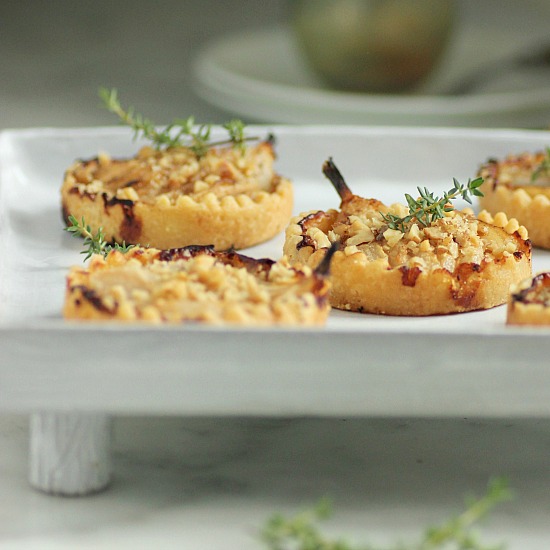 The direction I took with these little tarts was based on what was available in my kitchen. I had just purchased a beautiful block of blue cheese made in Faribault, Minnesota, and had a basket of big, sweet onions. I also keep bags of walnuts in my freezer at all times... because, I throw them into everything! And, if I'm making a savory pear tart, I tend to add cornmeal to the crust... so, that's where I started. 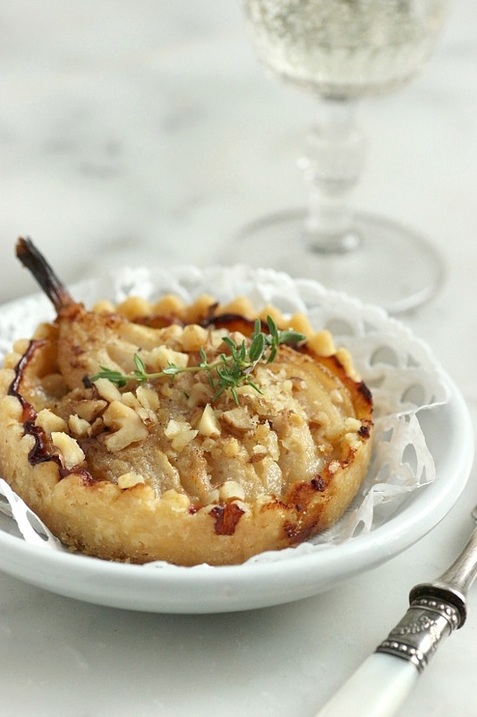 Of course, if you don't feel like making little individual tarts, make this recipe in a large (approximately 11-inch) tart pan. I used eight 3 1/4-inch tart rings, but had enough pastry dough with the recipe below to easily make ten. These little tarts would be delicious on a brunch or luncheon menu this fall served with a green salad. 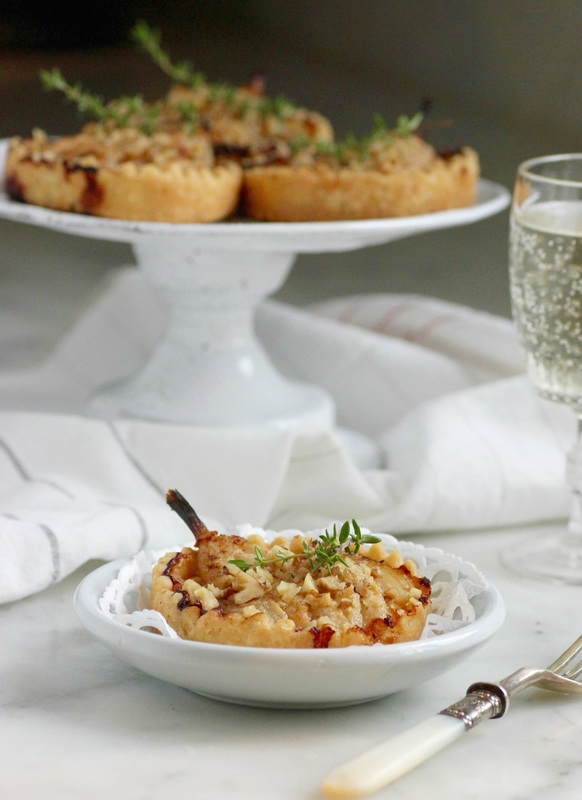  PASTRY: • 1 1/4 cups unbleached, all-purpose flour • 1/4 cup finely ground cornmeal • 1/2 teaspoon kosher salt • 8 tablespoons cold, unsalted butter, cut into 1/2-inch cubes • 4 tablespoons ice water • extra flour for rolling pastry FILLING: • 1 1/2 cups thinly sliced onion • 3 tablespoons butter, room temperature • 2 tablespoon olive oil • 1 tablespoon sherry wine vinegar • Salt & freshly ground black pepper • 4 small pears • 3 ounces blue cheese, crumbled • 1/3 cup walnuts, toasted lightly and chopped • 1 tablespoon plus 1 teaspoon walnut oil MAKE THE PASTRY: I used 3 1/4-inch tart rings but you can also use individual tart pans with removable bottoms, or use an 11-inch tart pan if not making individual tarts. 1. Pulse the flour, cornmeal and salt in a food processor. Add butter and pulse until pea-size lumps form. While pulsing, drizzle 3 tablespoons ice water over the mixture, continuing to pulse until moist clumps form. Add the remaining tablespoon of ice water by drips if dry. Gather dough into a ball and flatten into a disk. Wrap in plastic; chill 2 hours or overnight. 2. Divide the dough into 8 pieces if making individual tarts. Roll the pieces of dough between lightly floured sheets of waxed paper. Cut circles of dough larger than the rings and transfer to metal rings that have been placed on a parchment lined baking sheet (you can substitute individual tart pans with removable bottoms). Gently press dough onto bottom and up sides of the tart rings; trim. Keep refrigerated until ready to fill and bake. MAKE THE FILLING: 1. In a large cast iron skillet, cook the onions in 1 tablespoon of the butter and the olive oil over medium heat, stirring often until onions are golden, approximately 15 minutes. (Turn down heat if onions burn at all and add a little more olive oil if skillet seems dry). Add the vinegar and salt & pepper to taste. 2. Peel, core and halve the pears lengthwise, then cut the halves lengthwise into 1/4-inch slices, leaving the slices attached at the top end. Press on the the pear halves gently to spread the pears into fans. Brush the top of the "fans" with the butter. Heat a non-stick skillet over medium heat and place the buttered side of the pears in the pan. Cook the pears briefly until golden. 3. Preheat the oven to 400˚F. Take the baking sheet with the tart shells from the refrigerator. Divide the caramelized onions among the shells. Sprinkle the onions with the crumbled blue cheese and gently place a fanned pear on top of the blue cheese. Sprinkle a little freshly ground pepper over the pear. Drizzle 1/2 teaspoon walnut oil over each tart. 4. After all of the tart shells are filled, place the baking sheet on the middle rack of the oven. Bake the tarts for 35 minutes, then remove from oven and sprinkle chopped walnuts over each tart. Return baking sheet to the oven and bake an additional 5 to 10 minutes, or until the tart crust is baked and golden.
2 Comments
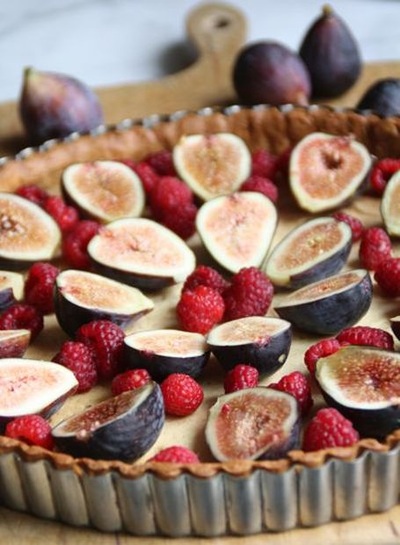
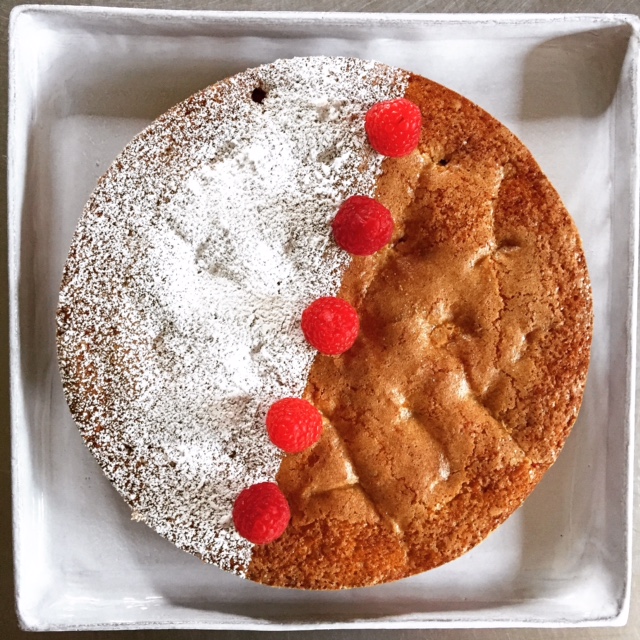
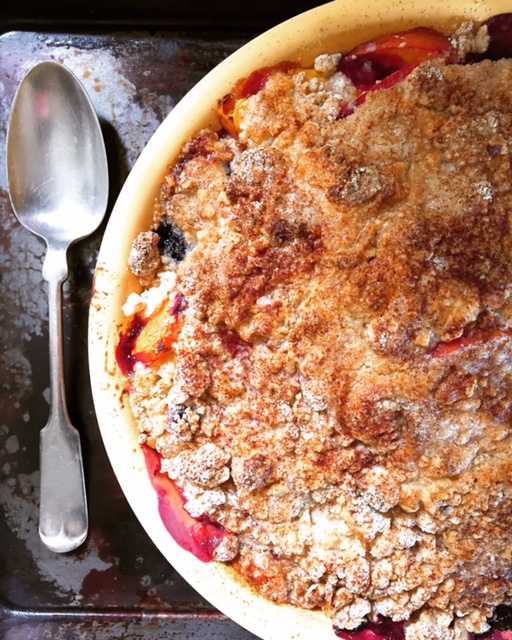
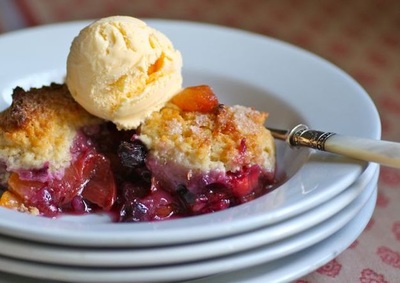
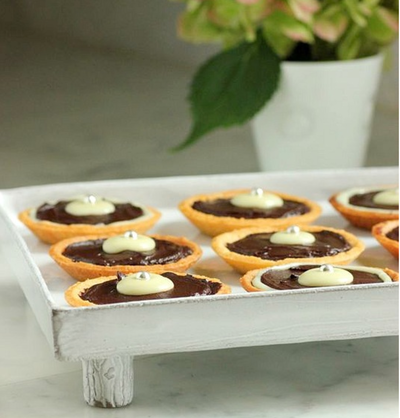
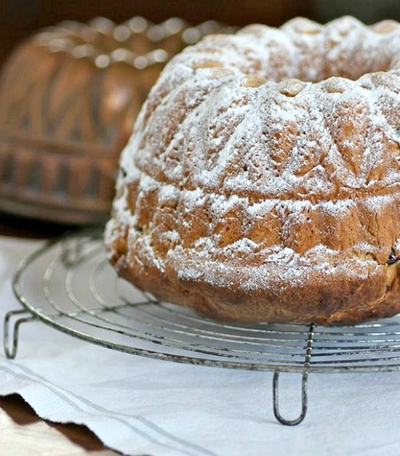
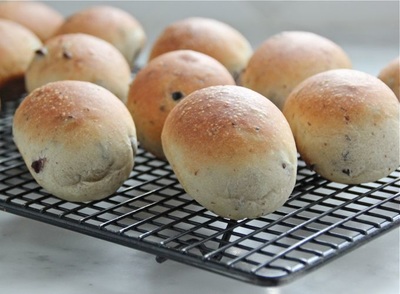
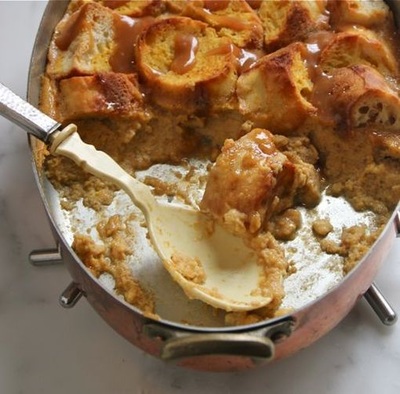
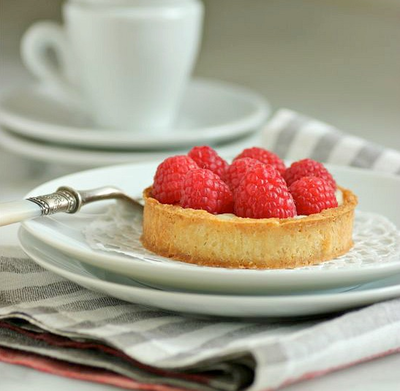
 September and figs. I wish the season weren't so brief. I bought my first carton of fresh figs yesterday. My two "Little Miss Figgy" plants on my patio are still too young to produce fruit. I decided that baking a breakfast cake with my purchased figs, to eat along with my cappuccino in the morning, was the way to go. 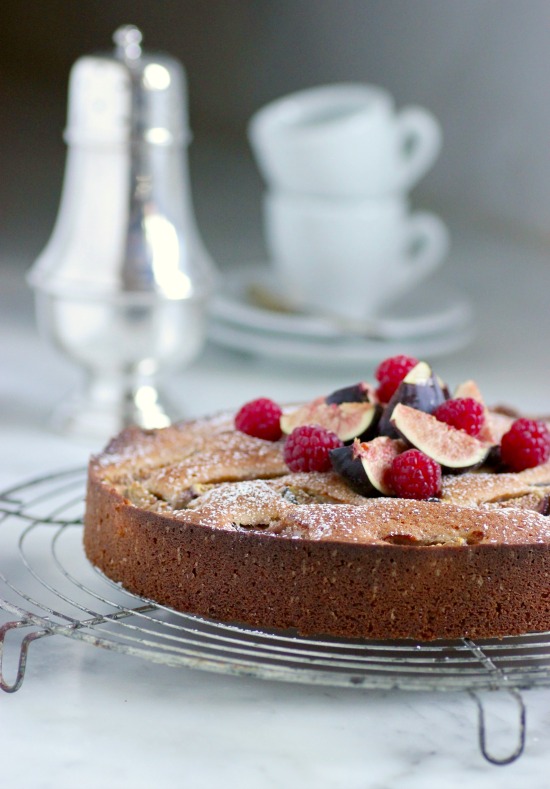 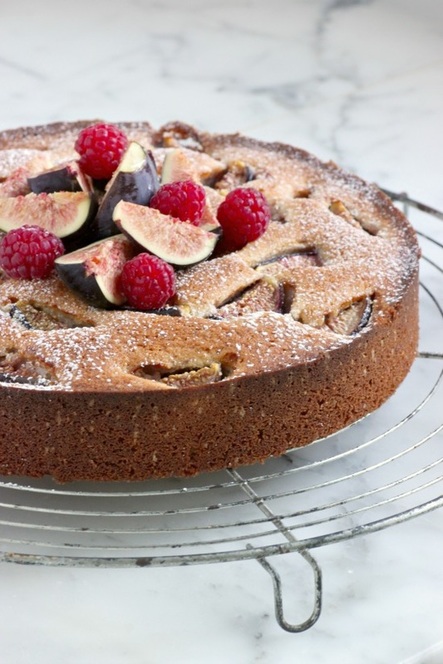 And, right before I photographed the Fig & Almond Breakfast Cake, a neighbor stopped by with fresh raspberries that he picked from the bushes in his yard. Perfect timing!  • recipe from Beyond the Plate • 2 1/2 ounces blanched almond meal • 2 1/2 ounces unbleached, all-purpose flour • Pinch of salt • 1 teaspoon baking powder • 8 tablespoons (1 stick) unsalted butter, softened • 3 ounces sugar • 1 tablespoon rum • 2 large eggs • several (I used about 5-6) ripe figs, quartered • Confectioners' sugar and fresh figs for finishing, if desired 1. Preheat oven to 375˚F. 2. Line the base of an 8 1/2 to 9-inch springform pan with parchment paper, then tighten the springform ring to keep the parchment in place; trim excess paper. 3. In a large bowl, whisk together the almond meal, flour, salt and baking powder; set aside. 4. In the bowl of a stand mixer, beat the butter and sugar at medium speed, until pale and fluffy. Turn mixer to low and add the rum, dry ingredients and eggs. Increase the speed to medium and beat for 3-4 minutes. The batter should be smooth and all the ingredients are incorporated. 5. Turn the cake batter into the prepared springform pan using a spatula to spread the thick mixture evenly. Arrange the fig quarters over the top of the batter. Place the pan on the middle rack of the oven and bake for approximately 45 minutes, or until the cake is golden brown and a toothpick inserted into the cake comes out clean. 6. Run a knife around the perimeter of the cake before releasing the ring; allow to cool for about 15 minutes. Dust with confectioners' sugar and decorate with additional fresh figs if desired. TAKE a LOOK: 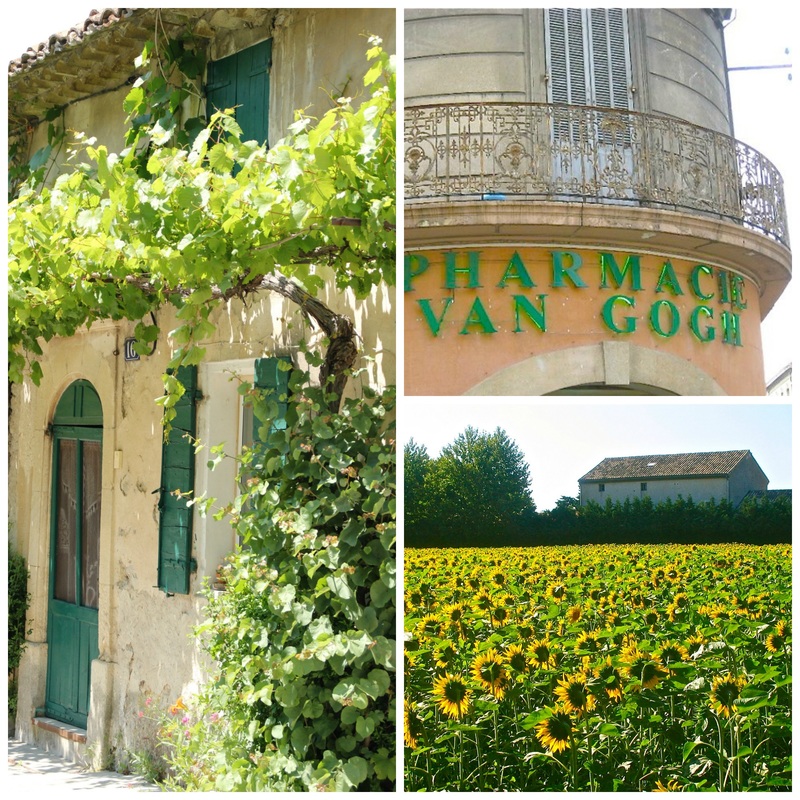 I'm not here :( 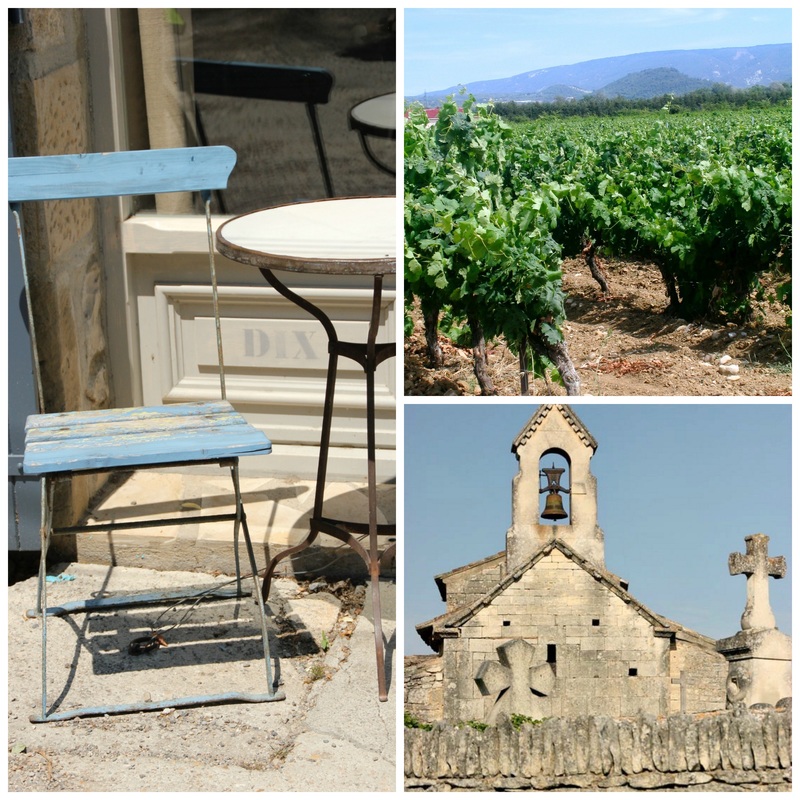 nor here :( 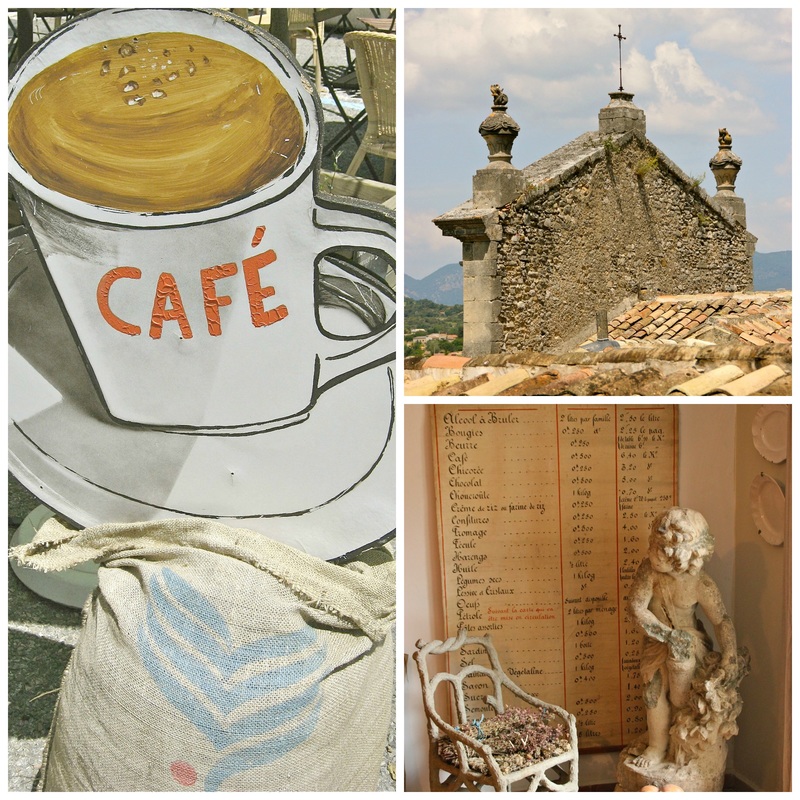 or even here :( It probably seems like I've been gone for awhile... So, what have I been doing? Not traveling. I wish I could say I spent the summer in the south of France, but that didn't happen. No surprise to most of you, I've been spending a LOT of time with my Frenchie puppy, Bisous. Right before I lost my Frenchie, Pipi, just a year ago, my vet tried to help me put her life into perspective. She told me, "Pipi is like 110 in people years and has had a better life than most children". I'm embarrassed to say, the vet was probably 100% right. I'm very devoted to my dogs and that's one reason I've been staying close to home with "B". No major trips. If any traveling is done anytime soon, it will be by car so Bisous can accompany us. So right now, there's no France in my future. Life is currently all about Bisous... And lately, most of my days are spent in my kitchen, trying to make sense of the ridiculous amount of produce from my vegetable garden. I'm thankful our backyard isn't any larger. If it were, my gardens would certainly be larger also, and there would be even more vegetables! Right after I finish this post, I will begin chopping tomatoes for a fresh pasta sauce we will eat for dinner tonight. We've had some wonderful dinners on the patio this summer, and I'm hoping warm weather will continue into October. I'm not ready to give up alfresco dining with friends and family quite yet... There have also been out-of-town visitors recently. This has all kept me busy. Plus, you would probably find my meal rotations rather boring. Not much experimenting this summer for me. I tend to make many of the foods we eat over and over during the growing season... because I love them. I wait months in Minnesota for the tomatoes, beans, zucchini, beets, etc., from my garden, and I'm perfectly happy eating them, much of the time, the same way. I will never tire of fresh tomato pasta sauce, Caprese salads, seared beans, zucchini-walnut bread... experimenting can wait! If you follow my posts on Instagram, you will most likely know what I've been cooking and baking in my kitchen. Below are a few iPhone photos of things I've made recently, along with links to the recipes. Photo shoots with my SLR camera seem like a luxury this time of year. It's all about sitting down and eating (immediately!) when the food is ready. No one wants to wait while I photograph. 
|


Categories
All
|